Vikings! I’ve been waiting for a Viking Village ever since I voted for this LEGO Ideas project and now it’s here. Well, almost: it will be available to buy with a release date of October 1, 2023.
Disclaimer: The LEGO Group sent this set to me via BrickCentral for a photo shoot but I also did a review on it, all opinions of which are my own.
At 140€/$130, Viking Village 21343 is incredible value for the number of bricks and exclusive printed elements you get. I have to say I love how affordable the medieval sets have been, except for Lion Knights’ Castle which was an anniversary set. Stay on the path, TLG!
Printed LEGO elements
Speaking of prints, there’s not a single sticker in this set. Every element with a graphic design is printed. Not all the prints are unique though.


Two of the minifig torsos are recycled from the Viking Ship and the Midgard Serpent 31132 set we got last year but there are two new torsos, four new legs, and two new faces. Particularly, the archer and the blacksmith have completely unique prints on their bodies and heads.
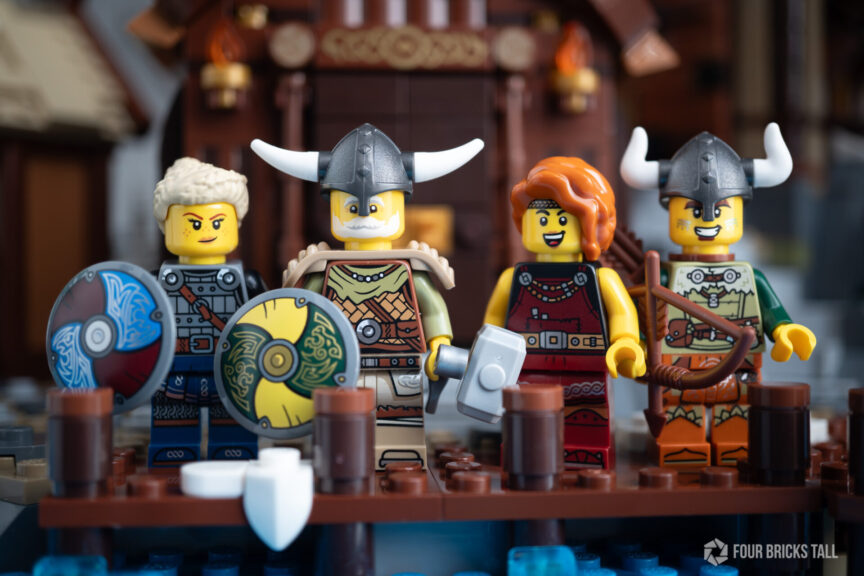
I love the markings on the archer’s face and the headband on the blacksmith, but I wish we got a closed-mouth version on her head as an alternative expression. Oh, neither of these have an alternative print on their heads.
There are two new printed shields as well: yellow and green, and red and blue. Other prints around the set can be found on the kegs by the watchtower, on the stone slab outside the blacksmith’s, on building beams, and on the blacksmith’s hammer.

Building notes
I’m not a super experienced builder but I really enjoyed putting together the stone staircase going to the tower, the rockwork all around, and the roofs of each structure. I also really appreciated that the designer made the buildings accessible with removable roofs and walls. Very helpful for us LEGO photographers!
The rope bridge is a fantastic visual but was just a tad tedious to put together. However, I’ve always been impatient with connecting parts to clips and minifig hands anyway so YMMV.

The other thing I liked about the Viking Village set was that Technic parts were kept to a minimum. It’s mostly bricks and plates, so there were satisfying clicks all around. I’m not really a fan of Technic axles and connectors– I have tons of these extracted from sets sitting in containers– but of course, they’re useful in creating play features like the jumping flame and increasing stability.
I was worried that the Viking Village would be loaded with 1×1 plates for texture but it was very manageable. I don’t recall holding up a small bag of parts and feeling exasperated at the number of tiny parts in them.
Missed opportunities
My biggest gripe is that this Viking Village is actually a Viking island. It’s completely surrounded by medium azure plates.
That kind of makes it inconvenient to shoot out in the real world but you could always swap the plates in the back for some dark tan or bley to make it look like land.
My second gripe about this set is that we have yet another blacksmith. Of course, they’re important figures in any medieval village but I saw this as a missed opportunity for something new and relevant to Vikings, like a shipbuilder.

Having a shipbuilder could have tied the Viking Village to the Viking Ship and the Midgard Serpent Creator 3-in-1 set neatly.
So these are two small modifications I’ll be making to the set after this review is done. BrickLink here I come.
Overall, I really love this set! I’m a big fan of medieval themes plus I’m pretty cheap so this beautiful 140€/$130 Viking Village is a must-have for me. The LEGO Group sent this to me to photograph, but if they didn’t, I’d buy this set in a heartbeat anyway. I place a larger emphasis on aesthetics and overall price vs. building techniques, playability, and price per element so this set hits that sweet spot for me.
Viking Village 21343 is available to purchase on October 1 from Target in the US, LEGO.com, and anywhere else LEGO Ideas sets are sold.
How I Got the Shot
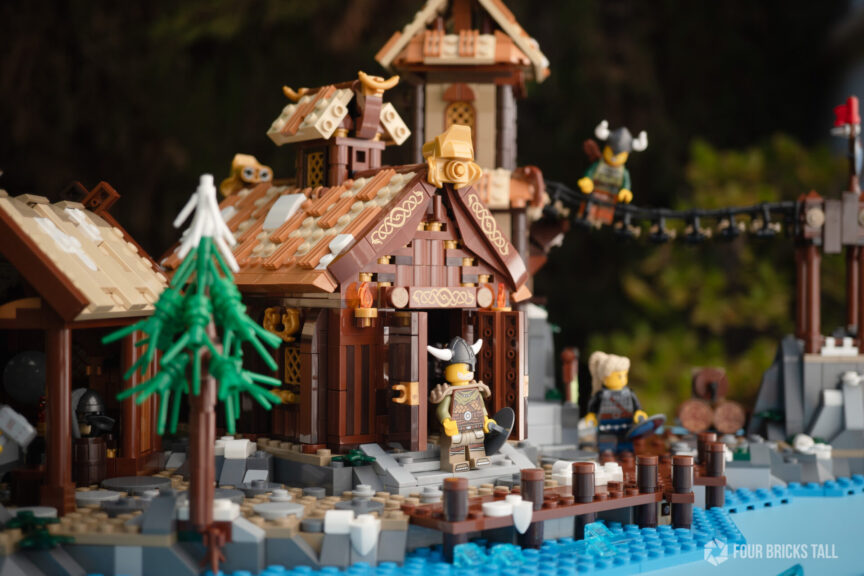
For the featured image, my goal was to get a more dramatic, wintery look of the whole set so I envisioned low-key lighting, a cooler tone, and atmospheric effects.

As I noted in the review, this Viking Village is actually on an island so I laid down an old light blue vinyl background I used to use for product photography and set the model on top of it so that it extended the “water” part of the build.
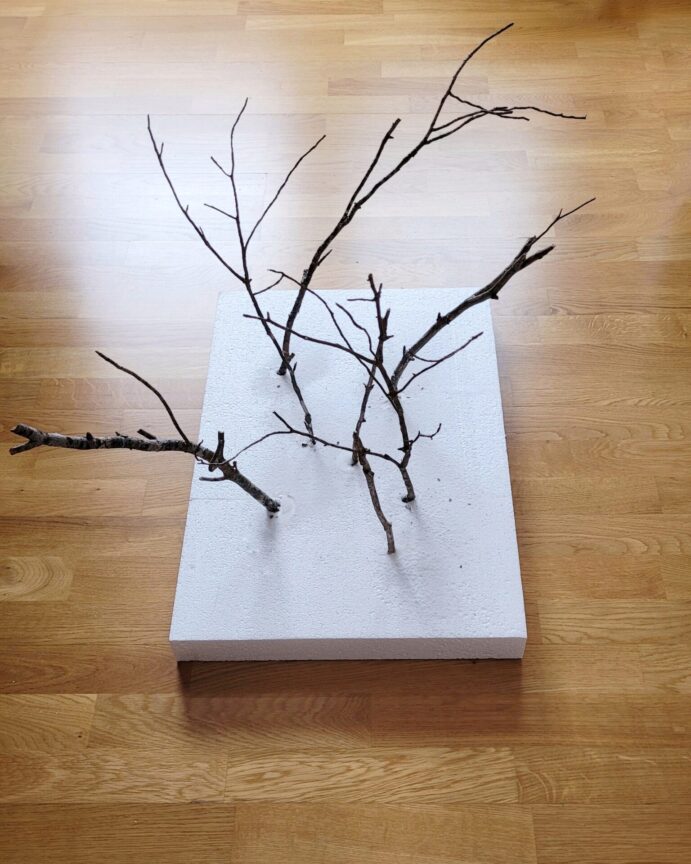
For some background interest, I poked some sticks that I had gathered while walking my dog in the morning into a styrofoam slab that I had saved from an electronics purchase several months ago. Whenever I buy something, I always check if the packaging might be useful to me for LEGO photography and just set it aside. It finally came in handy!

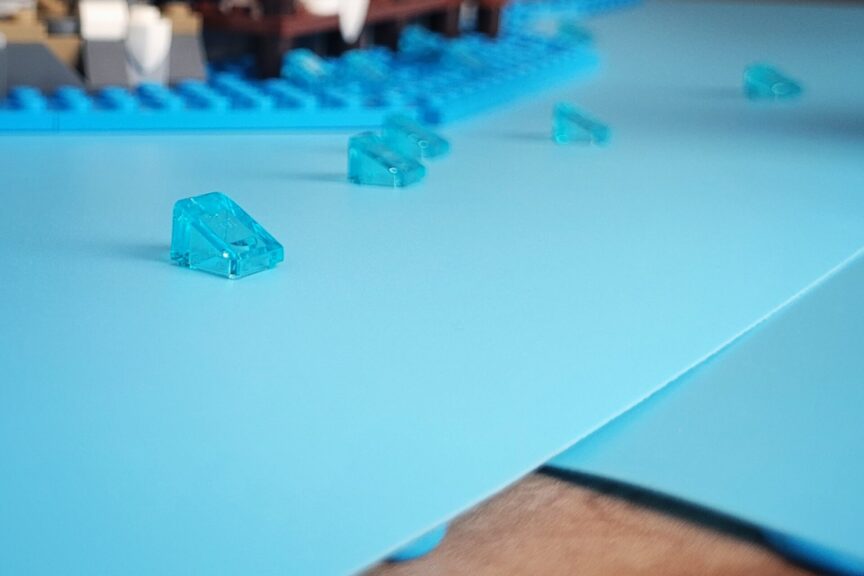
The light blue vinyl was pretty old and had been rolled up for years so it cracked when I laid it flat. I ended up with two pieces to work with which meant I would need to eliminate that edge in Photoshop later.
To keep the vinyl from rolling back up, I used some tacky putty to secure it to the wooden tabletop. Then I added the same transparent cheese slope parts that were in the LEGO set to provide some continuity with the Viking Village.
For lighting, I like a stylized look over realism. It’s a feeling I’m after rather than logic. I’m not trying to convince anyone that my entirely staged scene is in any way real.
I wanted the set lit for drama and atmospheric effects so I put two bare flashes behind the build and out of view from the camera’s perspective.
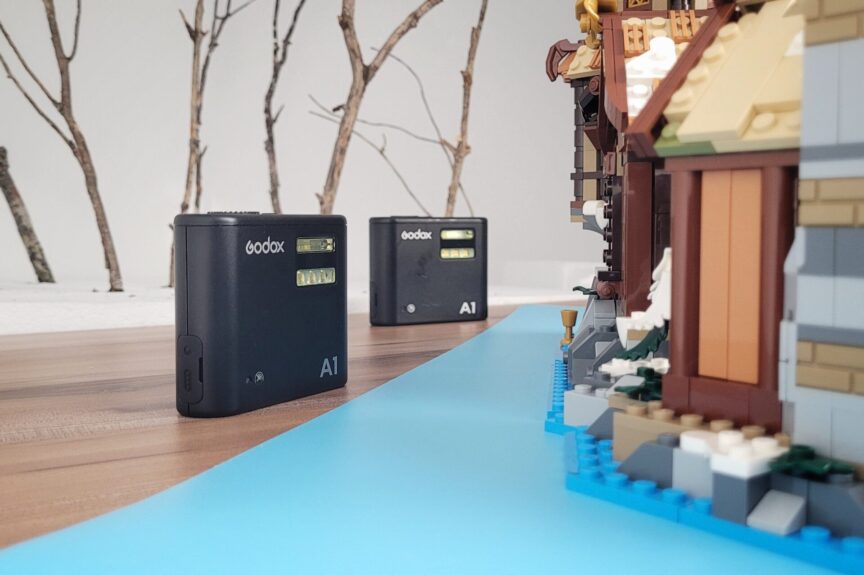
I used these small flashes instead of continuous lights because they were easier to hide and contain. Using continuous lights would have meant flagging them to contain the light spill and setting a long exposure which would build up light everywhere.
Using small flashes was the best choice for the look I wanted and my workflow. I avoid any kind of set-ups that I need to wrangle because it kills my creative flow and makes me hate the process. I don’t want that.
I just handheld a third flash with a small softbox on it for my key light.
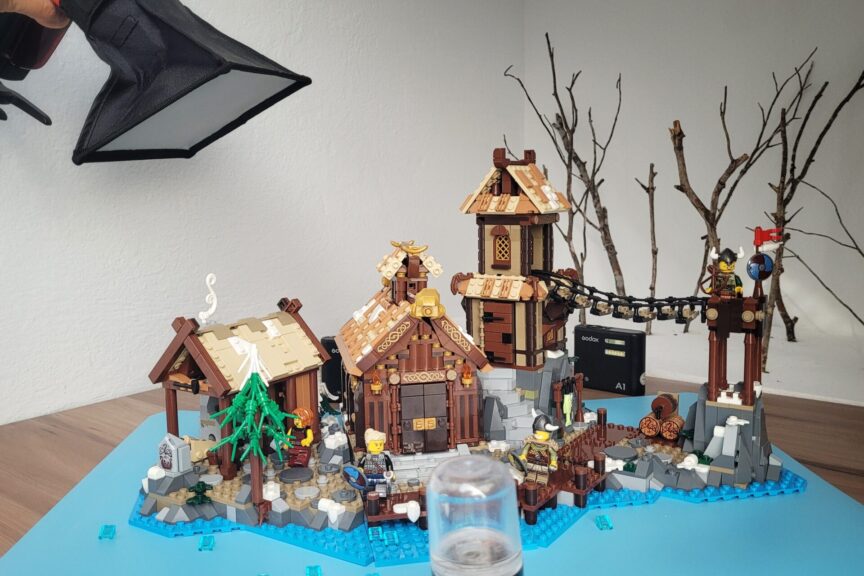
Finally, I added my trusty facial mister to the mix to provide the atmospheric effects. That effect was made visible with the two small flashes behind the model.

In Photoshop, I removed the edge on the light blue vinyl with the clone stamp tool and brushed in a little mist to disguise it a bit more.
In Lightroom, I decreased the temperature to make the photo bluer overall (I didn’t gel any of my flashes), pulled up the shadows on the buildings a little bit, added a vignette, and reduced the clipped highlights coming through the blacksmith’s window. Post-processing took about 5 minutes.
During post, I thought that maybe I could have stopped down the aperture a bit to get more of the model and minifigs in focus. However, I didn’t want too deep focus so that the trees would become sharper as well. I have limited space in my studio nook so I couldn’t really use distance as a way to affect depth of field. Focus stacking was out of the question since that technique and atmospheric effects don’t work well together.
Working in post helps me identify issues in my work and makes me ask myself questions. Whether or not I think my photos need editing, I always include post-processing in my workflow because it improves my self-critiquing which makes me a better photographer. For an example of that, read my tips section on Take Better Toy Photos.
I’m pretty happy with the results but in retrospect, I should have carefully composed the forest with the LEGO set in front of it rather than randomly poking the sticks into the styrofoam. I could have spread them out better in relation to the set. But I had already glued some sticks into place and styrofoam can be messy so I lived with it.
I really enjoyed reading your review of Viking Village 21343! The detailed breakdown of the set’s features and your insights on the building experience were super helpful. It makes me excited to add this set to my collection. Thanks for sharing your thoughts!
I absolutely loved your review of the Viking Village 21343! The attention to detail in the set looks stunning, and I appreciate your insights on the building techniques. It’s definitely going on my wish list!