Several days ago, I went behind the scenes with Amber to see how she shoots her warmly lit brick vignettes and I also launched the #inthestyleof_nocturnelle9 challenge.
I’ve got to admit, I thought this challenge would be a breeze since I already had a smaller modular CREATOR set to use as the brick-built environment and had completed The APhOL’s challenge of capturing light beams in camera several weeks ago. Not so.
Amber’s challenge made me look at the interiors of sets strictly from the standpoint of a photographer, not as a builder or even an admirer. I had only evaluated exteriors for minifig photography previously, preferring to shoot them as backgrounds from the street level. Some things are obvious: builders probably like walls, photographers not so much. In my case, I had built up props and details that looked great from a builder’s point of view, but ended up discarding them because they made the scene look too cluttered in the camera’s viewfinder or otherwise got in the way.
The music attic
The scene takes place in what was originally Dr. Strange’s top floor office in the Sanctum Sanctorum Showdown set. I typically shun any kind of licensed LEGO products but the New York context and the exterior of Dr. Strange’s building with it’s large, circular window was so impressive, I had to have it.
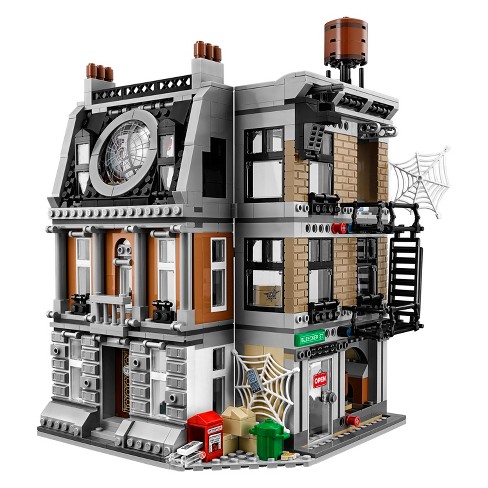
To use it in Amber’s challenge though, I knew I’d have to remove all the Strange design elements such as the desk and skull as well as extend the floors and walls a little bit to make it usable as a photo shoot set. Five studs deep is not enough room for a decent shot, in my experience. While I was at it, I also removed all the play features like the exploding glass windows and the secret compartments because playability is only important to my 7-year-old for exactly 20 minutes.
I also separated the two buildings and started adapting the levels so that they work more like the CREATOR Expert modular buildings. That way, I could just easily remove the floor I want for a shoot and replace it when I was done. Later, I’ll add a back wall and fill out the other side wall so I can display them nicely but I’m planning to use hinges so I can still swing them open for photography.

The setup
To get that warm light, Amber adds an orange diffuser to her flash. I was going to use a CTO gel on my flash to get a similar result but then remembered that I had a video LED light that has color temperature controls just gathering dust in my closet. Setting up the video light and getting the results I wanted would certainly be much quicker than gelling a flash and taking test shots to get a proper exposure and angle.
The great thing about using LED lights is that it’s continuous light so you can see exactly where the light falls. This one in particular, the Godox LEDP120-C, not only lets you change the color temperature from daylight to tungsten, it also lets you adjust the intensity. Plus it’s under $40 USD.

To light the scene, I set the LED light off to the side to simulate the sun low in the sky. I also angled the building so that the perspective was more similar to the way Amber shoots. I normally shoot at minifig eye level and almost always have the minifig looking directly into the camera, but part of meeting the #inthestyleof_nocturnelle9 challenge for me was to capture it doing something to make it more life-like. I posed him as he was just about to put on his headphones while he admired the view out from his attic.


The minifig
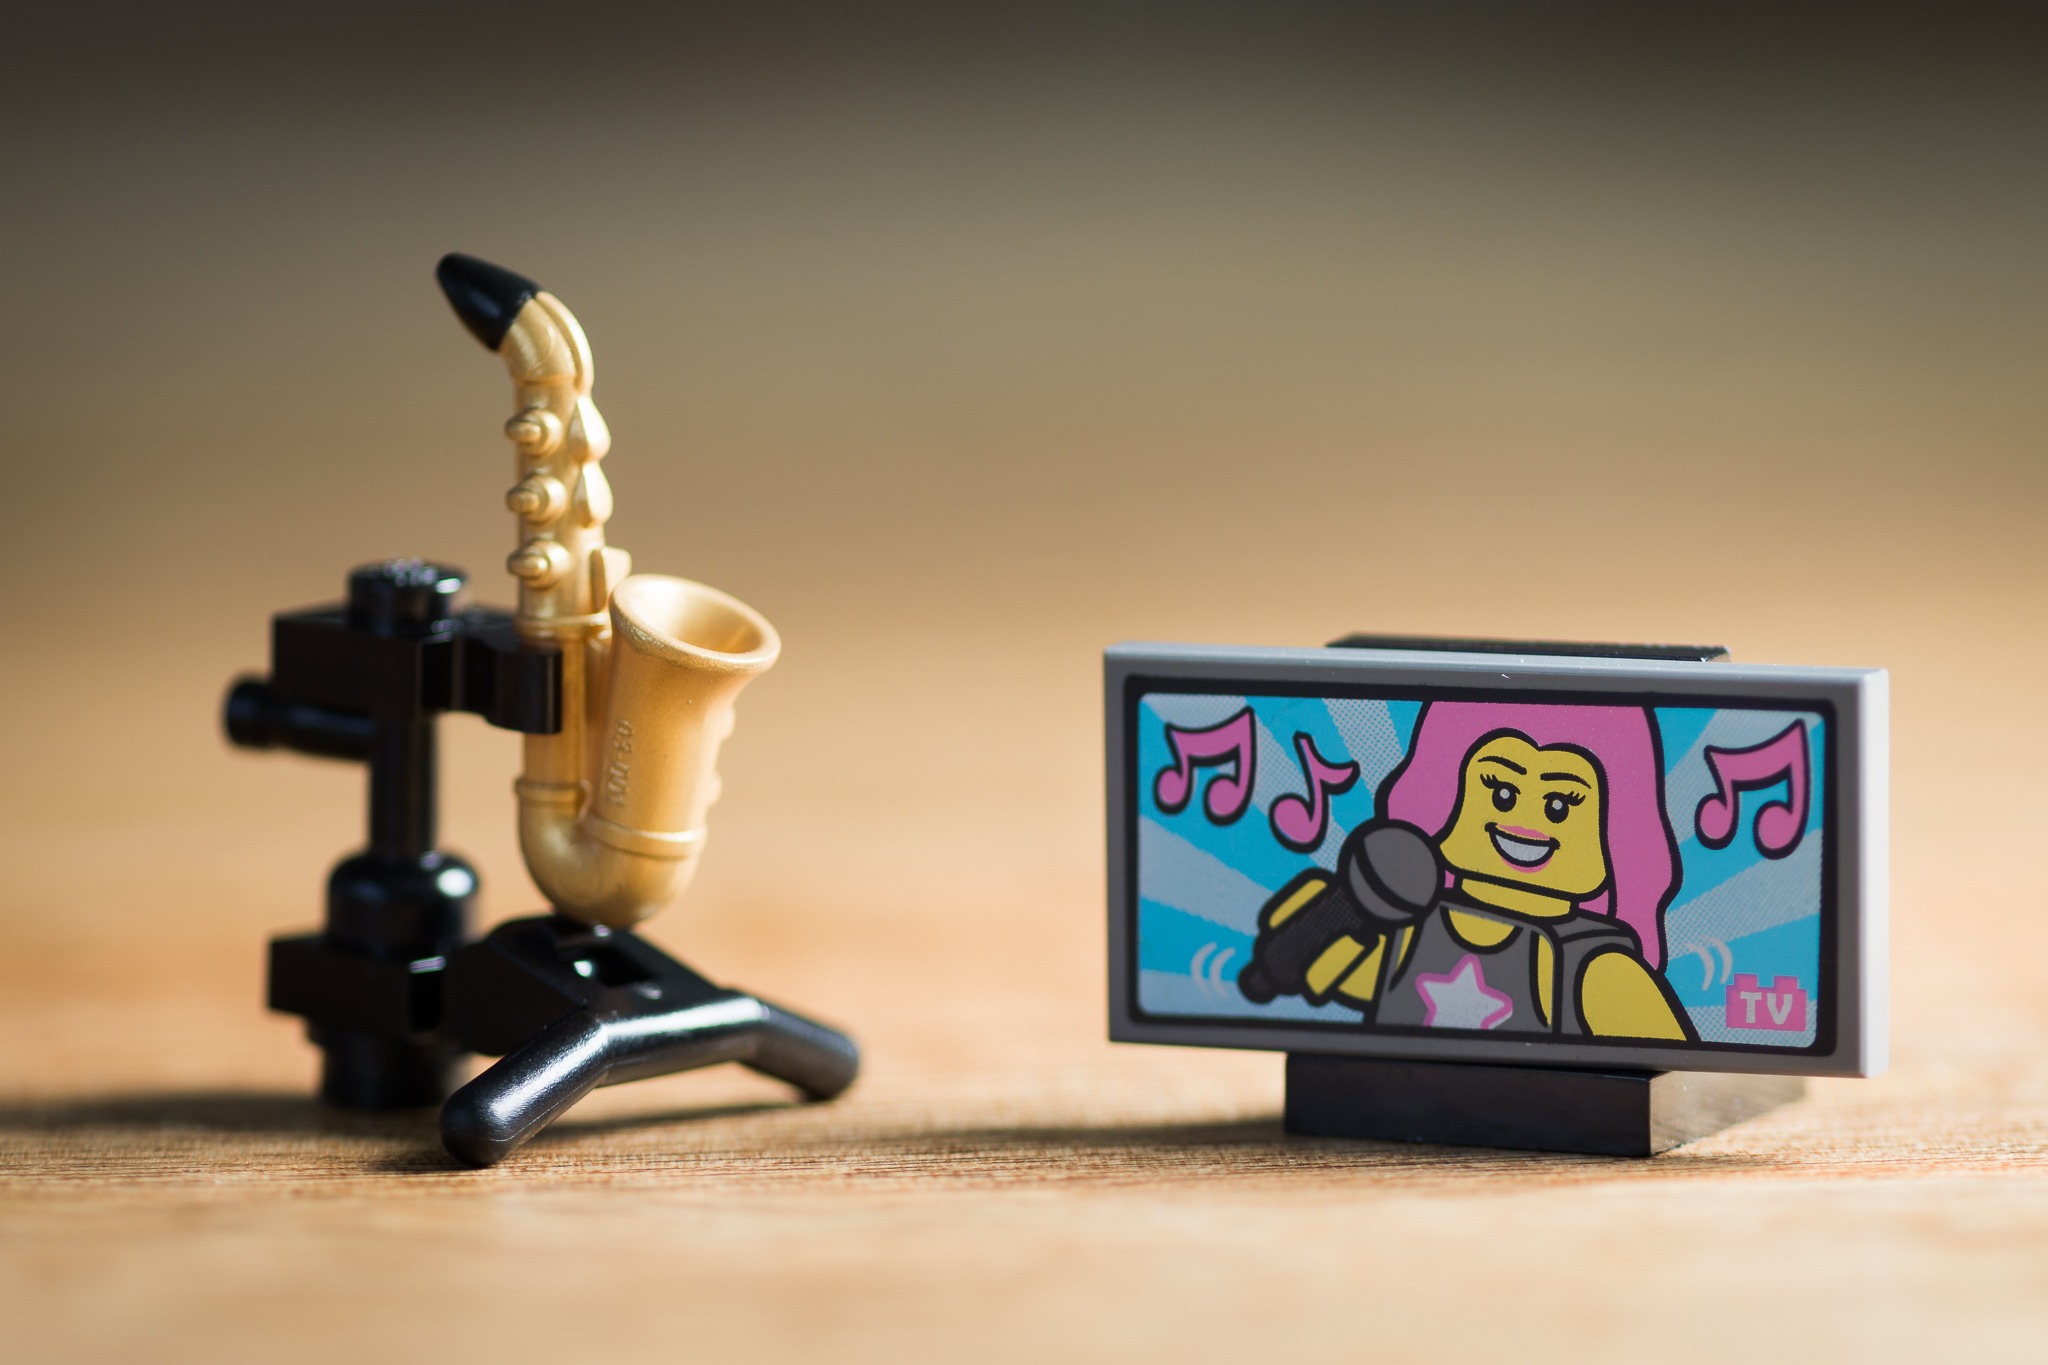
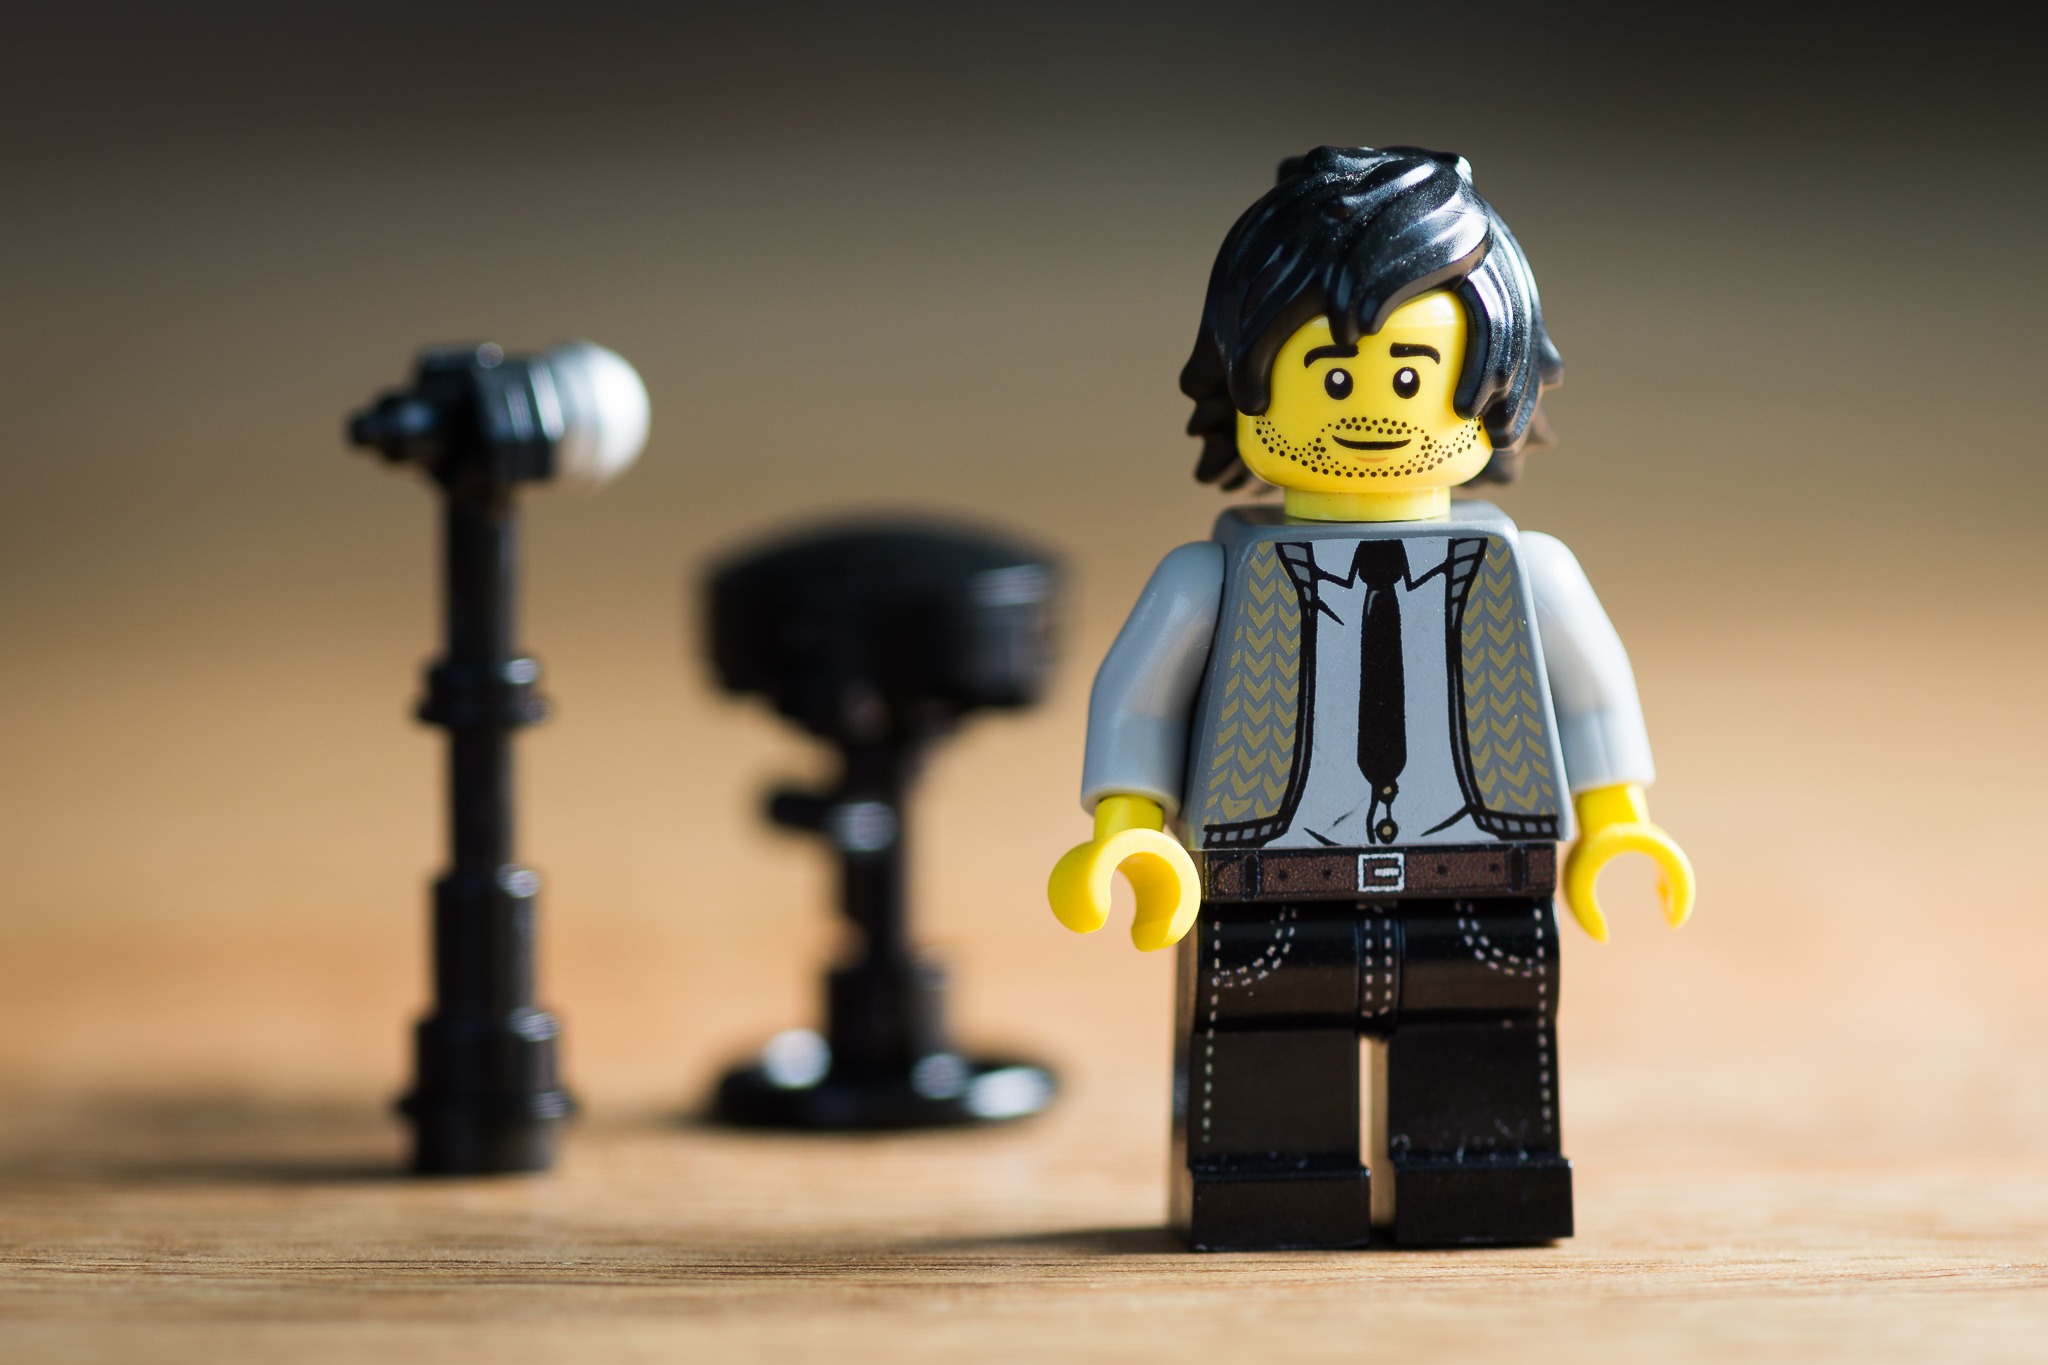
I love creating custom minifigs so I wasn’t going to make an exception here. The musician has Kyle’s hair from the Ninjago CMF series, Ernie Prang’s torso from a Harry Potter set, and custom jeans from Firestar Toys. His head is from the dad in the Outdoor Adventures People Pack.
Post processing
In Lightroom, I warmed up the light even more because I think that I left the white balance setting to AWB on my camera and it neutralized the 3200K light I set up. I added a bit of contrast and reduced highlights. It took just a few minutes to do that since they are basic edits.
I think I did well with using a brick-built set and using warm light for this challenge. Next time, I want longer, more visible shadows and to get some distinct window frame shadows which I couldn’t achieve with this printed circular window.
What do you think of this photo? Would Amber approve?
I might have to pick up one of those Godox LEDP120-C lights! 🙂
I do like these lights. I am more of a flash person than a continuous lights person simply because I like how I can really control flash but for lighting larger scenes, these LED panels do the job nicely.