Recently I was involved in a discussion on Brickcentral’s Discord server about techniques to shoot LEGO models or minifigures with real water and how to get nice water effects like colour and reflections.
I was invited to share my tips here.
Before I start, here is a big caution and disclaimer: Be very careful when you handle water and water filled containers around your gear.
There is always the danger of a spill and water doesn’t mix very well with most (camera) gear. In addition, I use some dyes and when spilled they might dye things you don’t want to change colour (like carpets for example).
Now to the topic at hand: LEGO, water & photography!
I decided to take one little scene and shoot it with different techniques, so the effects are comparable. Of course that means that some effects might not really fit the particular model in use.
Since I was shooting pics for this demonstration in December, I used the Durmstrang micro build from the Harry Potter advent calendar as main subject and added a micro Hogwarts as a backdrop. With that, let’s get started.
The Basics
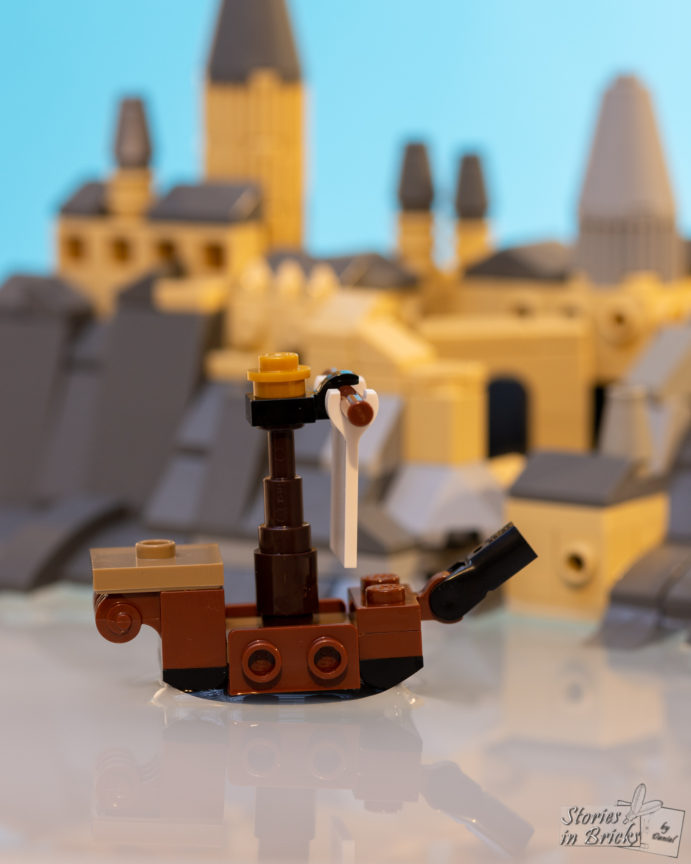
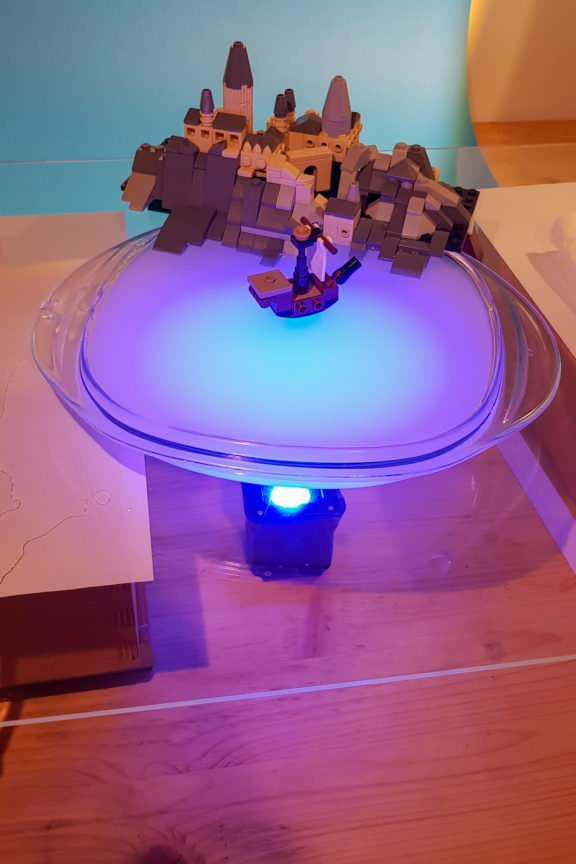
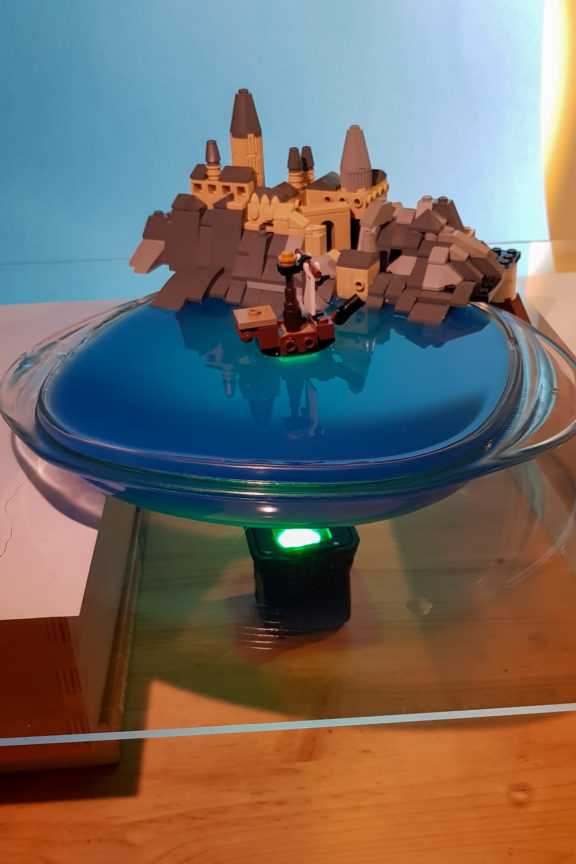
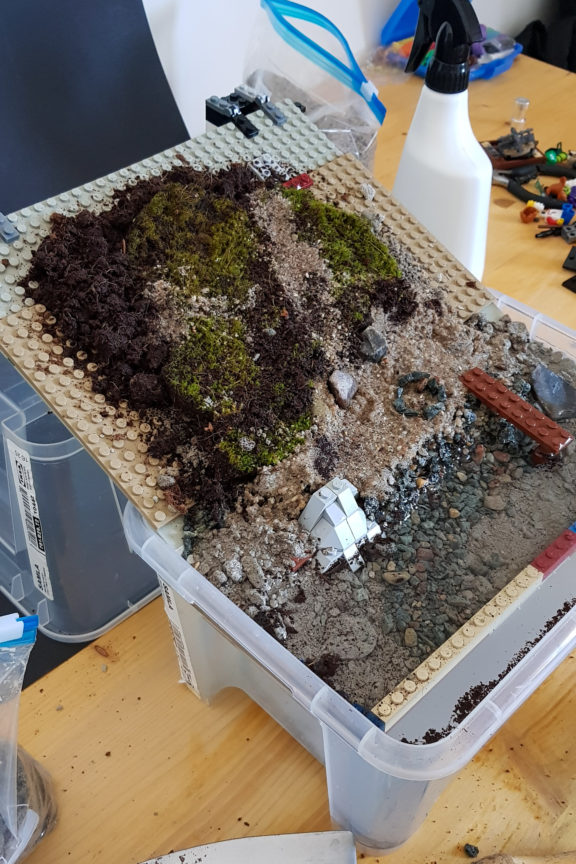
First you need a container to put the water and model in. Use a clear (glass or plastic) container, fill it with water and add your model. Since the ship doesn’t float, it is supported by some transparent bricks. The bowl is also elevated because some of these techniques involve placing items or light below it.
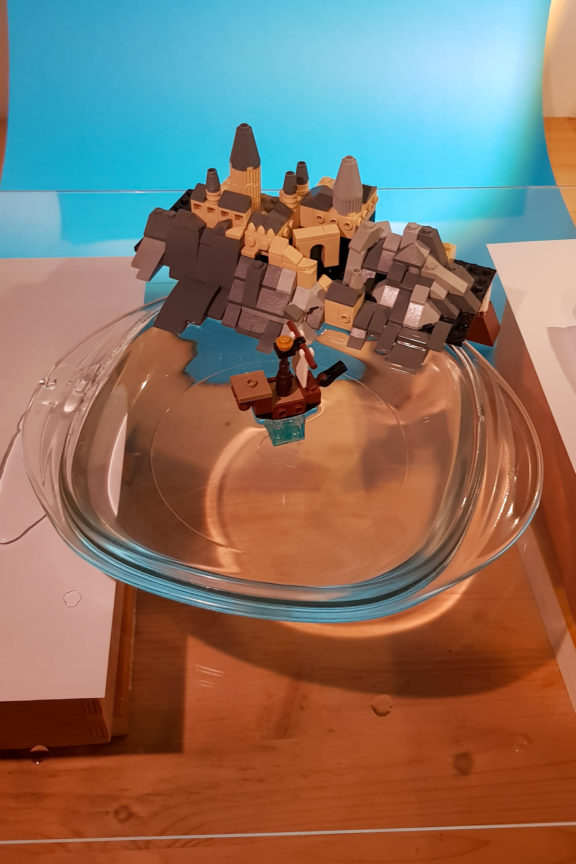
This works for scenes like pools or shallow lakes.
The colour of the water depends on what’s under the container: the light blue comes from the “sky” background, which is swept from the wall onto the table.
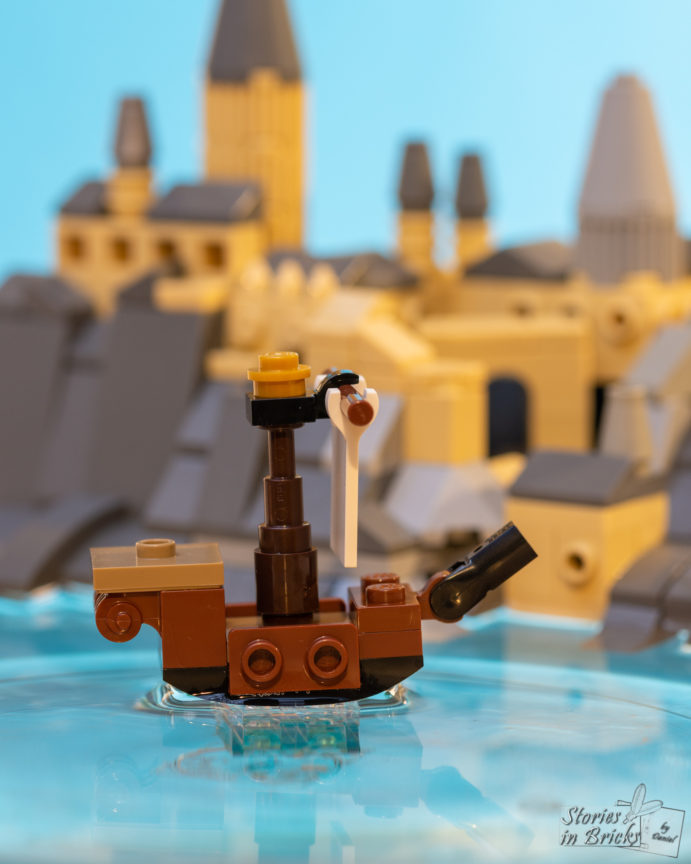
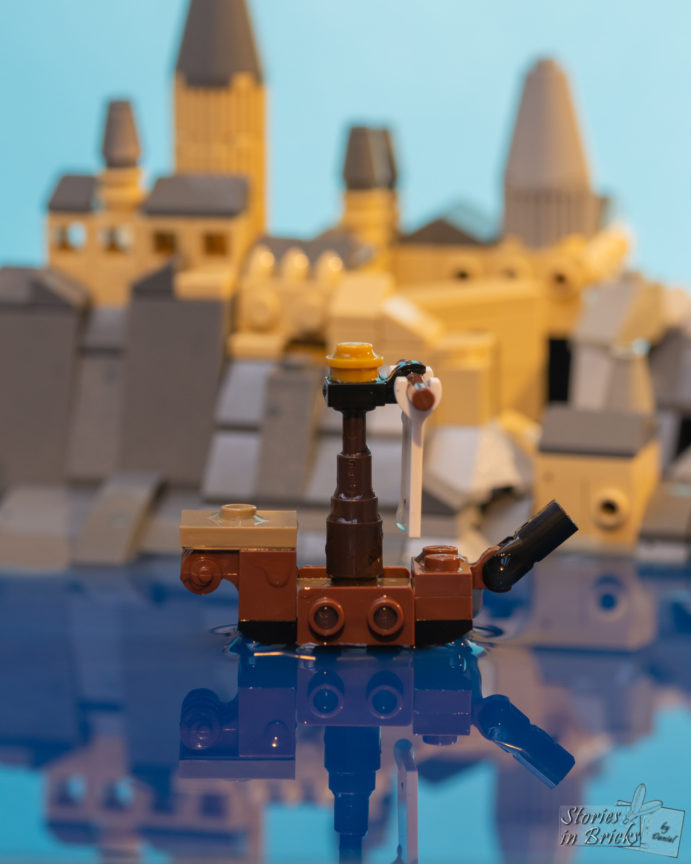
To get the water to look deeper, I used a dark blue sheet of paper under the container:
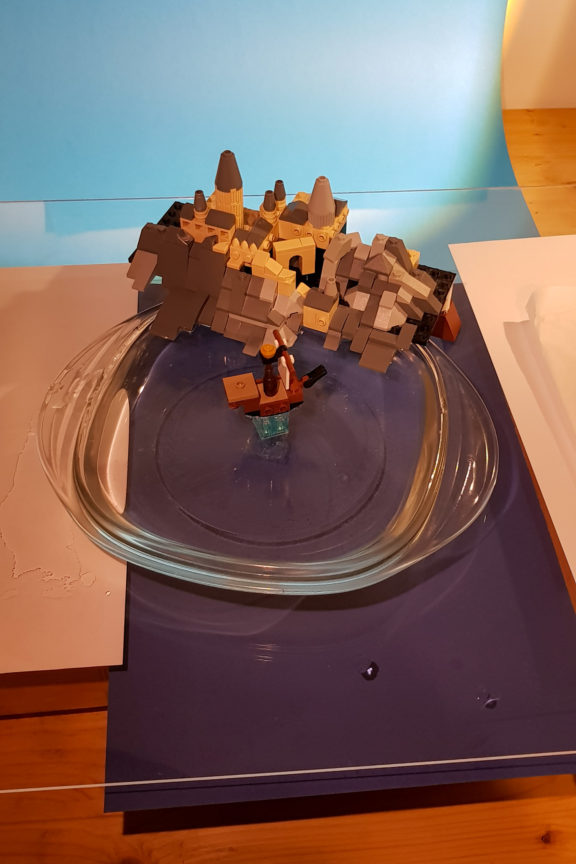
This is also useful if you want to get a nice reflection on the water’s surface. The darker the water, the better:
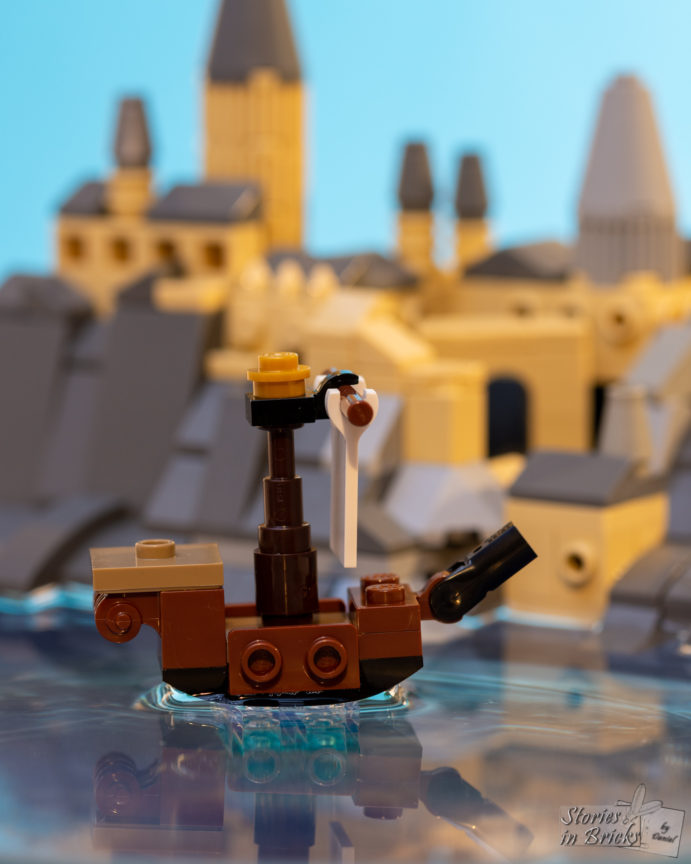
A problem might be that the edges of the container can be visible in the picture. But that can be easily eliminated by building a scene to cover this up.
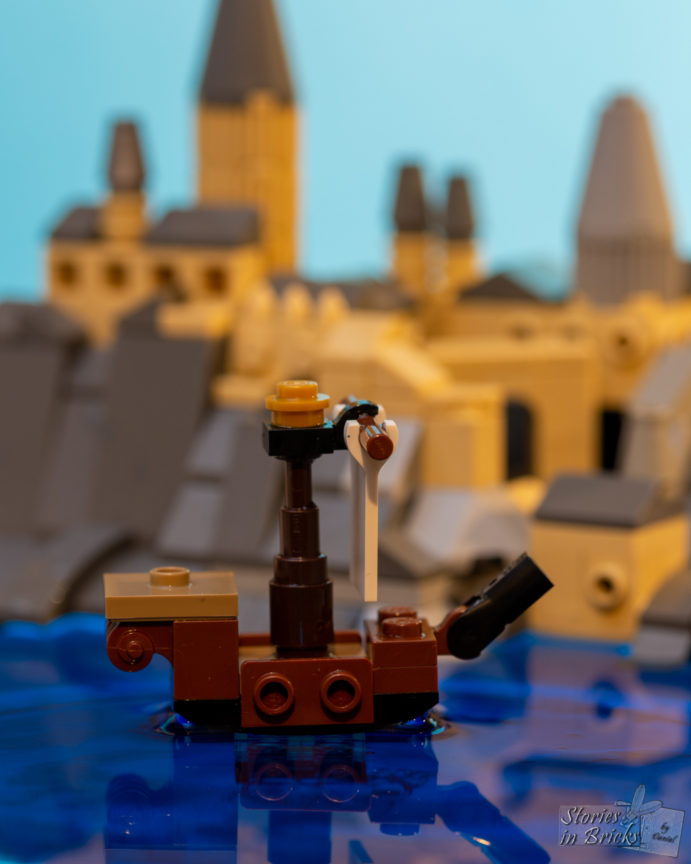
So if you just want to work with clear water getting a black container e.g. a baking tray does the trick very well. A still surface gives a clear reflection, but might be a little unrealistic for a big open water expanse.
Opaque Water
Clear water isn’t really a good fit for the dark lake of Hogwarts though, so let’s try out some other tricks.
A technique I used while photographing water droplets with coloured flashes is to add some milk to the water. This makes the water opaque and allows the use of light to “colour” the water.
If you just use the water milk mixture you have a nice frozen lake. (Maybe I should add some ice skaters to the scene here…)

Adding light from underneath “dyes” the water and gives it an eerie feel.
This might be suited for a darker, more mystical setting than this and you must be aware of the light spill onto the surrounding (the ship and castle in this case).
You can change the mood with the colour and intensity of the light.
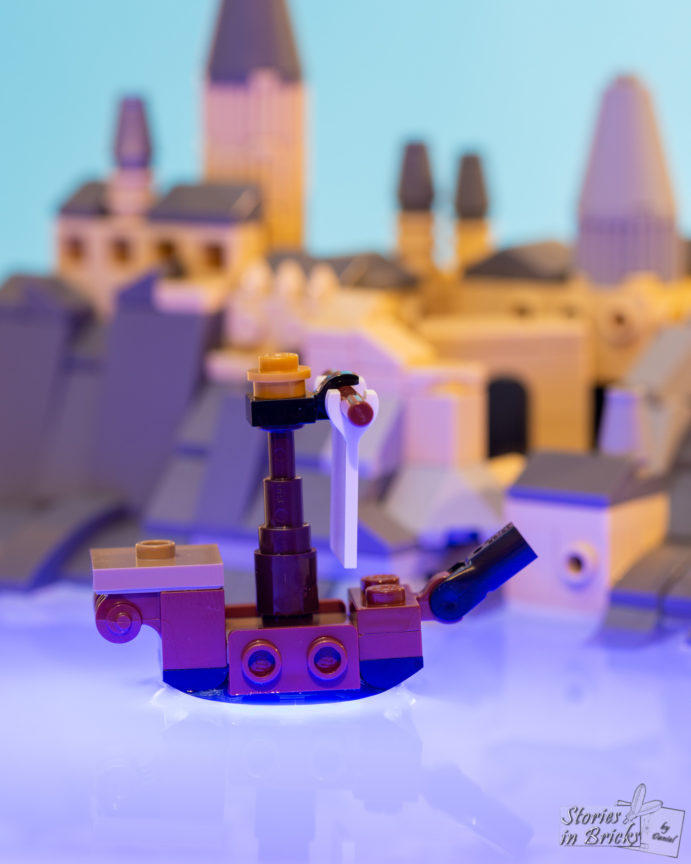
Another (perhaps obvious) option is to add some food colouring.
In this example, I added blue food colouring to clear water. The more colouring you add, the deeper the colour and more opaque the water becomes.
Depending on the size of the container you might need to add quite a lot of colour or parts of the container might still be visible through the water.
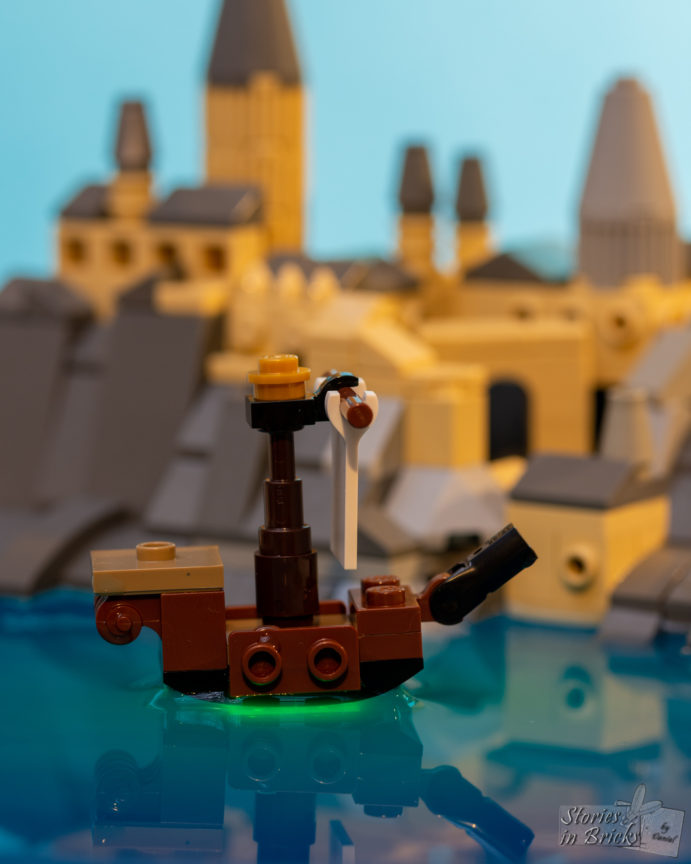
If you combine food colouring with milk, you can achieve good results with low concentration of both.
The milk makes the water opaque enough to double for deep water and the colour well… gives the appropriate colour.
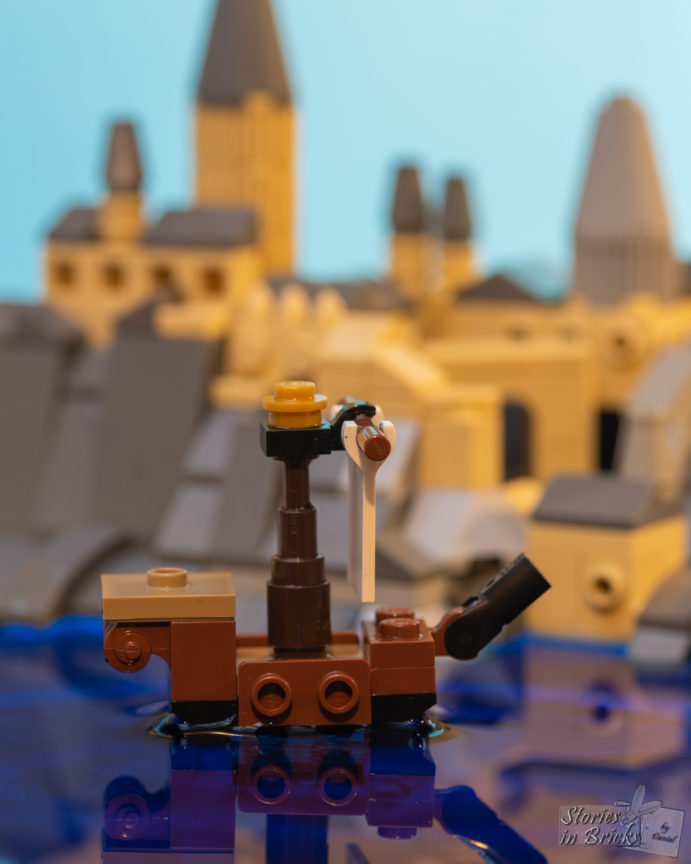
Adding light to this mixture – in this example green – adds some nice colour gradient effects. The glow under the ship comes from the clear bricks supporting the ship and catching the light.
If your main goal is to get a nice reflection on the surface, as mentioned above, the darker the water/underground the better.
Ripples
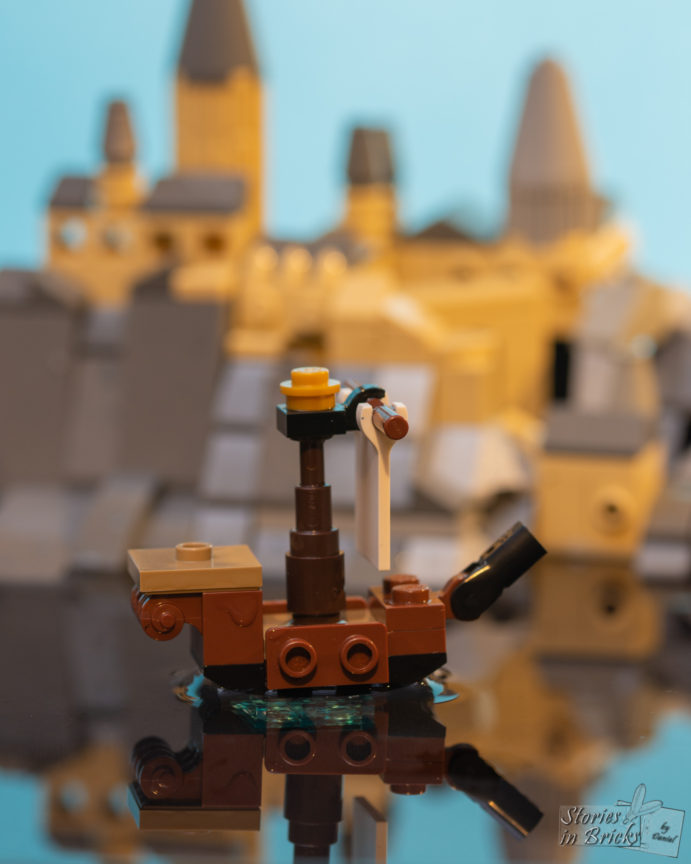
You can get ripples by moving an object in the water during the exposure.
The right exposure time here is key to get the right effect and might take some tries:
No ripples 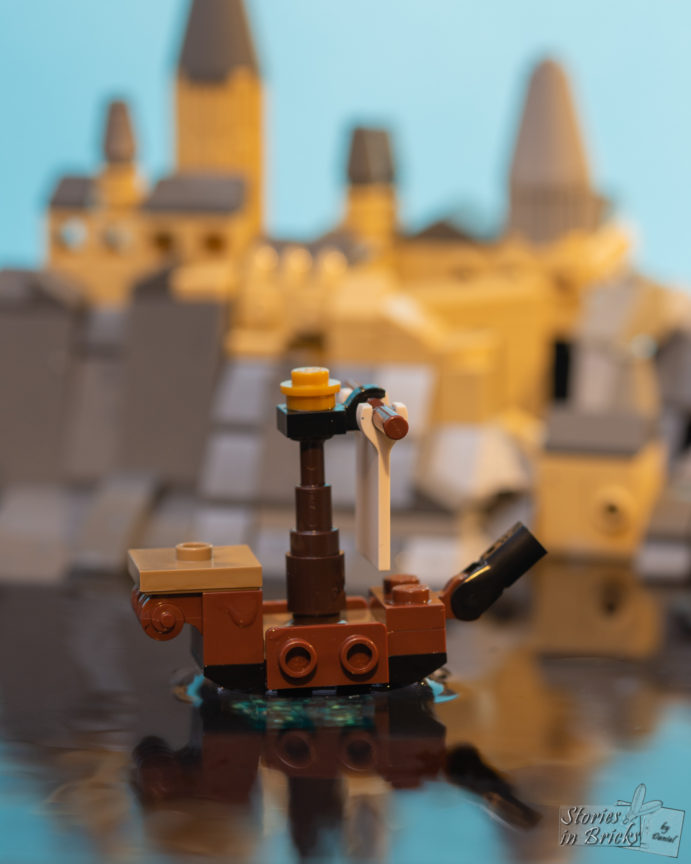
Ripples (0.5s shutter speed)
Too short and you just catch one or two big ripples; too long and you end up with a flat surface again (see further below at the outdoor tip).
If the black baking tray makes the water too dark for your taste, you can use milk, colouring or both as mentioned above to get the right colour.
Without disturbance 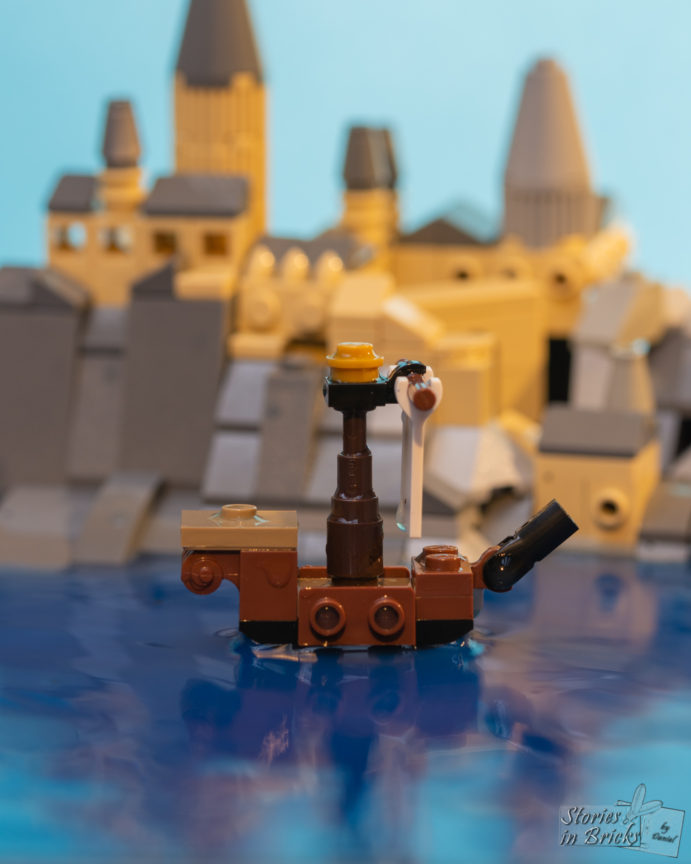
With disturbance
Showing What’s Under the Water
I wanted to do an example where you could see what lies beneath the water and have a reflection of something in the water at the same time. This is something I did with the Viking Minifigure from the CMF 20 series.
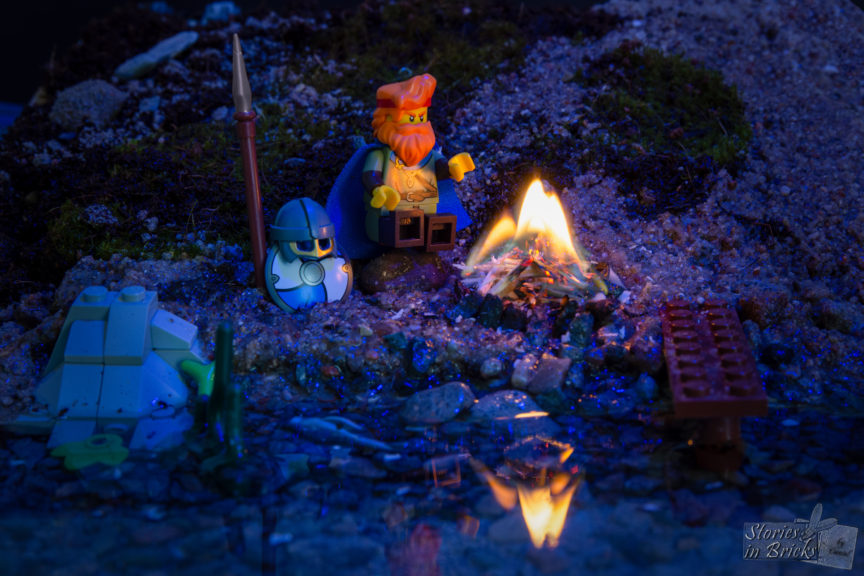
The whole setup is dark which highlights the bright fire and its reflection nicely. At the same time, the clear water still allows us to see to the bottom.
Going Underwater
Another matter is shooting a scene completely underwater. As an example here I have a deep-sea scene with the Creator frogfish.
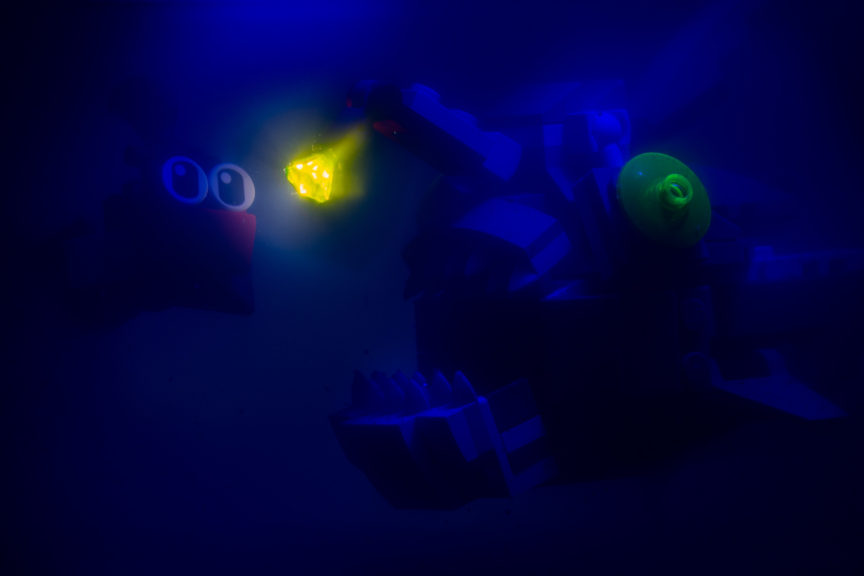
I used a big plastic box as container and filled it with water and added food colouring the get the blue colour.
I wanted to make the light rays from the frogfishes lantern visible so I needed floating particles in the water to scatter the light. In this case I used flour, but other non-solvent materials might also work.
Just remember that the particles will settle over time, so you might want to give it a stir once in a while.
Shooting in Water Outdoors
Now let’s move outside to show two different tips, which might require some extra photographic gear.
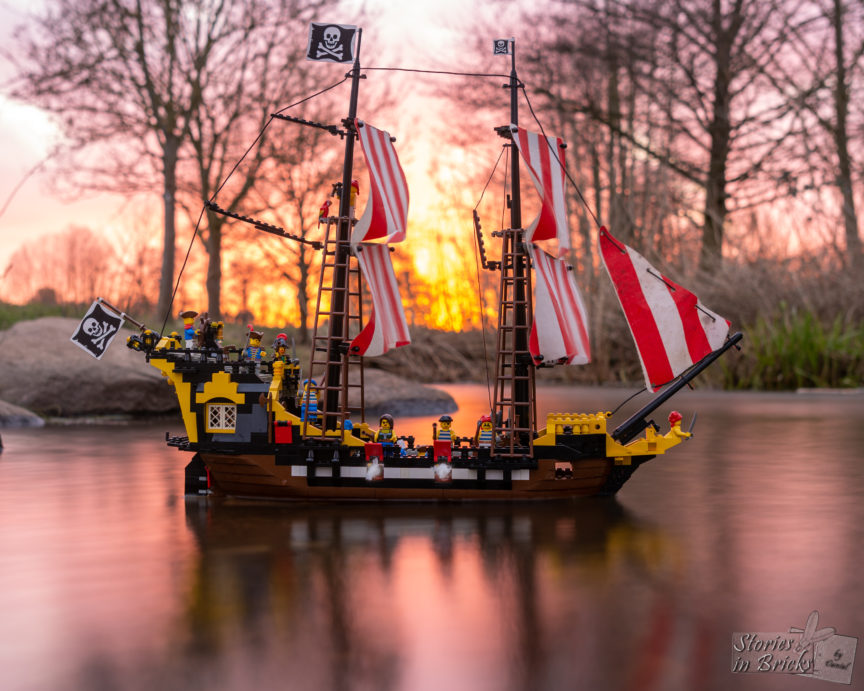
When you shoot moving water – like the pirate ship in a little stream – a “normal” exposure time will show all the little waves and ripples but the reflection is not very distinct.
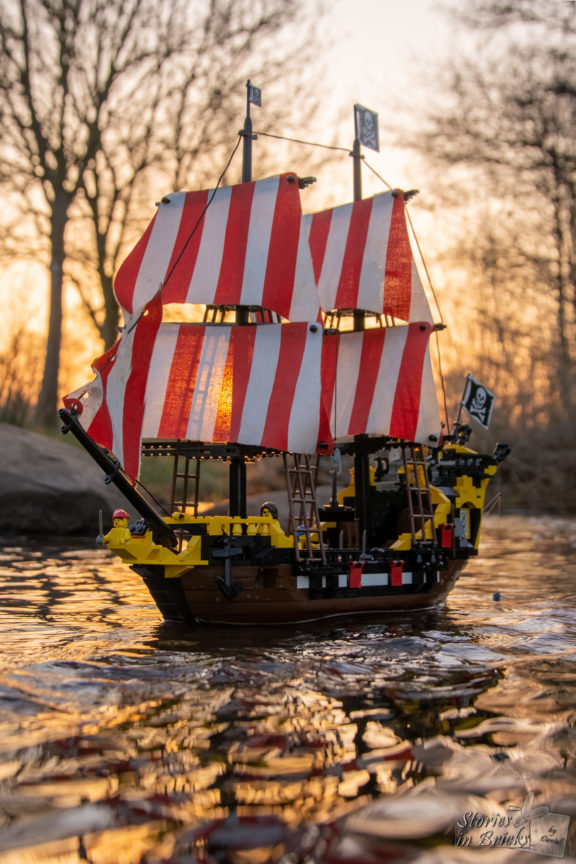
By making the exposure longer, all the waves and ripples will blend into an average and you get a “flat reflecting surface”.
Depending on the available light and camera setting you might get this effect without gear, but in most cases, you probably need an ND filter, which reduces the amount of light through your lens.
Another technique to influence the amount of reflection is the use of a polarizer filter. By turning the filter 90° you can either see clearly through the surface or catch all the reflection from the surface.
In this next example, it turns the scene from “scary” to “practical prank” by being able to see what really lies beneath.

With reflections 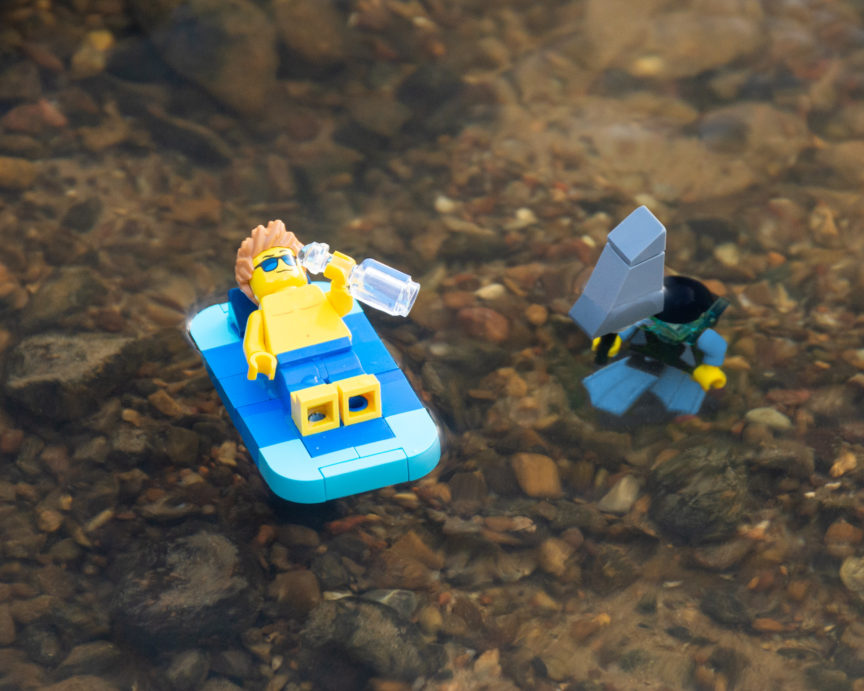
Without reflections (polarizer turned 90°)
I hope you found my summary helpful and that it has inspired you to try some of it. Let me know how it goes and what tips you have for this topic.
Until next time!
Very educative!
I never tried shooting on water as I do most of my “water shots” on a glass table which allows some reflection.
But what you have shown here is the real potential: getting the see-through effect combined with the reflection. It makes for very realistic shots. And you can also add some ripples!
I will now have to find some food coloring…