For this tip, I’ll show you how to take better photos outdoors by tweaking details.
Start with a minifig and “something” because it’s the easiest setup you can photograph. It requires little amount of forest, garden, or beach to borrow for a while. Try to find a place with fairly the same level of light in the whole frame. Places with a mix of deep shadows and bright areas need a little more practice and could be frustrating to shoot at the beginning.
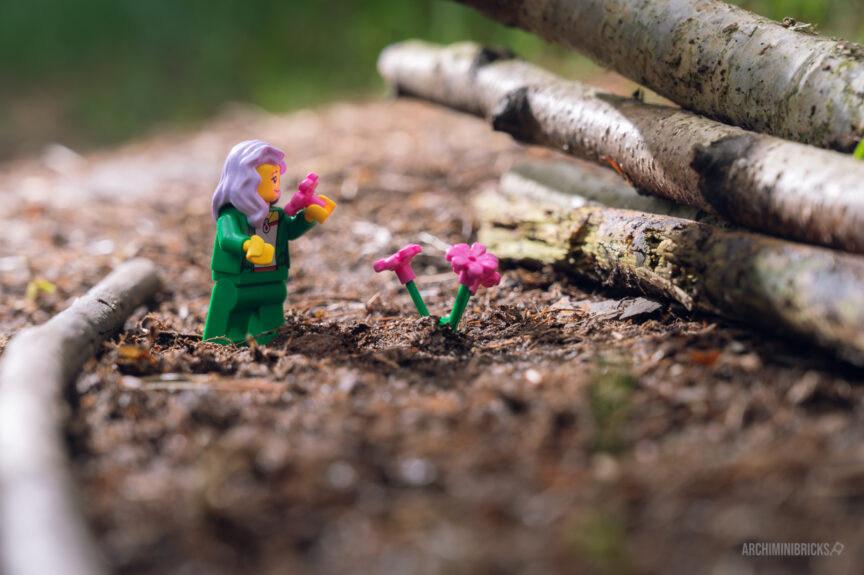
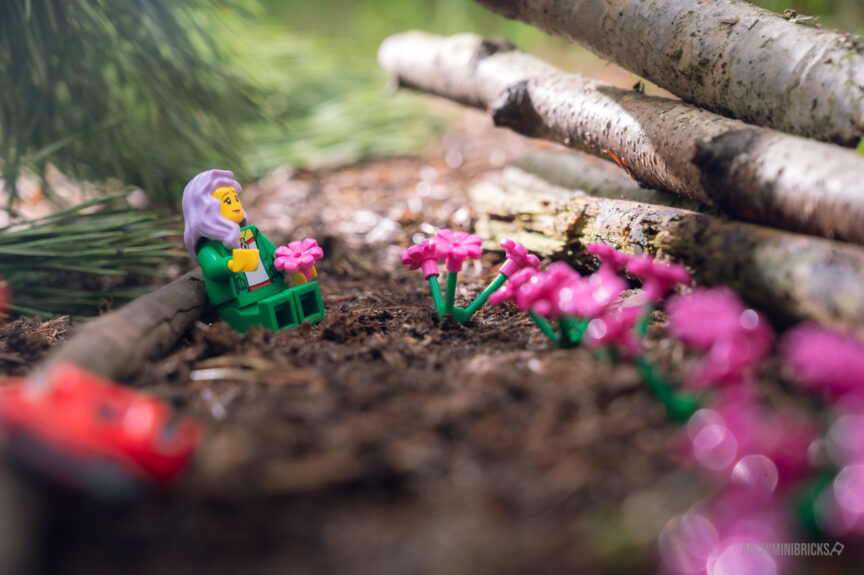
A minifig looking straight into the camera is fine for certain photos, but in most cases, it’s better to make it look somewhere else… at the bike, flower, ship, or rock. It opens the scene.
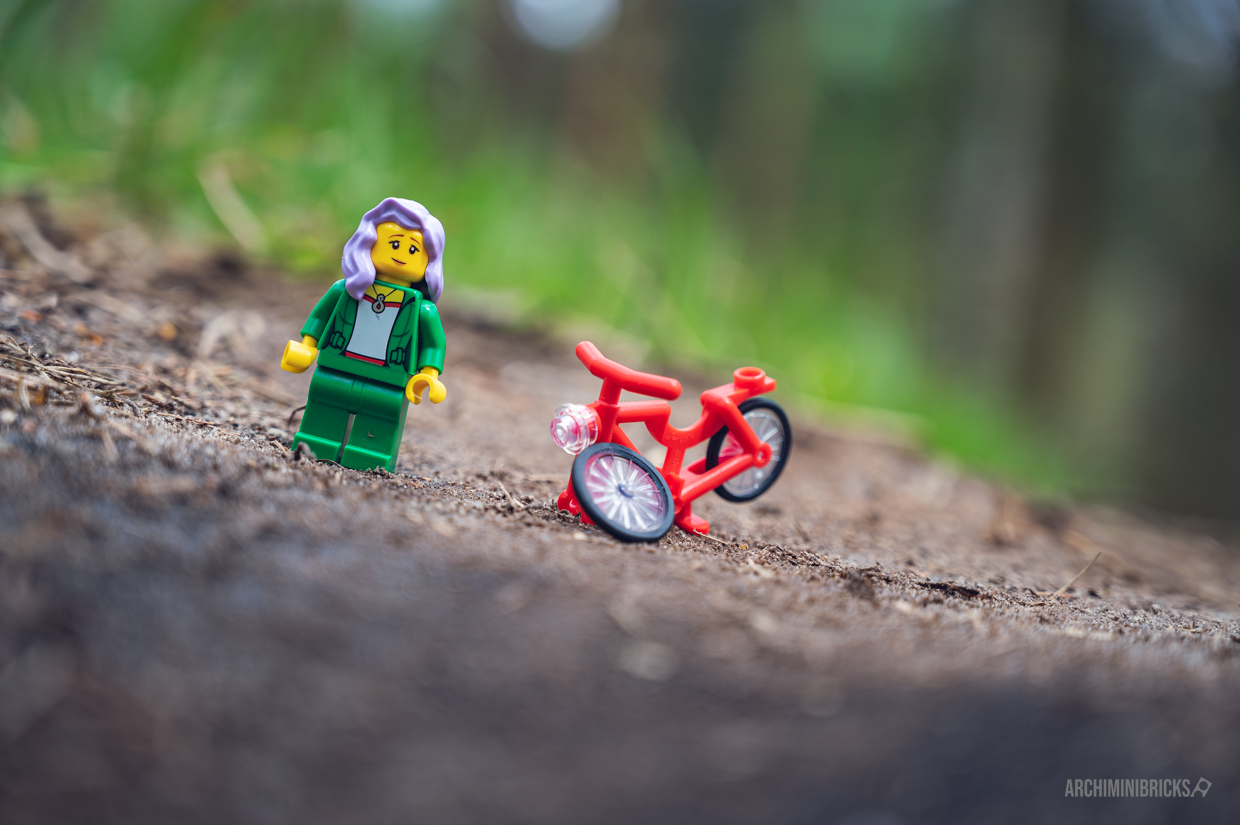
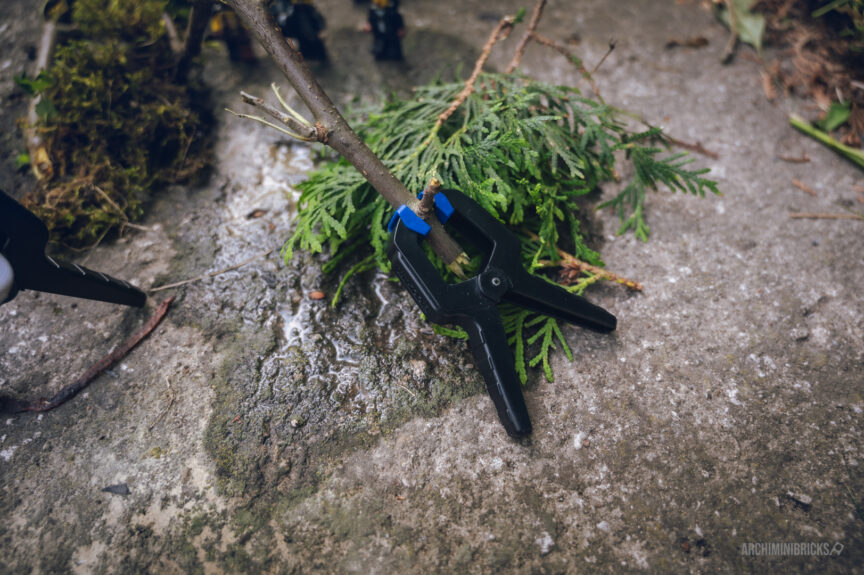
With the minifig in position, let’s fill the frame. By placing something in the background you signal that it ends there, but if your background is the endless sea or sky that’s also really cool. Sources of the background outdoors are endless: rocks, sticks, branches, moss.
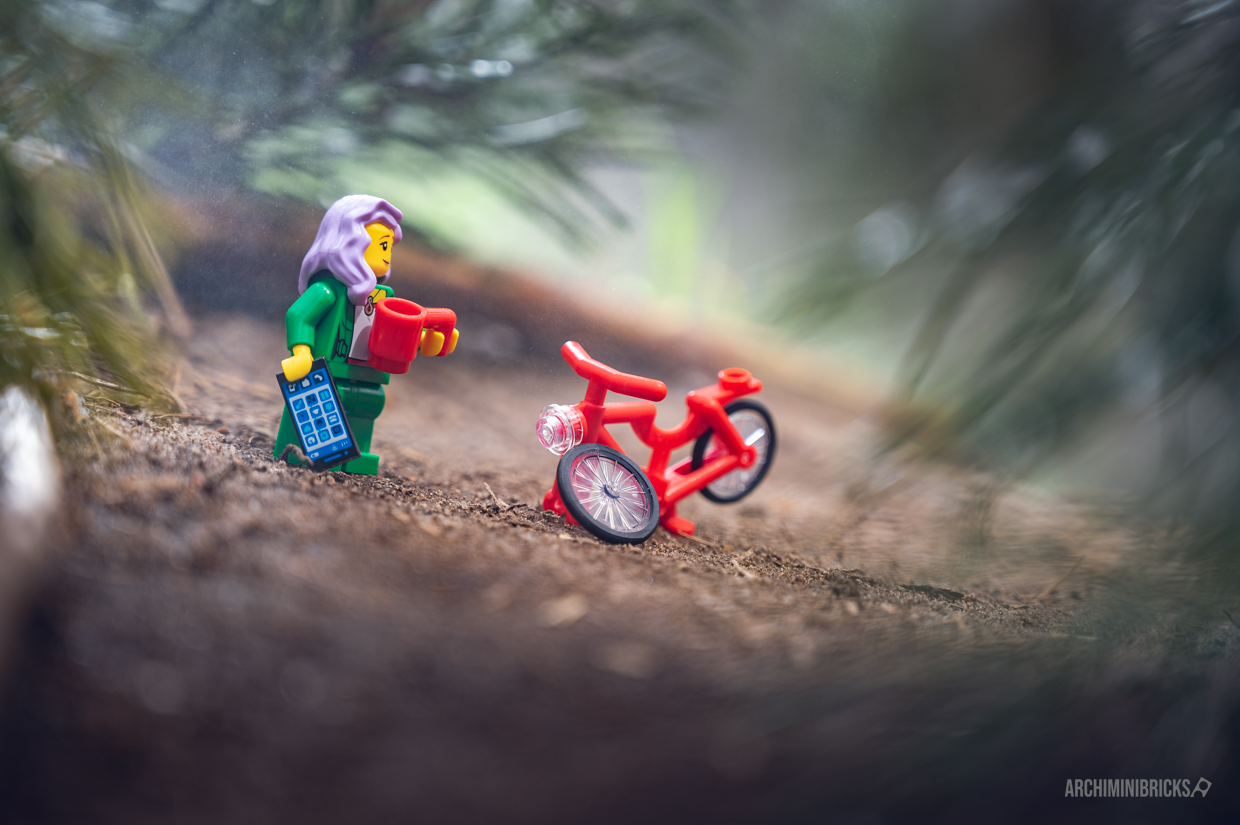
Do the same thing with the foreground – a nice trick is to put something really close to the side of the lens, it gives a blurry kind of peaky effect and adds 3d to the photo.
These two aspects of LEGO photography make a big difference, but they’re also skipped a lot – especially the foreground. After placing the minifig in the way you like it, look wider, at the whole frame.
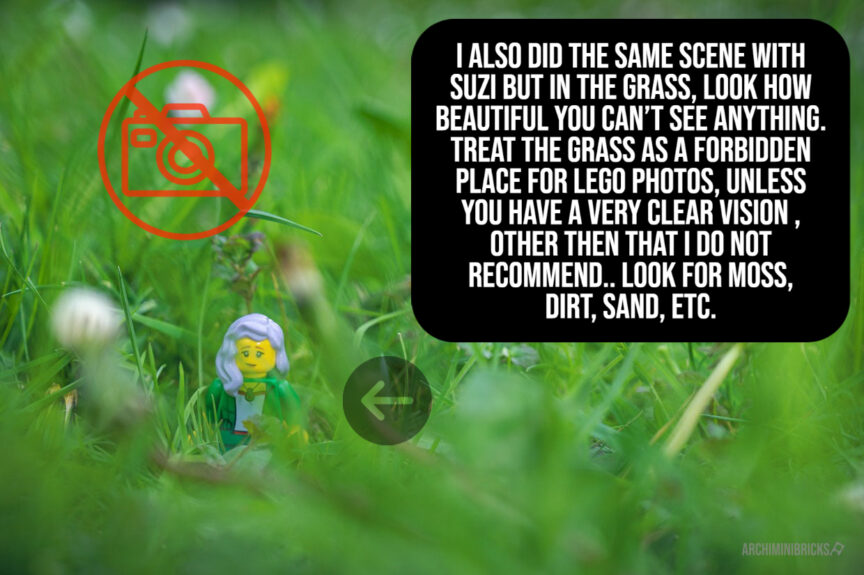
Generally, grass is not a good place to do photography, especially with minifigures. You don’t have control over what is happening, the minifig is not visible, and something always is the way. I really suggest finding some other place.


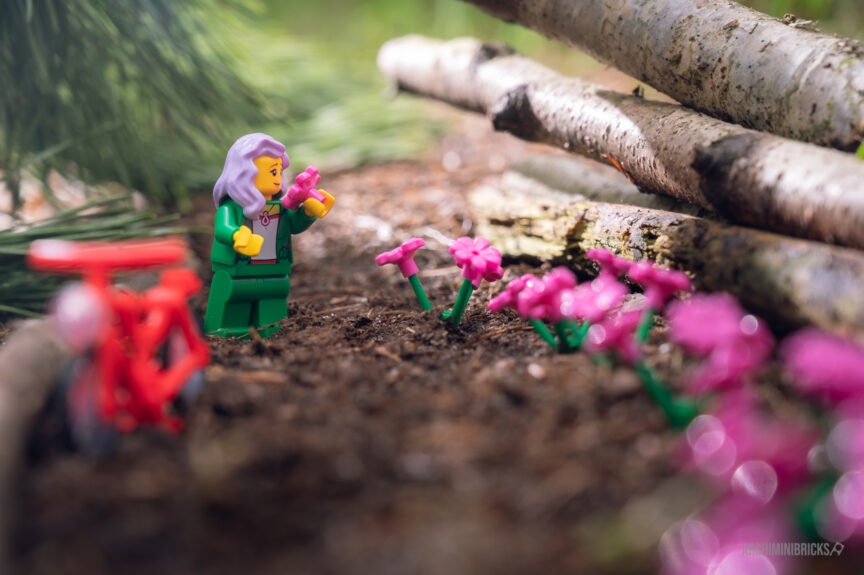
Leading lines are compositional elements that guide the viewer’s eyes towards the main subject or focal point of the image. These lines can be straight, curved, diagonal, or converging, and they create a sense of depth, movement, and visual interest in the photograph. By placing leading lines within the frame, you can enhance the composition and draw attention to specific areas, adding a dynamic element to images.

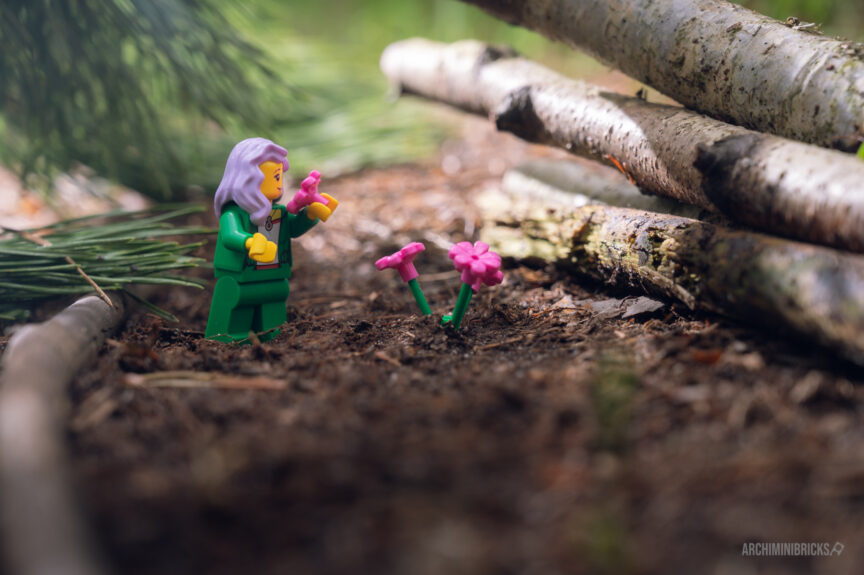
Finding material for leading lines outdoors is easy: branches, rocks, leafs, flowers, etc. It can also be LEGO parts, clothes elements, or photo elements. One of the easiest methods is putting something really close to the lens. One end is in the lens and the other one is going in our subject direction.
Another way is positioning leading sticks a bit higher, but I personally suggest trying the first way. It’s sort of mixed with the foreground already.

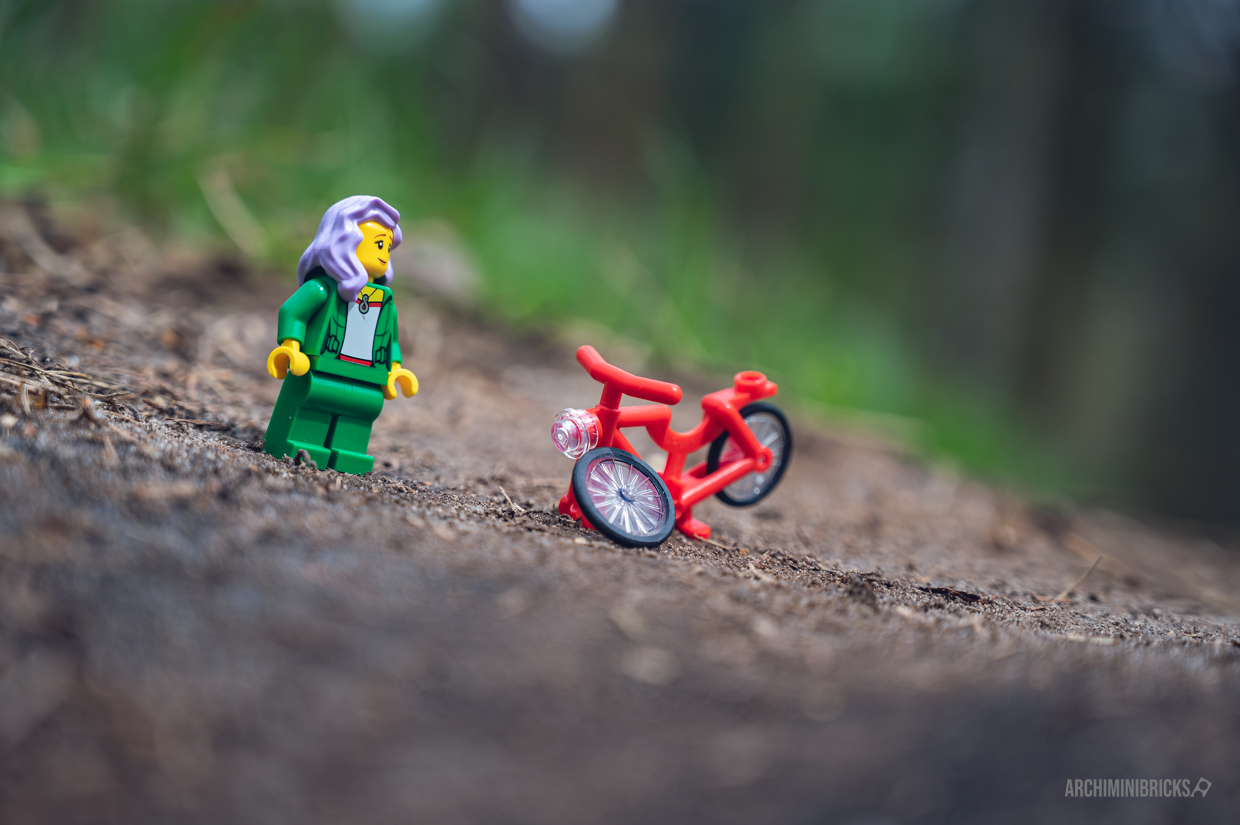
If you have a built scene, remember that it’s a good idea to shoot some more photos in that scene. Photos look different on a big screen, you might miss focus, or you might simply not like photo that look awesome on a small camera screen. It’s always good to have a choice.
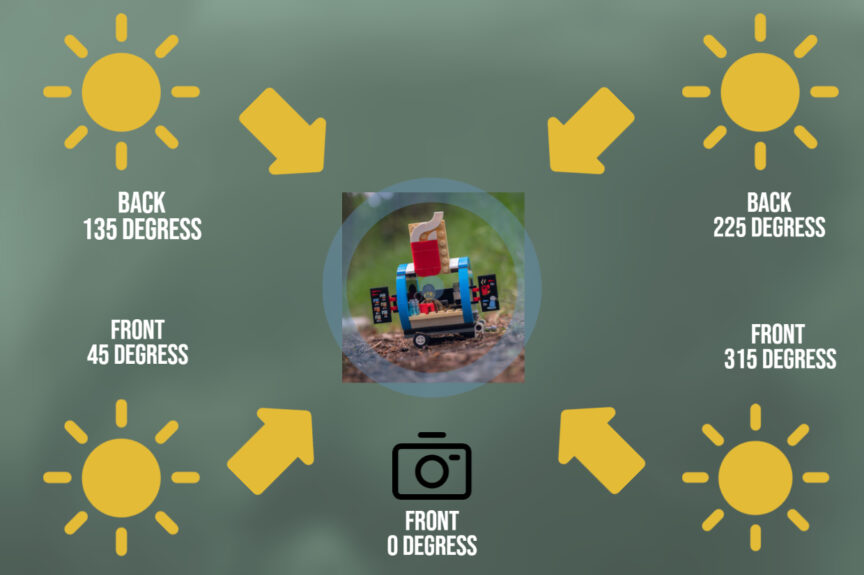
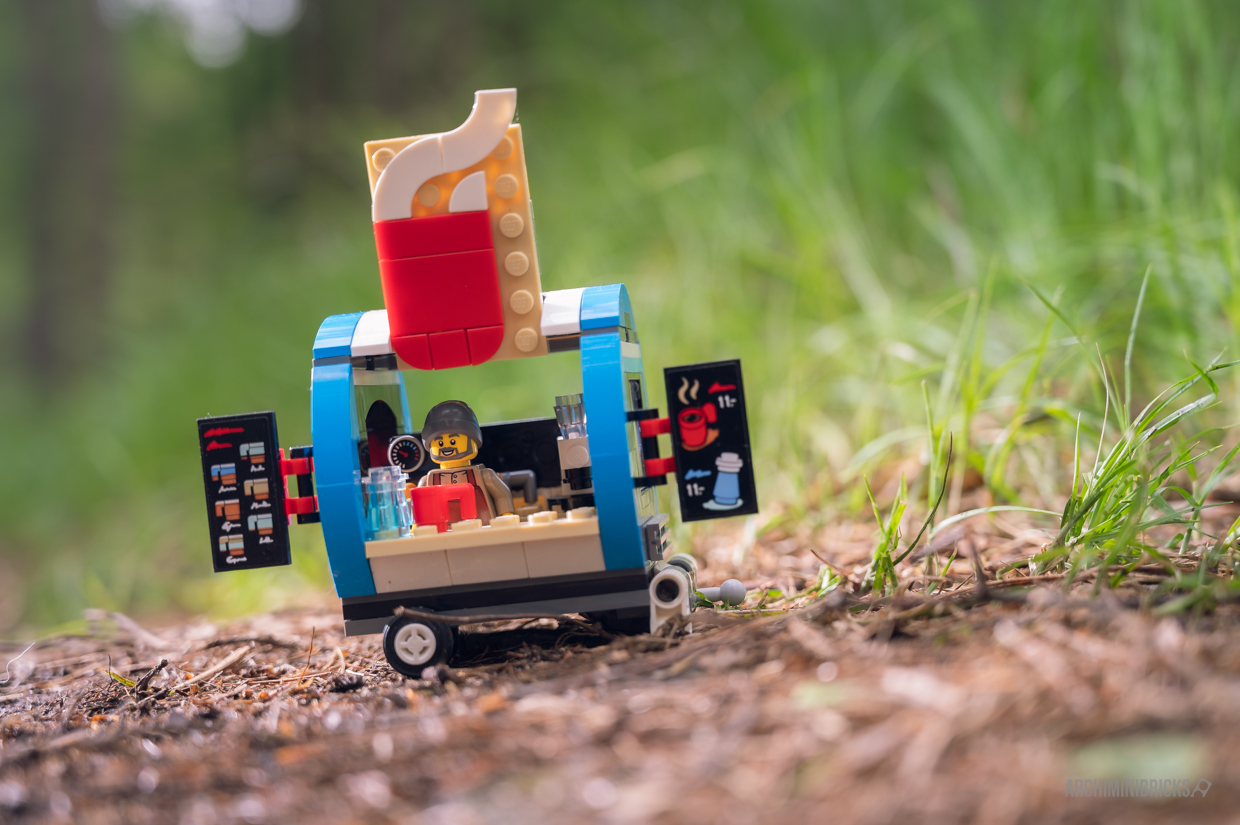
Instead of the sun, I use a flash. The “sun” was shining from 4 directions starting 45 degrees to the camera axle and adding 90 degrees for the next 3 shots. The settings on the camera are the same, and the power of the light is the same in all 4 photos.
Those are four examples of positioning light, but to simplify it, let’s divide into front light and back light because they are very similar in the final result.

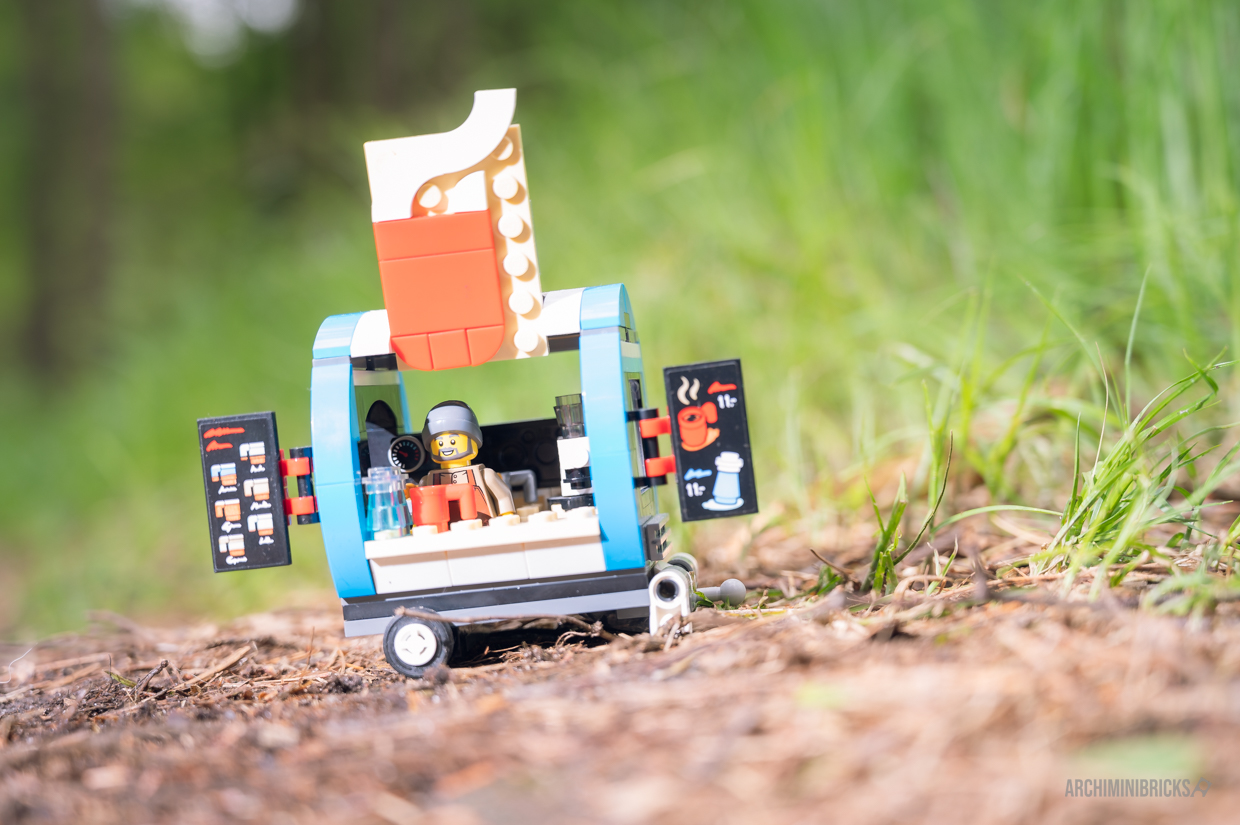

Front light is positioning your subject when light/sun shines on it from the front. Most of the time, it will burn your scene. Everything will be flat and even the best setup will be a source of frustration in the end.
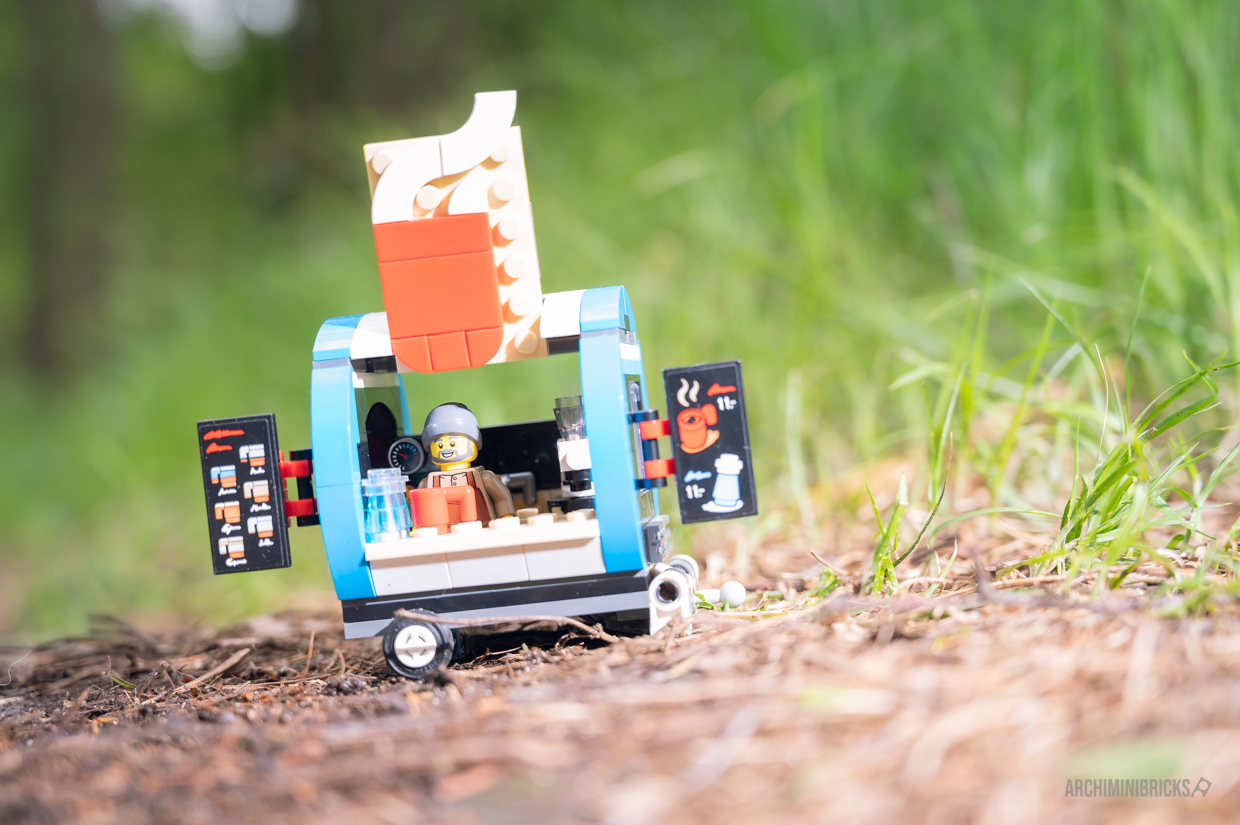
In my example, most of the scene is overexposed and without any details, it’s too much but the power of the light is the same from all directions and it shows how much more you can achieve if you use back light.
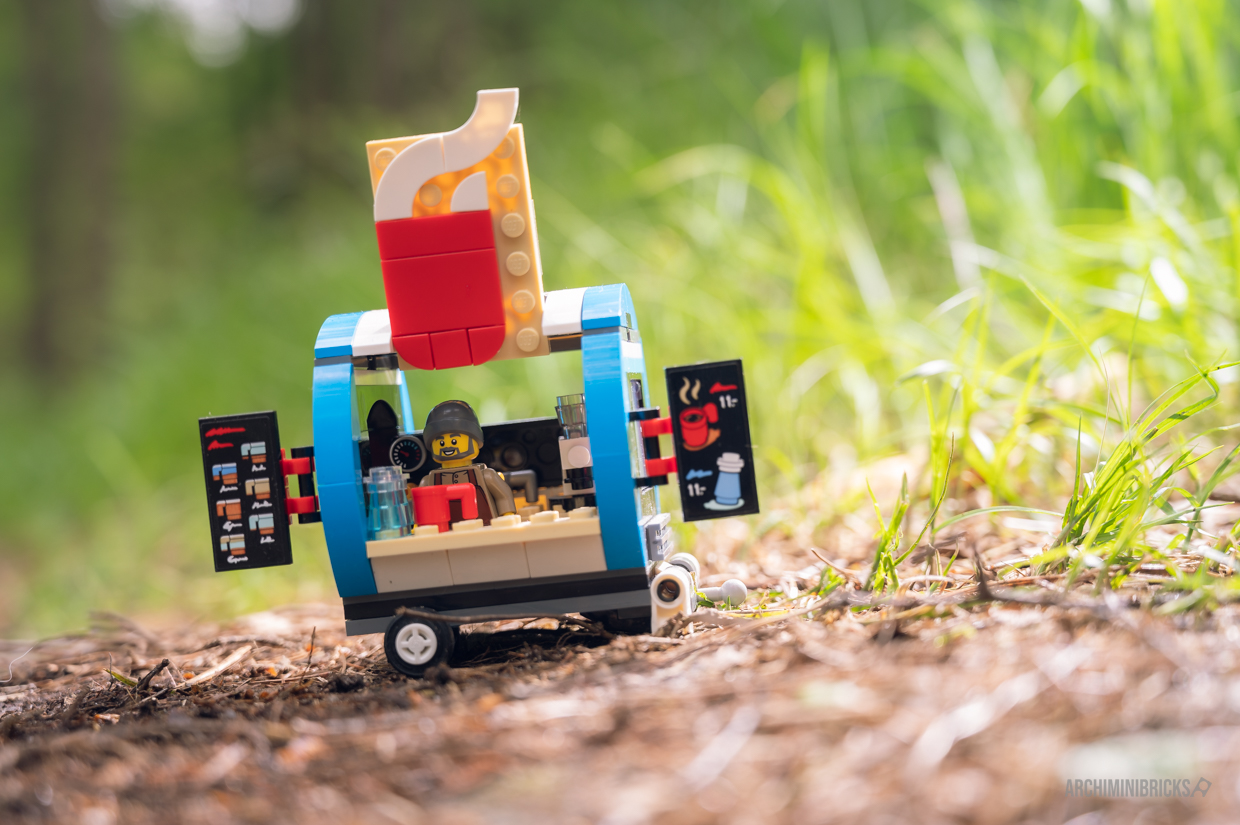
Moving the direction of the light to the back changes the whole frame 100%. There is texture, contour, light reflects in glasses and our main subject. The coffee cart is nicely separated from the background but looks natural.

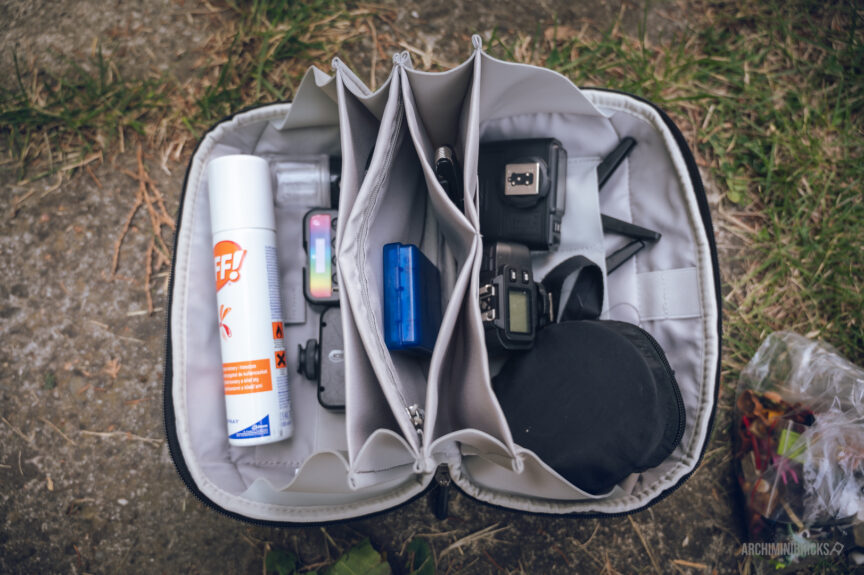
As a must-have starter:
- Bug spray
- LED panel
- Mini diffuser
- Face mister
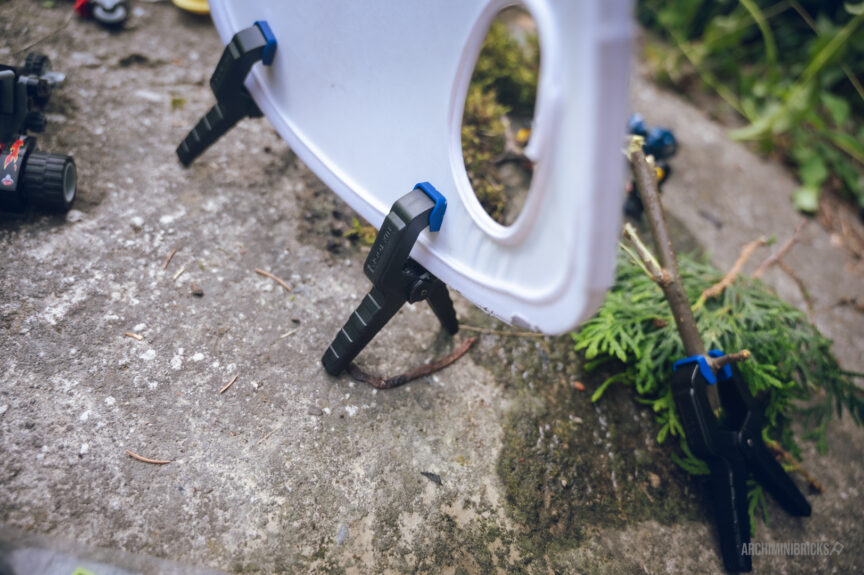
- Mini clamps
- “Good stuff bag”
Bug spray – in outdoor photography you are…. outdoors. Be sure that mosquitos or any other bug finds you really quickly.
LED Panel (Ulanzi VL49) – LED panels are more forgiving than flash lamps. You have full control of lighting right away on the screen and of course, photography is about light.
Mini Diffuser – it does 2 things: diffuses light and it bounces light. Diffusion makes the scene more softer. Bouncing light is often a game changer, it makes objects more stand out, and helps with losing this awful light reflection on shiny parts. Diffusion is milky transparent so it bounces not the whole light, that’s a big plus.
Face Mister – atmosphere maker, a bit tricky at first use, you definitely gonna wet your minifigs for sure, but after a couple times you gonna master it. Short clicks with a small amount of mist and shooting your camera after mist will fall a bit is key to success.
Clamps – Great stand, helper, third and fourth hand.
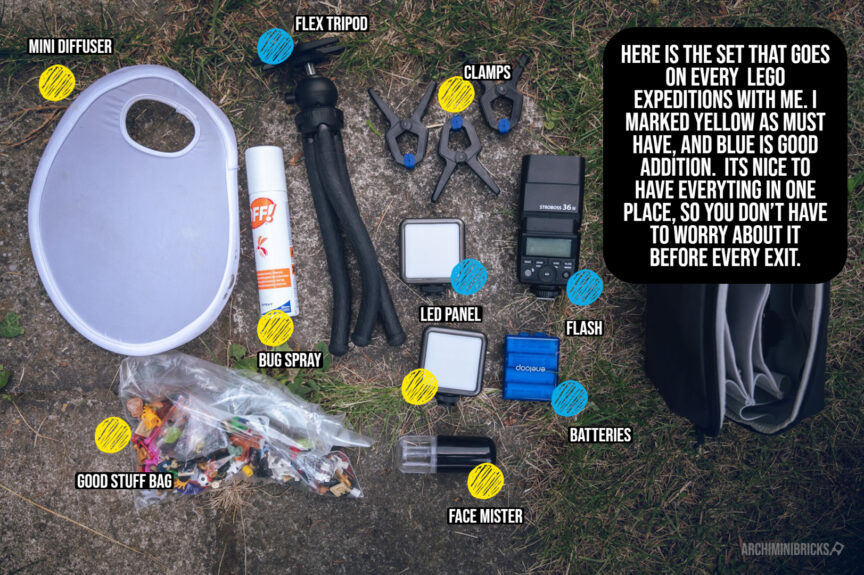
Good Stuff Bag (GSB) – beside the Lego elements you took from home to shoot it’s great to have some parts that you don’t know you have. You can have “that vision” and all goes smoothly, photos are great. But often on location, it might not be how you imagined and GSB can be a great source of inspiration. One piece can direct you to a completely different photo.

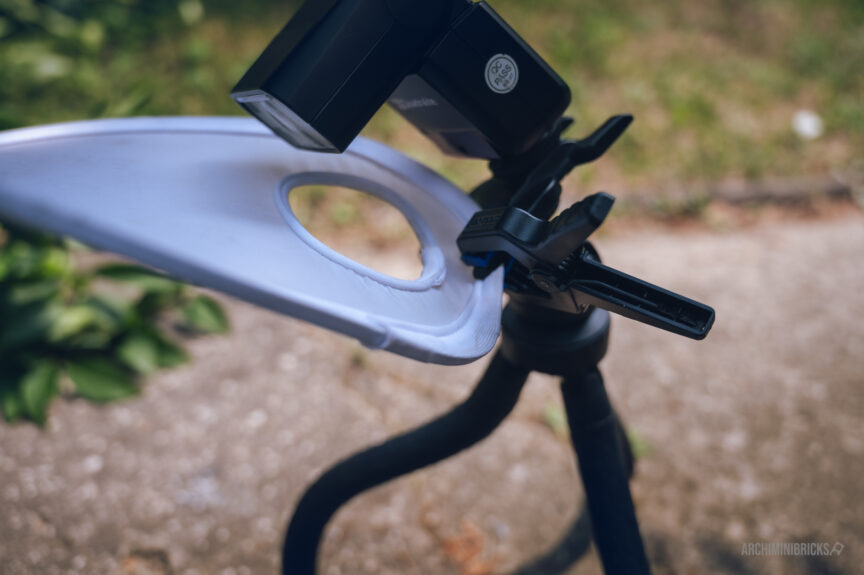
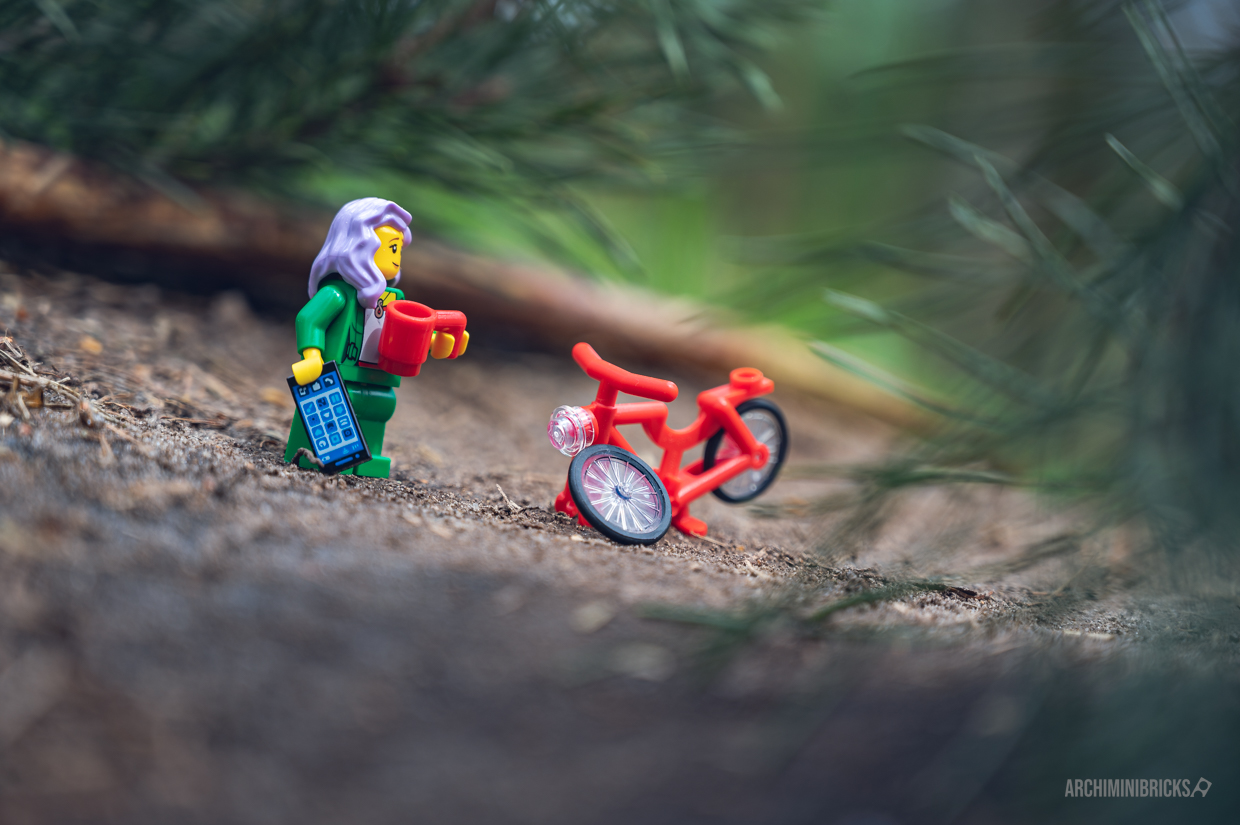
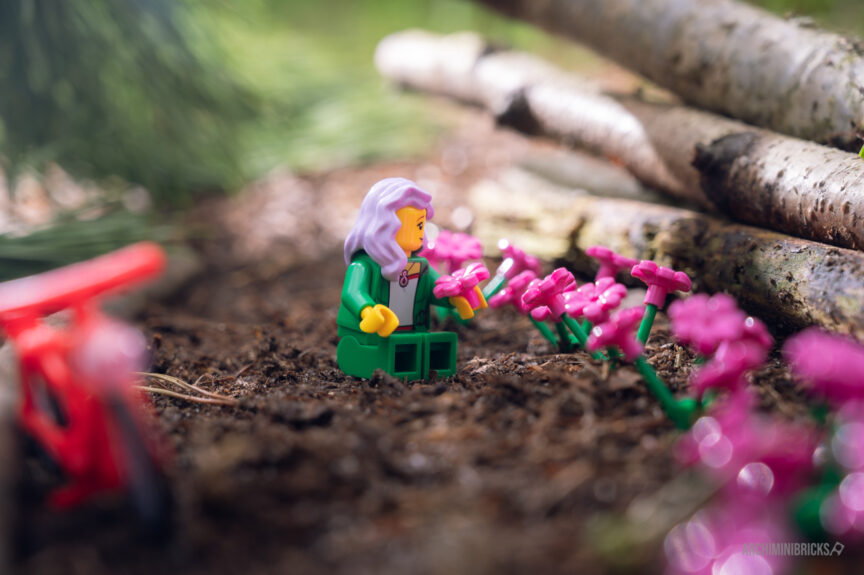
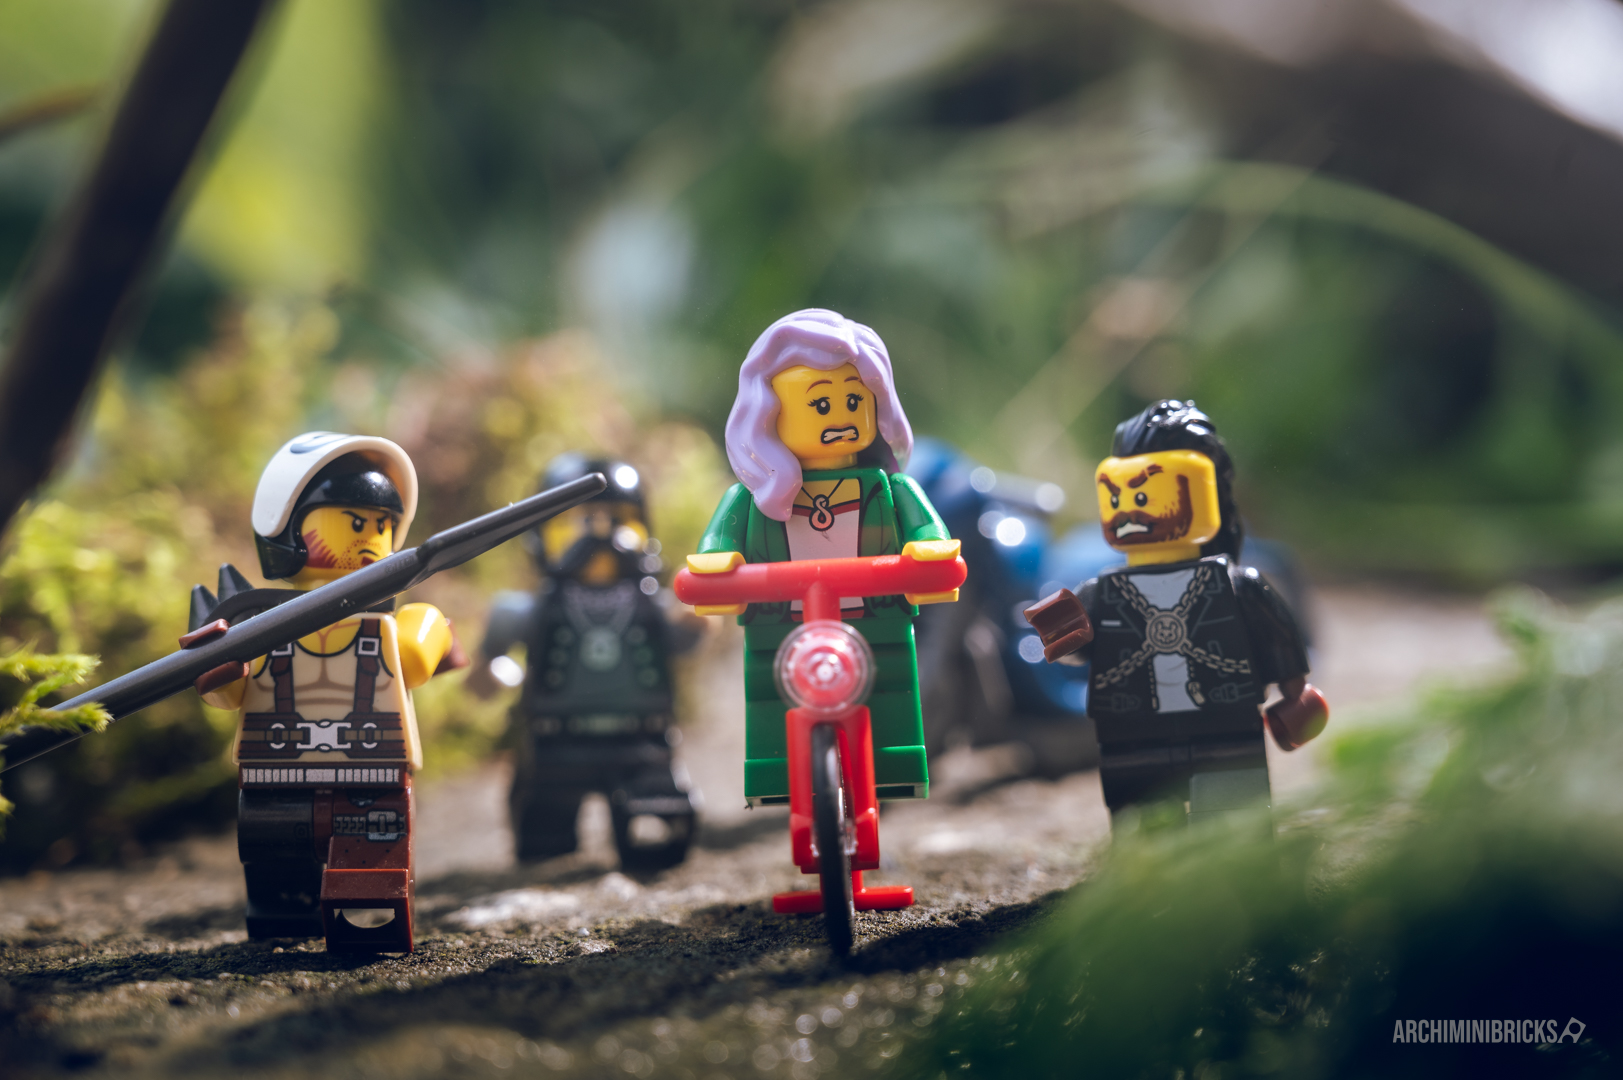
Suzy and the red bike definitely took the wrong left through the woods! I used all elements I talked about , except lighting: I used a flash instead of an LED panel. It’s much better for me, but is also much more challenging.

One Comment
Comments are closed.