In my current creative phase, I have found that I am particularly attracted to wide shots, ideally framing large slices of territory.
But if I really want to do this, I have to face the issue of the sky first. An interesting sky most likely has clouds, so I experimented with some techniques with the goal to reproduce them in a way that suits me.
These effects are practical, not done in post-production. I’ve not included the use of a background, such as a screen or a print. I’m pretty sure there are other techniques, so feel free to let us know yours!
To illuminate the setups I’ve used one or more of these lights:
- Aputure mini LED
- Manfrotto lumimuse
- cellphone
- Yongnuo LED panel
The light choice is going to strongly influence the results. A more powerful light, like a flash or the sun, can provide more translucency.
LEGO Bricks
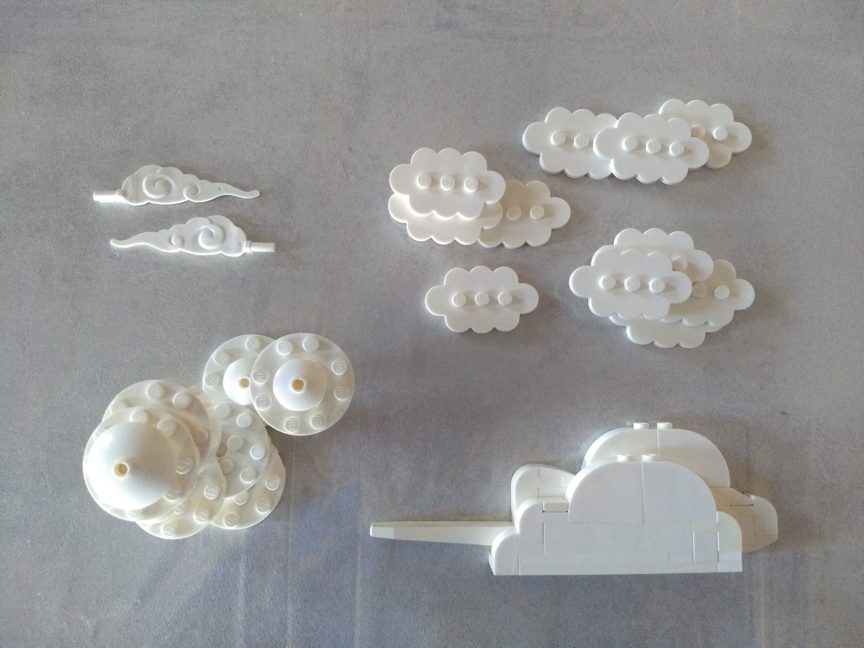
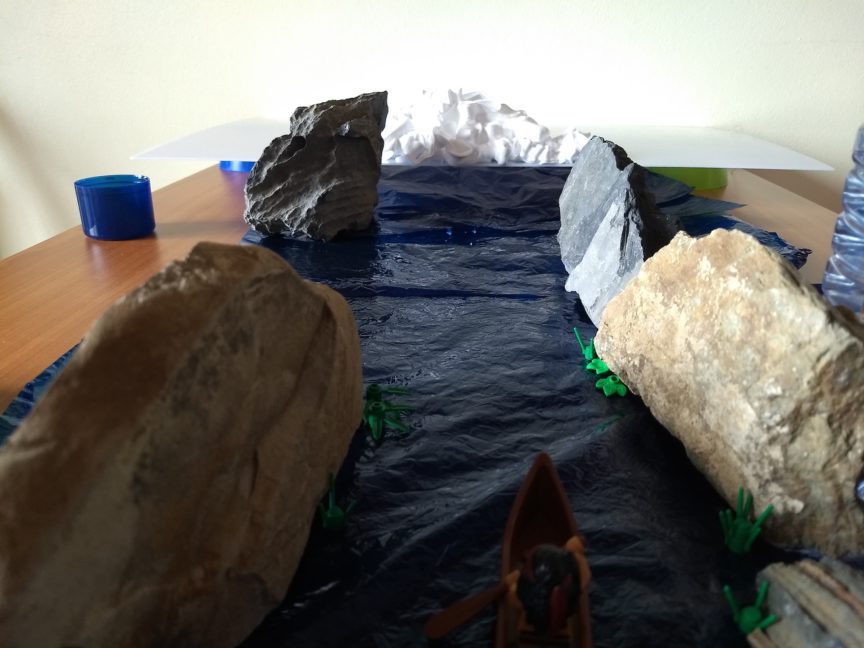
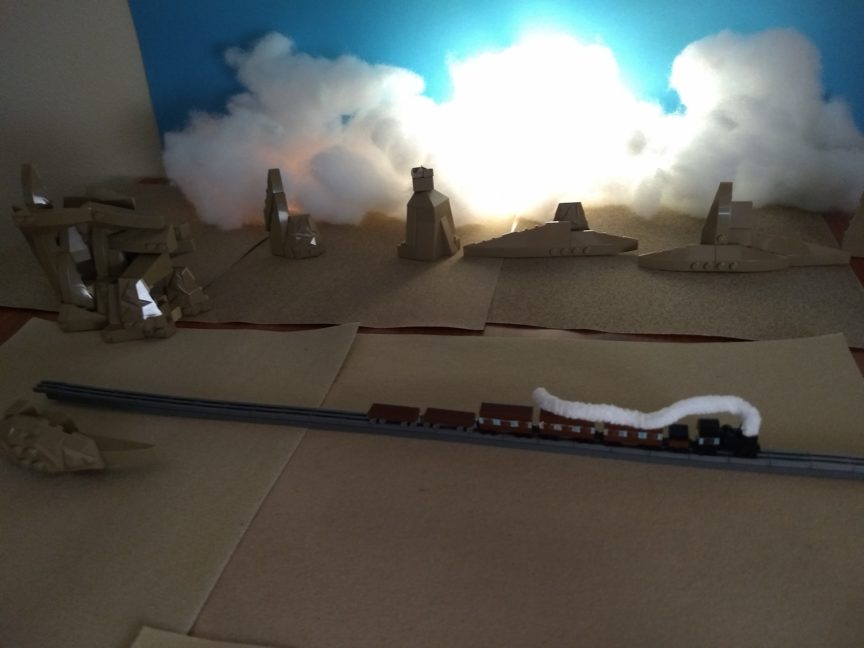
The first technique I want to share is creating clouds with… well, LEGO bricks.
There are several interesting pieces that you can use, here are the ones I used for this photo. I tried to create them in different ways to show the possibilities.
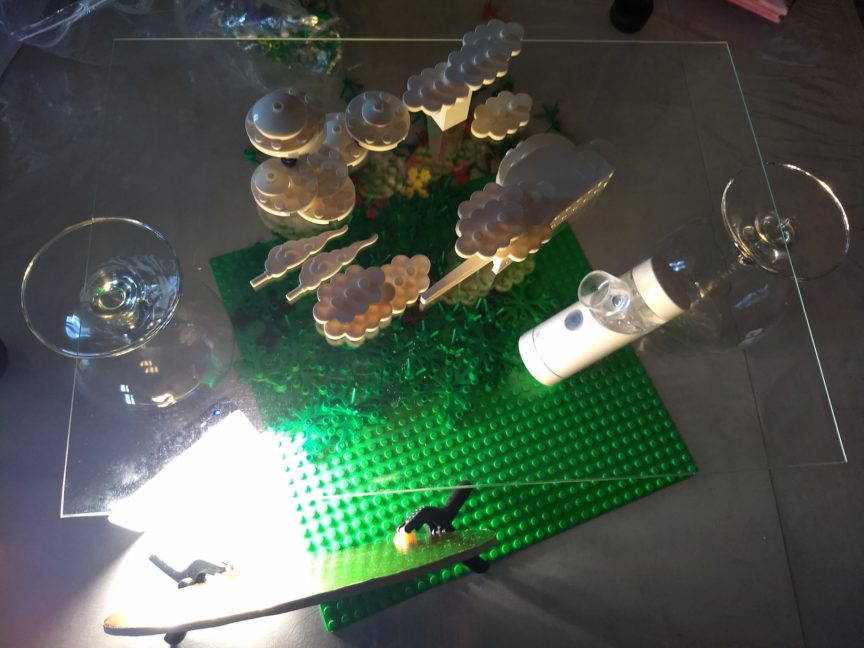
The simplest way to exploit clouds made in this way is by using a glass surface as a support. Alternatively, supports could be built, which can be removed in post-production, if it were not possible to hide them in some way.
Pros: Consistency with the subject (LEGO over LEGO)
Cons: low translucency, needs to have the right pieces, require some time to build
Shaving Foam
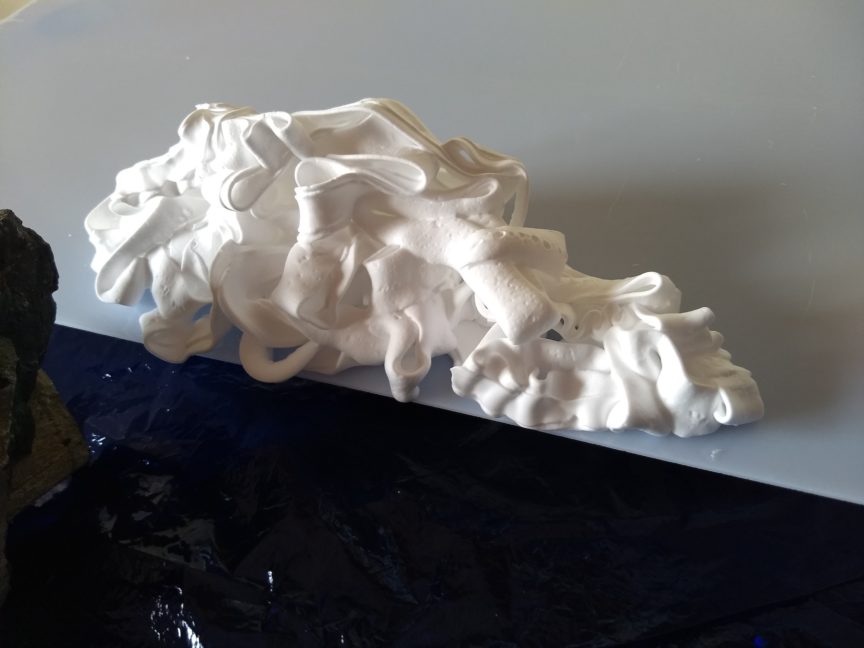
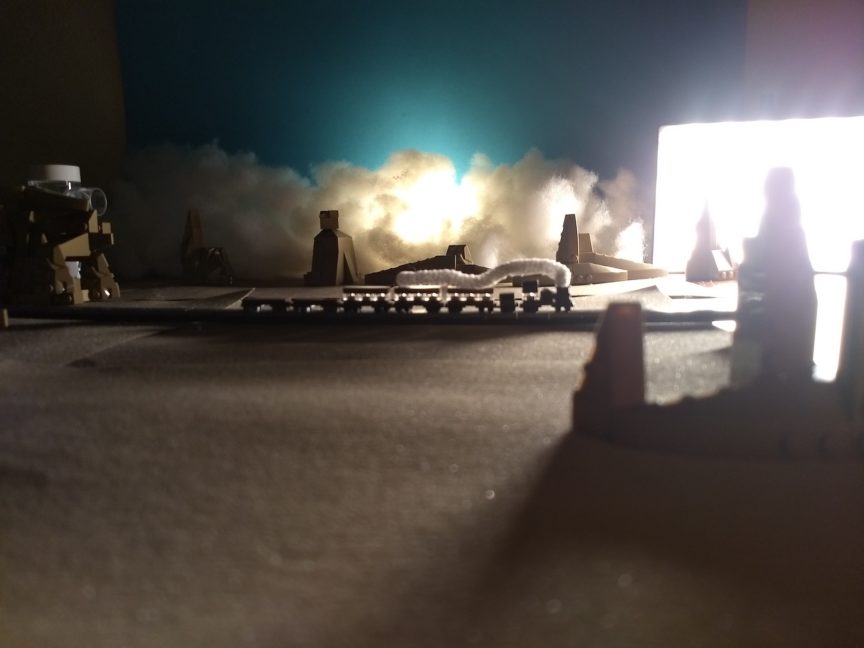
The second technique is definitely softer, because I’ve used shaving foam.
It could have been easier if we had the chance to buy a clouds machine for creating mini-clouds minifig scale, but as far as I know, it does not exist. If you know something, feel free to leave a comment!
In this picture I’ve used a plastic surface to raise the clouds above the horizon, then I sprayed some shaving foam, trying to give it a random look.
The creation was pretty easy and quick, I’ve also worked a bit on the edges to shape them in a better way.
Then I’ve placed a light behind and I tried some shots.
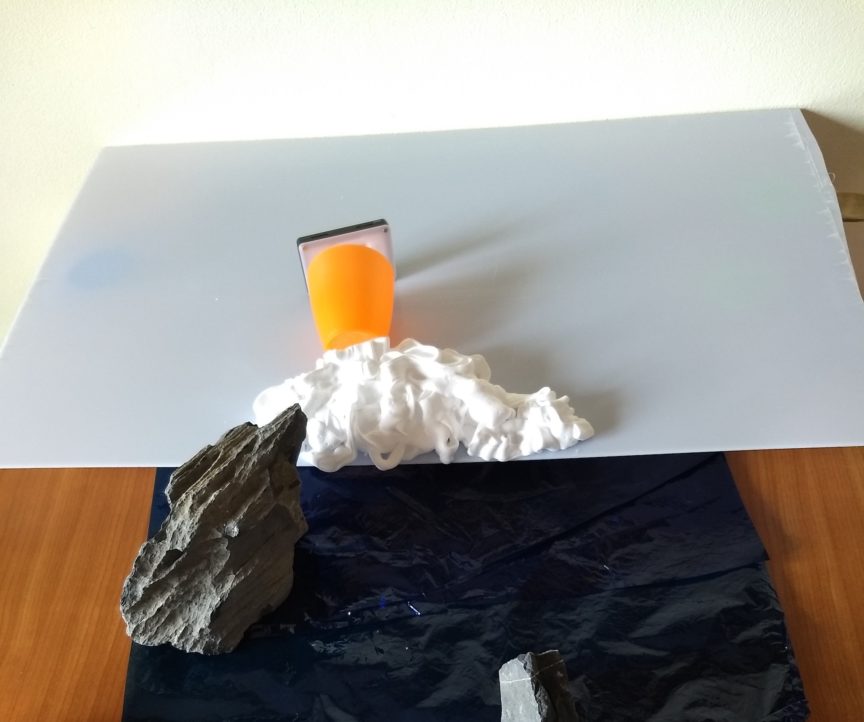
The biggest letdown was the translucency. Not enough for my taste. The foam is a compact wall, is very difficult to make some light pass through, but in my opinion is still better than the brick built clouds, at least in terms of speed of creation and shaping.
Pros: smooth shape, quick, cheap
Cons: low translucency, cleaning process
Polyester Stuffing
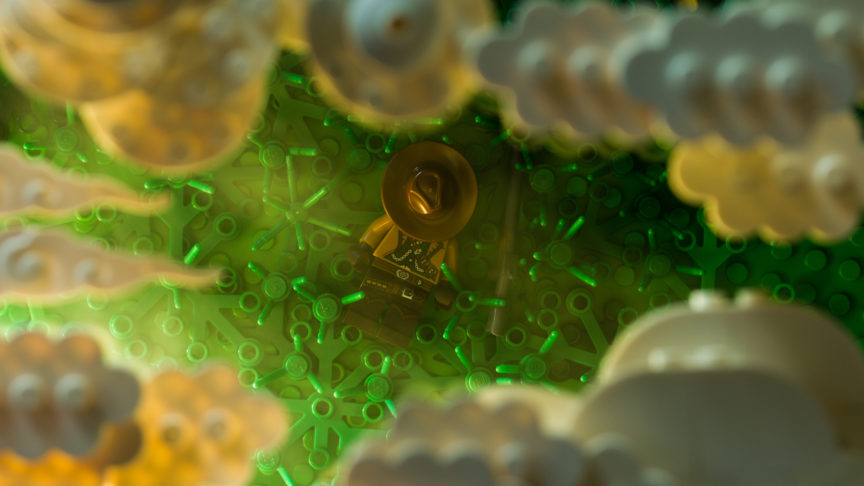
Another material I’ve tried is polyester stuffing and I must confess that it’s my favorite.
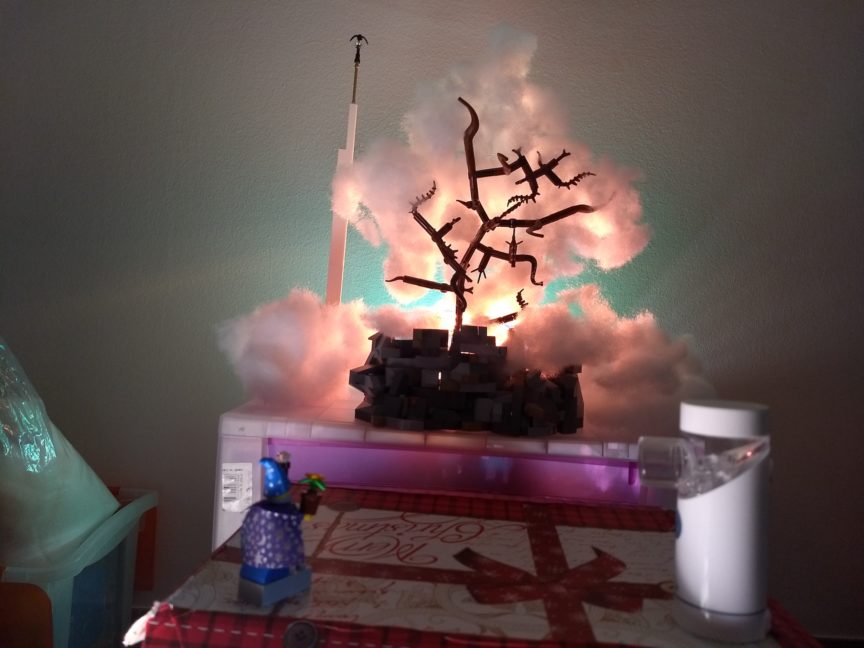
It’s very easy to place and to remove, it allows you to make different cloud-like shapes, it’s light, can be easily held by any kind of support, and is translucent in the right way: letting light pass where it should be while using a backlight and creating some nice shadows, like a cloud should do.
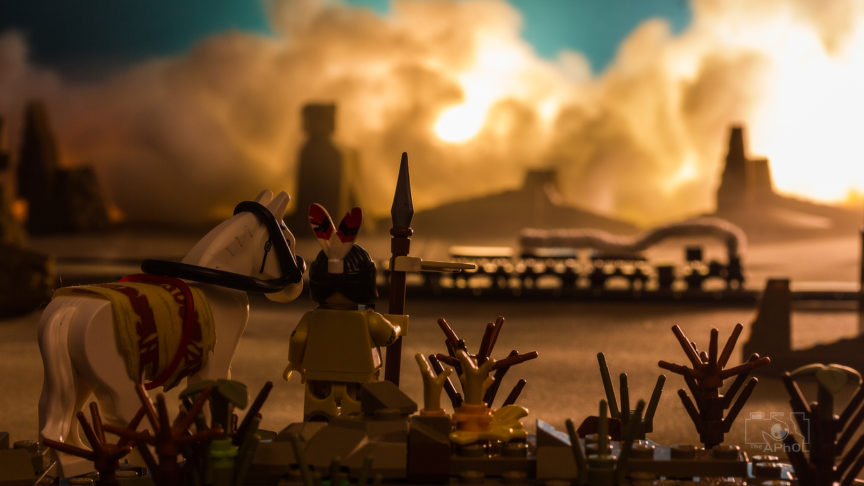
As you can see in this picture I was able to create a big cloud, typical of boundless lands. I’ve placed three lights behind the material and look at that nice texture!
That’s the sun behind the clouds!
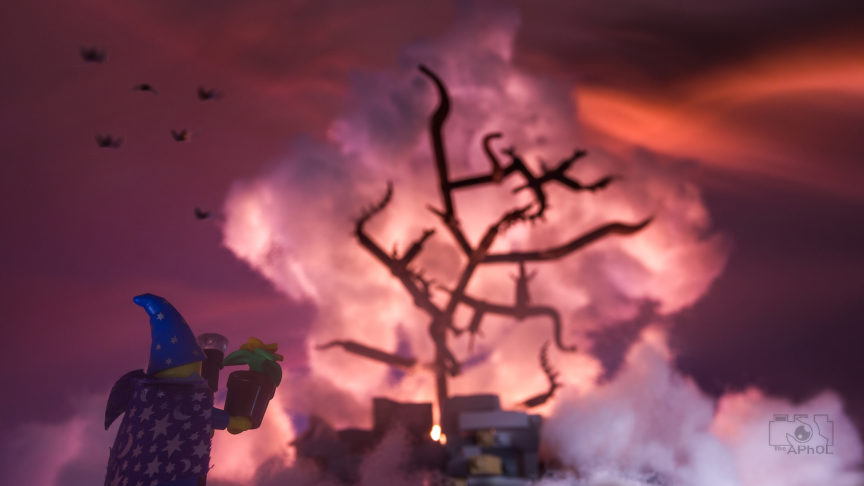
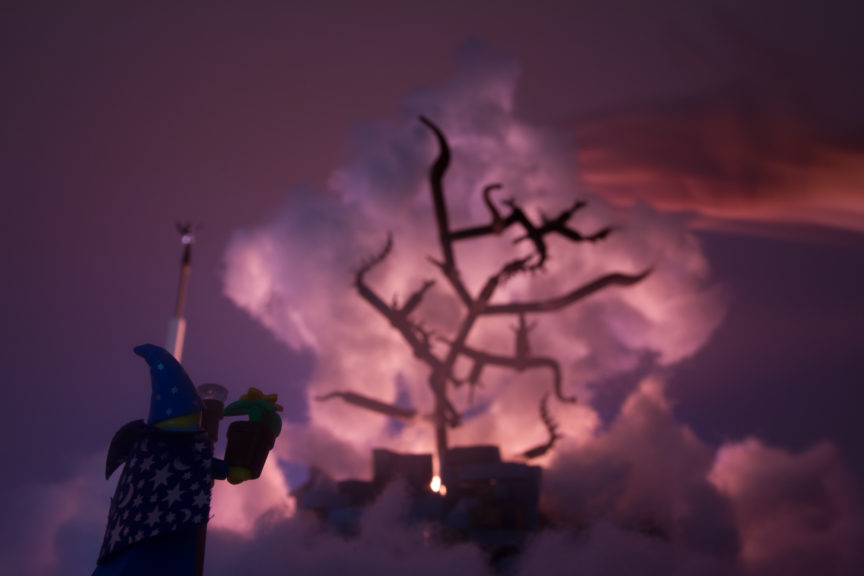
In this other picture I’ve placed the padding directly over the branches without risking destroying the build while being able to keep the “cloudy-tree” shape.
In this picture, as a bonus tip, I’ve tried another technique which is light painting with my arm. Moving the arm up and down with a low shutter speed i’ve created those orangish clouds
Pros: easy, quick, realistic, light
Cons: needs some storage
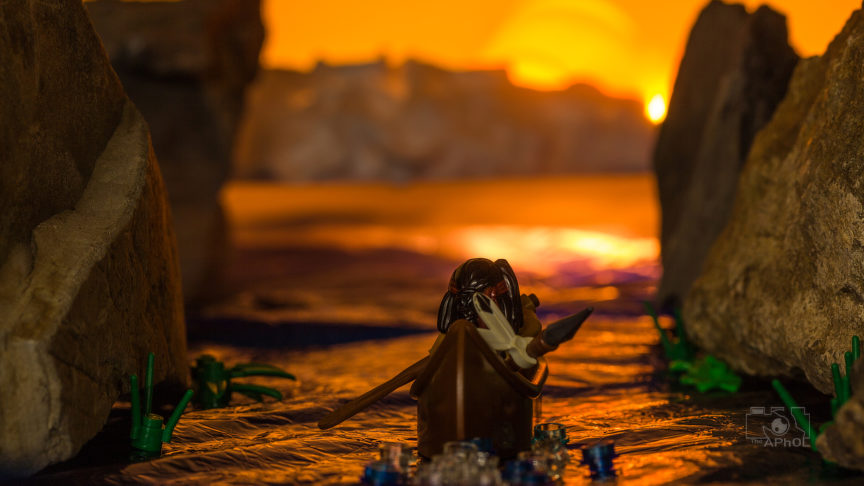
Cloud Tank
This time I’ve gone mad. Like a mad scientist.
Searching for tricks to improve my clouds, I found out this amazing technique used in movies like Indiana Jones and Ghostbusters: the cloud tank.
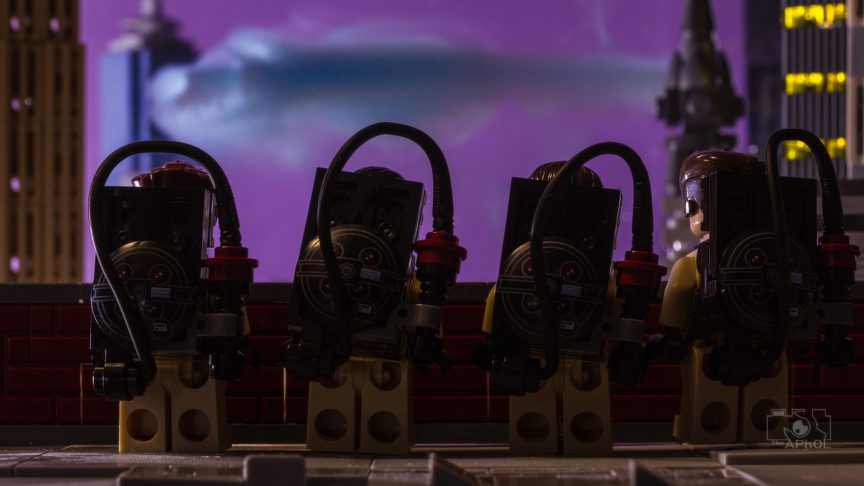
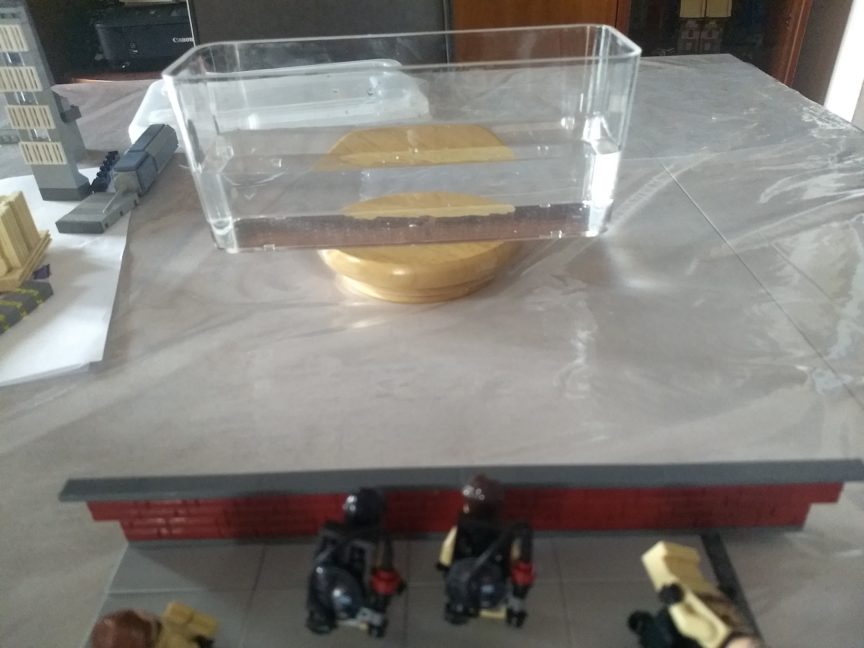
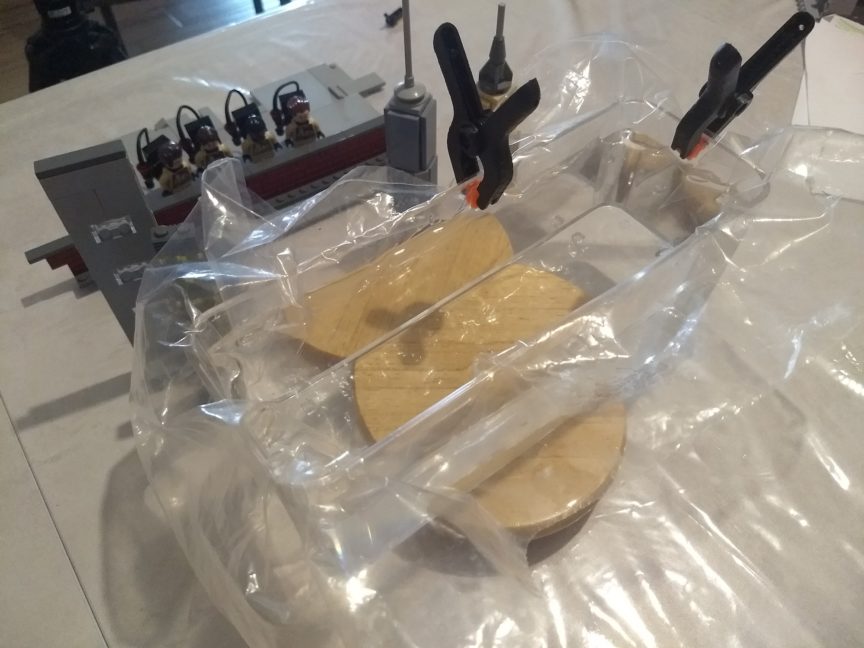
It’s basically a tank filled with saltwater beneath a top layer of freshwater to create a boundary layer where your clouds will lay on. To create the layers you can take advantage of some cellophane where uou pour the fresh water and then remove it gently and slowly to let the freshwater lay down on top of the salty water.
Then you can inject some milk with food coloring to create your cloud and the effect is amazing.
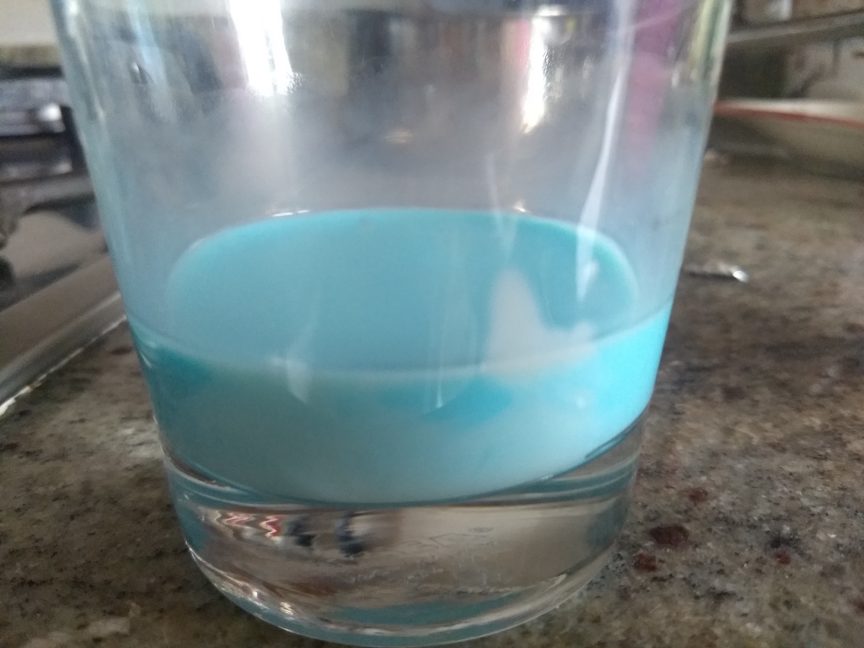
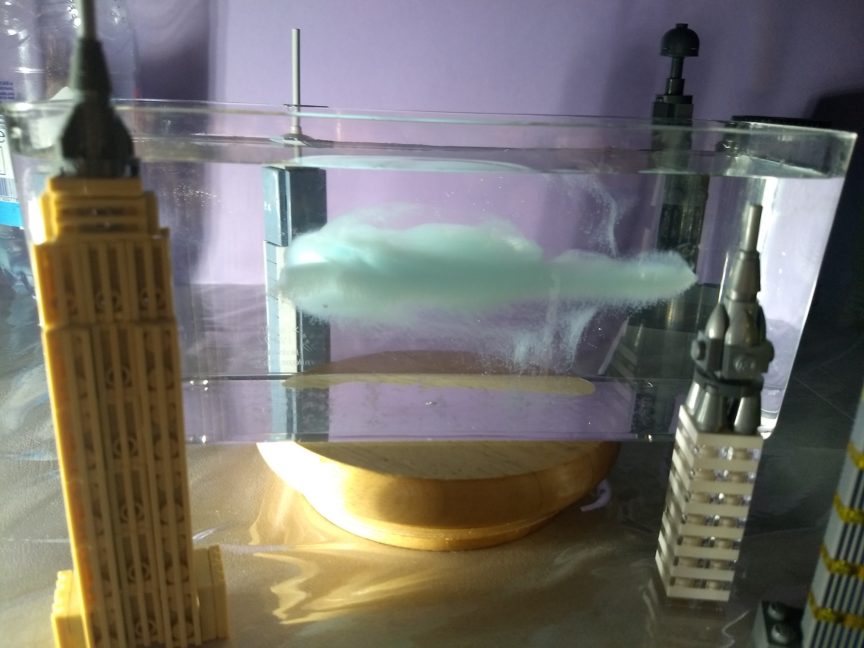
The problems with this technique are various. This small tank took me almost an hour to prepare and you must get it right at the first try or do it all over again. I suggest to try it for fun a couple of times.
Pros: scientific method, realism, very cloud-like shapes
Cons: time-consuming, materials. Depending on your framing you could need a huge tank with a lot of water.
That’s it for this month’s tips.
I hope you enjoyed it and maybe learned something new. If you try one of these techniques feel free to let us know if it was successful for your story!
One Comment
Comments are closed.