I am not a builder, or at least, I’m not very good at building MOCs (My Own Creations) so most of the time my LEGO photography is set in natural or found environments.
Sure, I have a few brick-built elements and a couple of sets that I sometimes use as backgrounds in my photos, but I have nothing on the level of Luigi Priori’s Outpost Alpha, for example.
Luigi is the LUG (LEGO User Group) Ambassador for Cremona Bricks so it’s safe to say, the man knows a thing or two about building. But he’s also a talented storyteller and photographer.
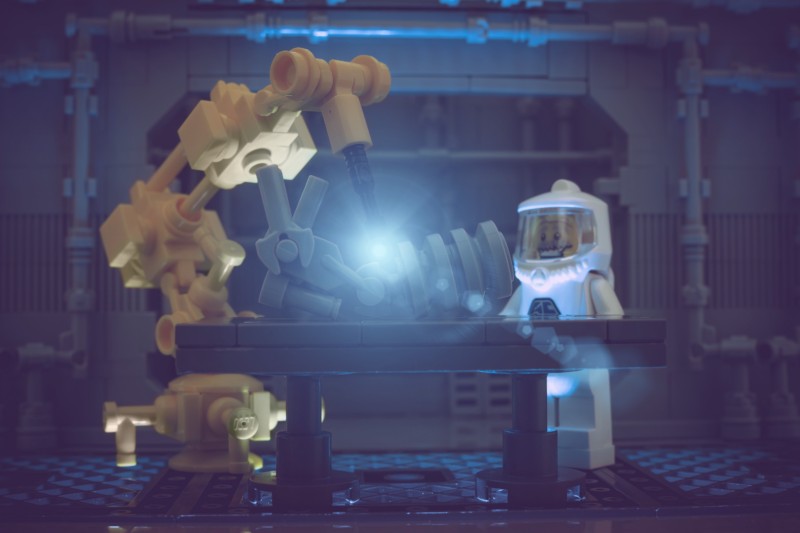
Here’s one of my favorite photos of his, “Forging the First Arm”:

This is the fourth image in a series called Project APE (All-terrain Patrol Exo-suit), a brilliant photo essay about cybernetic teddy bears.
There’s wonderful brick-built detail in every part of this image: the mantis-like yellow robot, the giant cybernetic arm, the grated floor, and the exposed pipes on the wall in the background. Even Professor Von Bolzenstein has additional 1×1 brick plates on his feet.
The set is retro-futuristic and Luigi pulls it all together in editing with an appropriate vintage tone. Although the photo is desaturated, the colorful accents of the yellow robot and the white protective suit along with the facial expression on the professor’s face bring frivolity to the otherwise cold, mechanical scene.
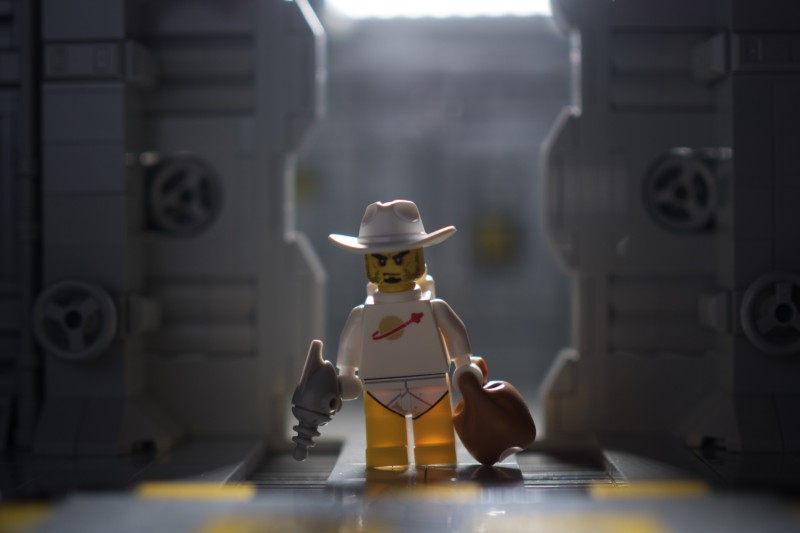
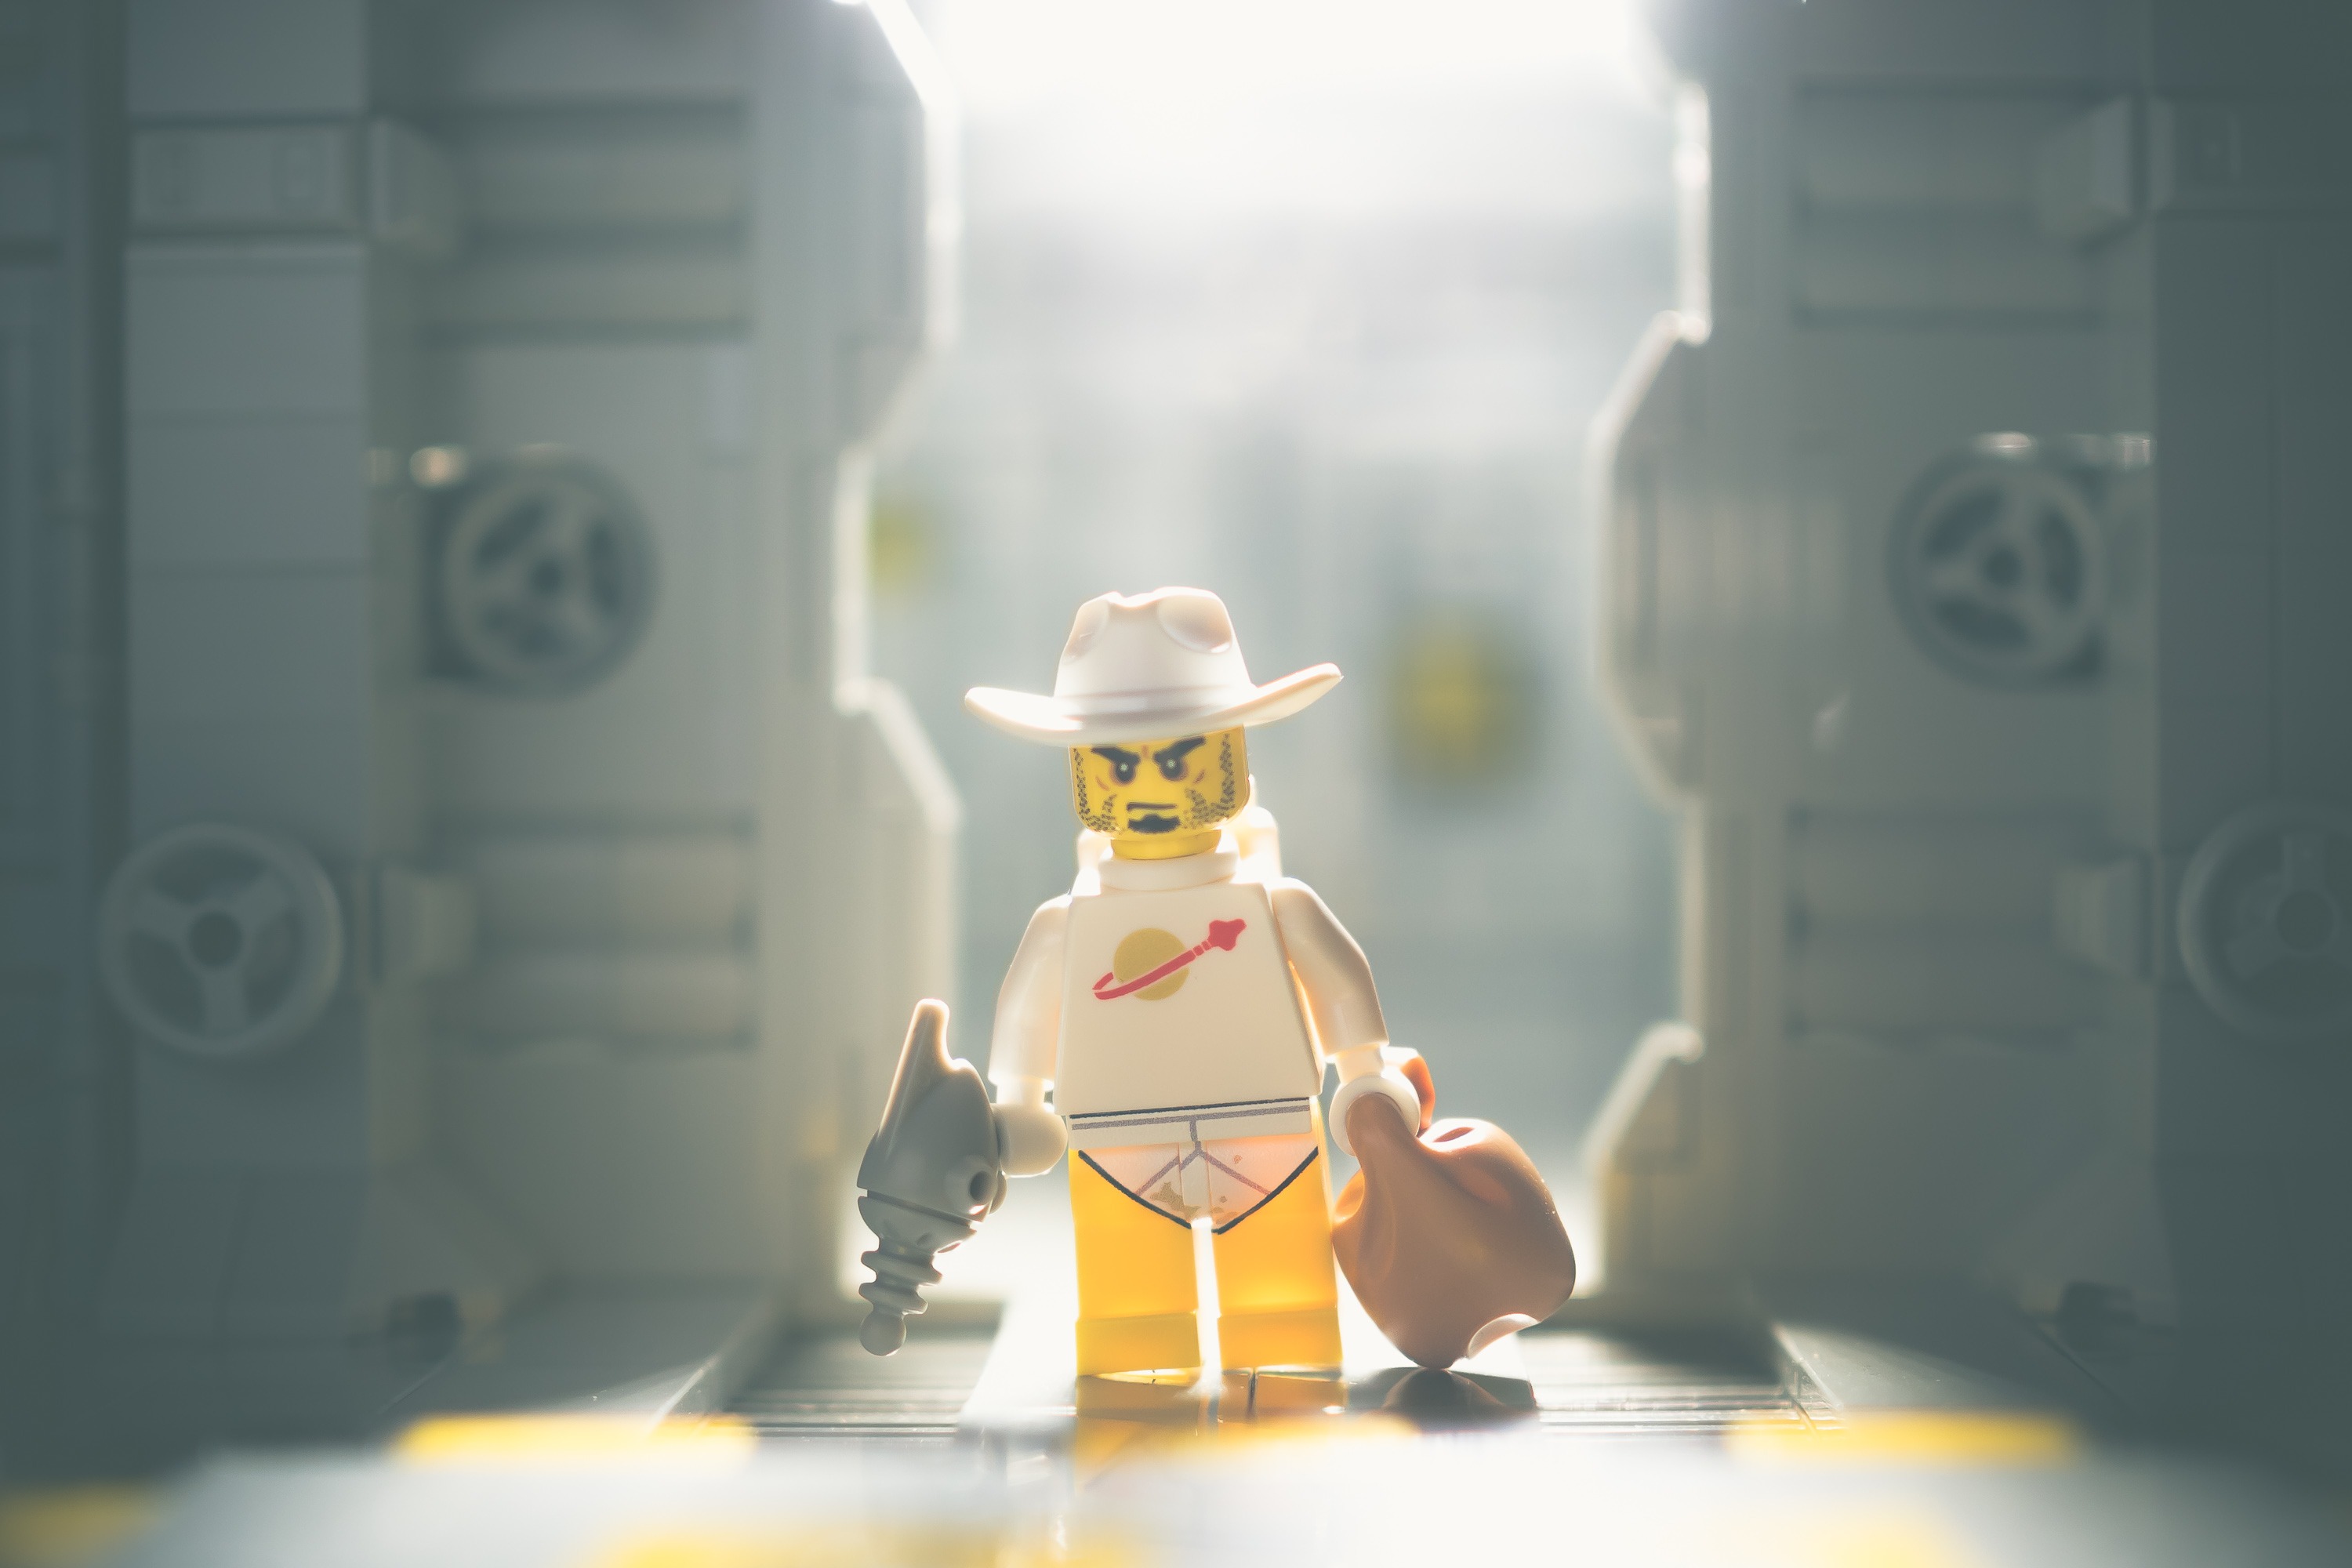
In this post, Luigi takes us behind the scenes of another retro-futuristic scene, but this one of a space cowboy on laundry day.
Coming up with a concept
A quick look at Luigi’s LEGO photography account on Instagram will immediately reveal his love for the classic space theme.
“Well, I love classic space, I think everybody knows it. And one year ago, I discovered this interesting hashtag on Instagram, #spacecowboysaturday, that mixes up classic space and cowboys.
In the meanwhile, I bought those minifig legs with underpants, sure that sooner or later they would come in handy.
Then, one day, I woke up with this idea that space cowboys also have to do their laundry sometimes, and I started to imagine how they would do it. The scene had to be funny — but kind of unintentionally, if you know what I mean, after all the minifig has a ray gun in his hand. It should have had a sci-fi setting, obviously, and a peculiar light, because who knows how laundromats will be in the future? They surely will spread a lot of light.”
Setting up the scene
Luigi has built sets specifically for photography such as the Outpost Alpha set I mentioned before — the space outpost where Benny lives in Luigi’s imagination — but this one was part of a larger MOC used in his previous LEGO exhibitions.
“After building the APEs, I thought that they needed a secret hideout. And so I built this hi-tech base, mostly to display those space teddies’ exo-suits at LEGO exhibitions in a proper setting. Unintentionally, it turned out to be very useful as a photographic set for sci-fi pictures.”

Putting together the set took five minutes since Luigi designs his MOCs to be easily detachable “so as to save as much space as possible when I store them away.”
Lighting was also a quick ten minute preparation but not without its difficulties:
“You have to keep in mind that the whole structure is made of LEGO bricks, of plastic, in other words. And plastic, as you know, is tricky to photograph because of reflections and glare.”
Luigi’s biggest challenge though was getting out of his comfort zone and backlighting the minifig without turning it into a silhouette.
“I lit the scene with a Metz Mecalight LED-320. It’s a dimmable video light that I often use in my indoor photos, especially when I want to get some backlight effects. One of the best aspects of the Mecalight is the possibility to dim the light to obtain the right amount.”
After several attempts using other lights to brighten the backlit minifig, Luigi ended up using a piece of white cardboard to reflect light back onto the space cowboy.

Shooting and editing
Luigi’s indoor studio is a desk in a study room that he shares with his wife. He shoots with an Olympus PEN E-PL7, a Micro 4/3 camera that has a focus peaking feature that’s very useful in LEGO photography since it allows very precise manual focusing.
“One thing I’ve learned to love in these recent years is the shallow depth of field so I used a f/1.8 aperture, the maximum my lens allows me. I use aperture priority mode in 90% of my photos, because I want to have control of depth of field.”
Working with his camera fitted with a M.Zuiko 25 mm f/1.8 and set on a tripod, Luigi was able to shoot wide open at a native ISO 100 and a 1/125 sec speed.
“I always shoot RAW and then edit with Lightroom. Over the years, I’ve played a lot with Lightroom presets (that are a real timesaver) and I came up with ten favorite ones. I usually try them at once on my photos to see the global effect. They include white balance, highlights, shadows, tone curve, and split toning.
Once I’ve chosen the right preset, I start applying more specific adjustments, especially with the adjustment brush.
In this case, I did something different from my usual edits, because I wanted to blow the highlights behind the minifigure, and to enhance the contrast with the shadows on the walls.”


The Luigi Priori Challenge
As a portrait photographer, I’m always looking for simple backgrounds which is sometimes my problem with shooting in an official LEGO set: they’re crammed full of details, leave little room for my minifigs to maneuver in, and offer restricted camera angles.
The better way to go about it is to build a MOC like the ones Luigi uses in his photography. There’s enough detail to provide context but don’t distract or clutter the scene.
The #bc_inthestyleof_priovit70 challenge this month is to create a brick-built environment for your minifigs. It could be modifications on an official LEGO set or something completely your own. It could be a full set or the illusion of one:
But before you bust out your bins of bricks, Luigi has some advice to offer:
“First of all you have to build the scene; this could require some time. And in the end, the scene could be difficult to photograph. Maybe you add some cool details that can ruin the photo or just change the final effect, and not always for the better.
A classic mistake is shooting, putting everything away then editing the photo and realizing that something was misplaced. It happens to me more often than you can imagine.”
So keep that in mind while planning your builds! The challenge starts now and ends on April 8. Winners will be posted on April 10 on Brickcentral and given awesome camera badges for bragging rights!
More from Luigi Priori:

Great insight. Love the details in these mocs. They are detailed without being cluttered which I think is what makes them great environments for photos.
I made a kitchen recently and packed it with accessories but when editing later it was just a mess. Great tips here!
Mine too! I get caught up in adding cool little details that just make the scene look terrible from a photography point of view.
I’m late to the party, but awesome post! Luigi’s space scenes blow my mind. The amount of effort that goes in behind the scenes 100% translates into the final image. They are ‘other-worldly’ in my opinion. Hugely inspiring!
Thanks! Man, this has become a whole different hobby for me and I now find myself spending more time on building than photography!
Luigi didn’t mention how addicting MOCs can be.