Last week, I posted a behind-the-scenes look at one of The APhOL’s photos and challenged myself as well as other toy photographers to recreate the look of “Sculpting”.
I didn’t want to use the same subject of a sculptor though, but I wanted to try the technique of creating a dark environment, streaming light through a window, and using smoke to enhance the light beams.
The first place my mind went to when thinking of ideas for a dark room with a window was the movie The Shawshank Redemption. It’s one of my all-time favorite movies. However, I wasn’t going to create any particular scene from the movie. Instead, I wanted to create a prison cell with just a little levity.
The prison cell
I originally planned to use cardboard for the room as The APhOL had done but it turned out, I had all the pieces I needed for the prison cell. I knew from building a backlit wall of LEGO bricks before that light would leak in through the spaces between the bricks. To cover these cracks, I used several bricks with studs on the side and attached large plates to the surface of the wall.
Here’s how the facade of the wall looked before and after I added the plates to block light coming in from everywhere but the window. I also added plates to the sides and top of the room for the same reason.
The setup
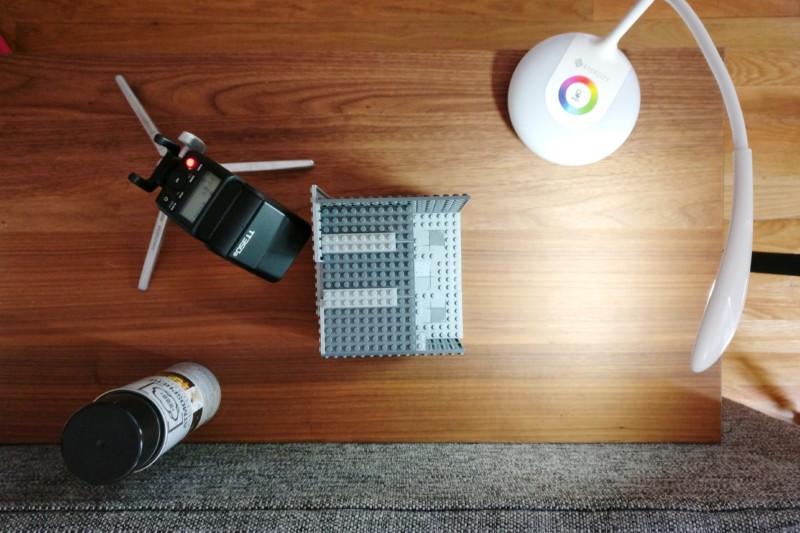
To create the light beams coming through the prison windows, I positioned a bare external flash outside the window at a downward angle to simulate the sun. The APhOL used a desk lamp in his photo but I happen to have a bunch of speedlights around because I use them in my work as a portrait photographer. I zoomed the flash all the way in to focus most of the light into the window and contain the spill.
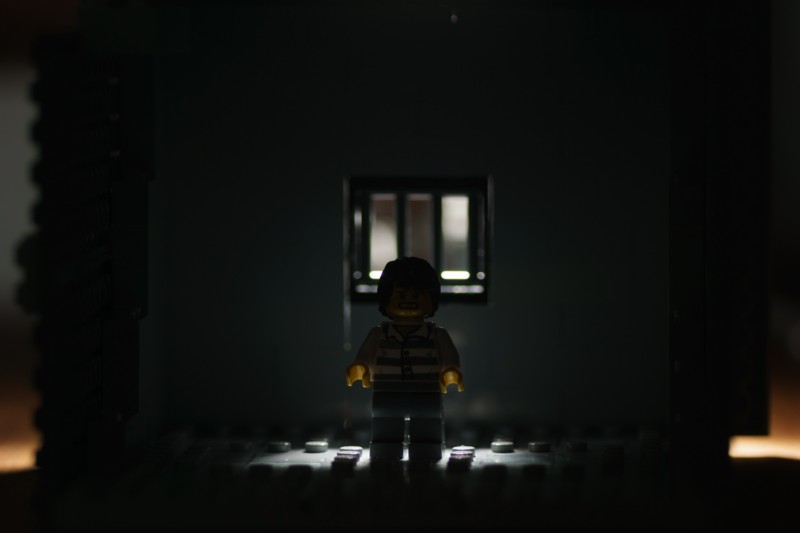
At my camera’s native sync speed of 1/160, everything but the light from the flash went dark. I lowered my sync speed to 1/100 and added a LED desk light that I took from my kid’s room to bring just a bit of light into the tiny prison cell.
The minifig
In my lighting tests, I used a typical LEGO prisoner minifig in a striped outfit as a stand-in but for the actual shoot, I wanted to use a modern inmate who seemed at ease in his predicament. This new prisoner minifig recipe called for orange colors, tattoos, a bald head, and a calm but intense expression.
Initially, I had envisioned the prisoner to be sitting in the light with his head down and his arms pulled up around his knees but in the midst of doing the lighting tests, I thought it would make for too depressing a scene.
I wanted his pose to convey the quiet, peaceful manner to match his facial expression so I detached the legs from his hips and set one leg up against his chest using tacky adhesive and extended the other one out in front of him. I set aside the hip piece and attached an orange 1×2 plate to the bottom of the torso to give him a little bit of height.
The orange torso originally had orange arms but I wanted to use a custom printed arm from FireStar Toys just to add some flavor.
I wanted his other arm resting in his lap but in order to do that, I had to pull it out and use some more tacky adhesive in the socket. The prisoner’s angle to the camera lens helped create the illusion.
As I went along the shoot, I thought he should be looking at something so I added in the cute mouse from the Elephant Girl in CMF 18.
Getting the shot
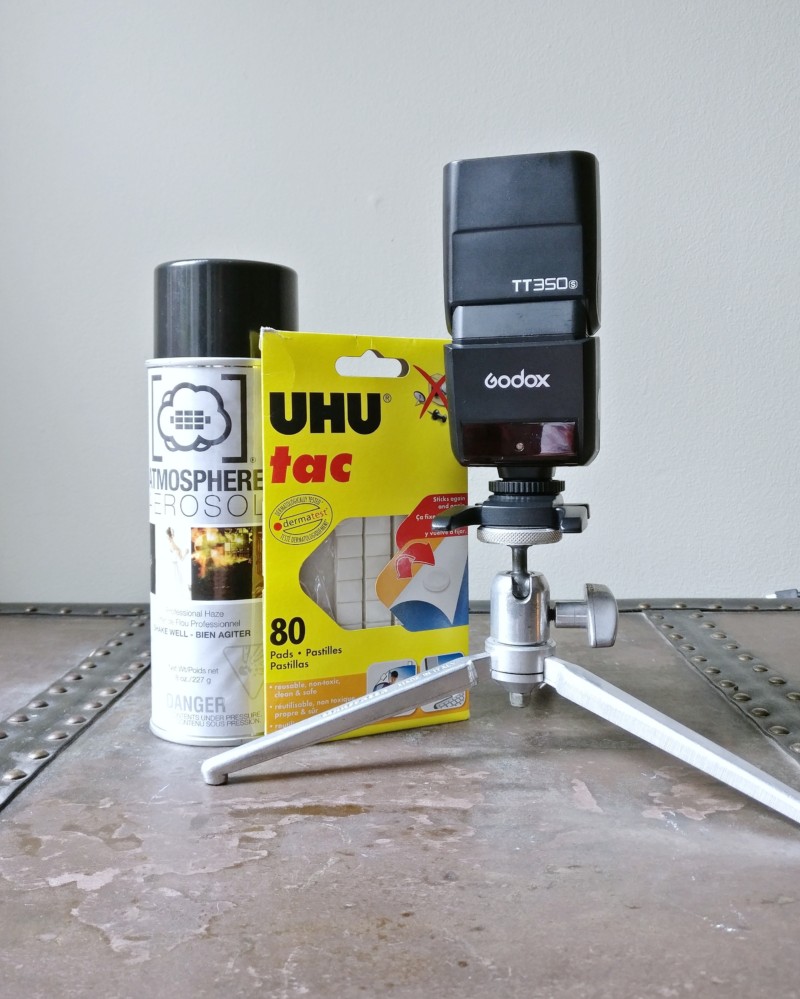
With my prison cell built, minifig assembled and lights in place, the next step was to accentuate the light rays with Atmosphere Aerosol. The APhOL achieved the same effect in his shot by burning some cotton but I had a can of Atmosphere Aerosol around because I wanted to use it in a portrait session. Just one quick press down on the nozzle for each take was enough for this shot.
Apart from my camera, tripod and my kid’s desk lamp, here are the other things I used in this setup:
Post processing
I always shoot in RAW and edit my photos in Lightroom, and sometimes Photoshop. After my usual tone adjustments and straightening, I did some color grading to make the photo look warmer and more subdued. I noticed that the fog lowered the contrast on the prisoner’s face a bit too much for my liking so I aligned then masked the face of the color graded photo in Photoshop. I gave the light rays just a bump of exposure and called it a wrap.
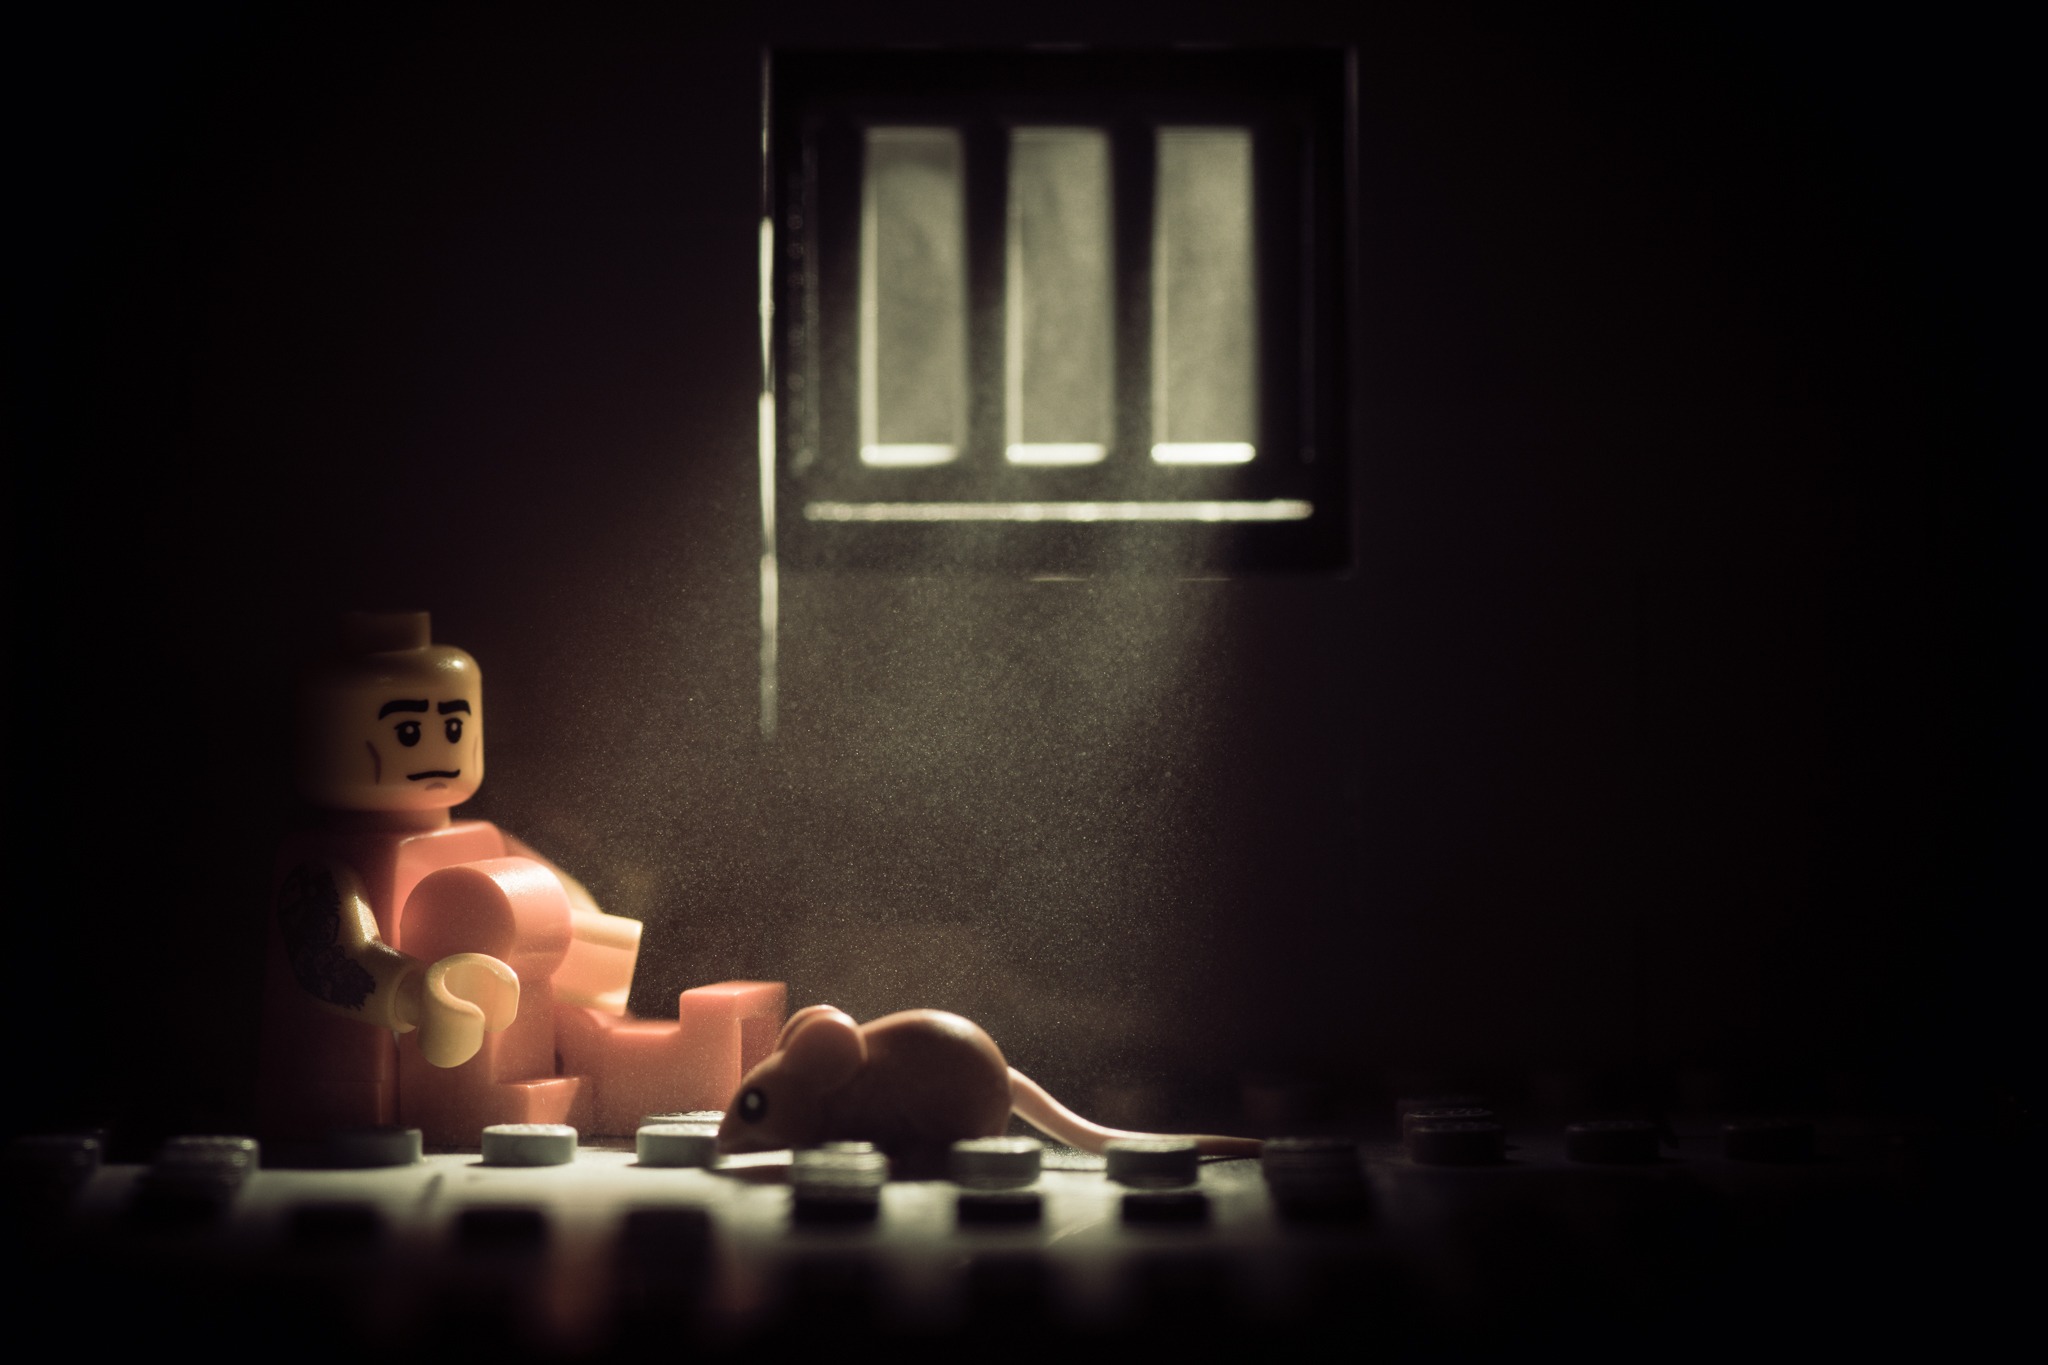
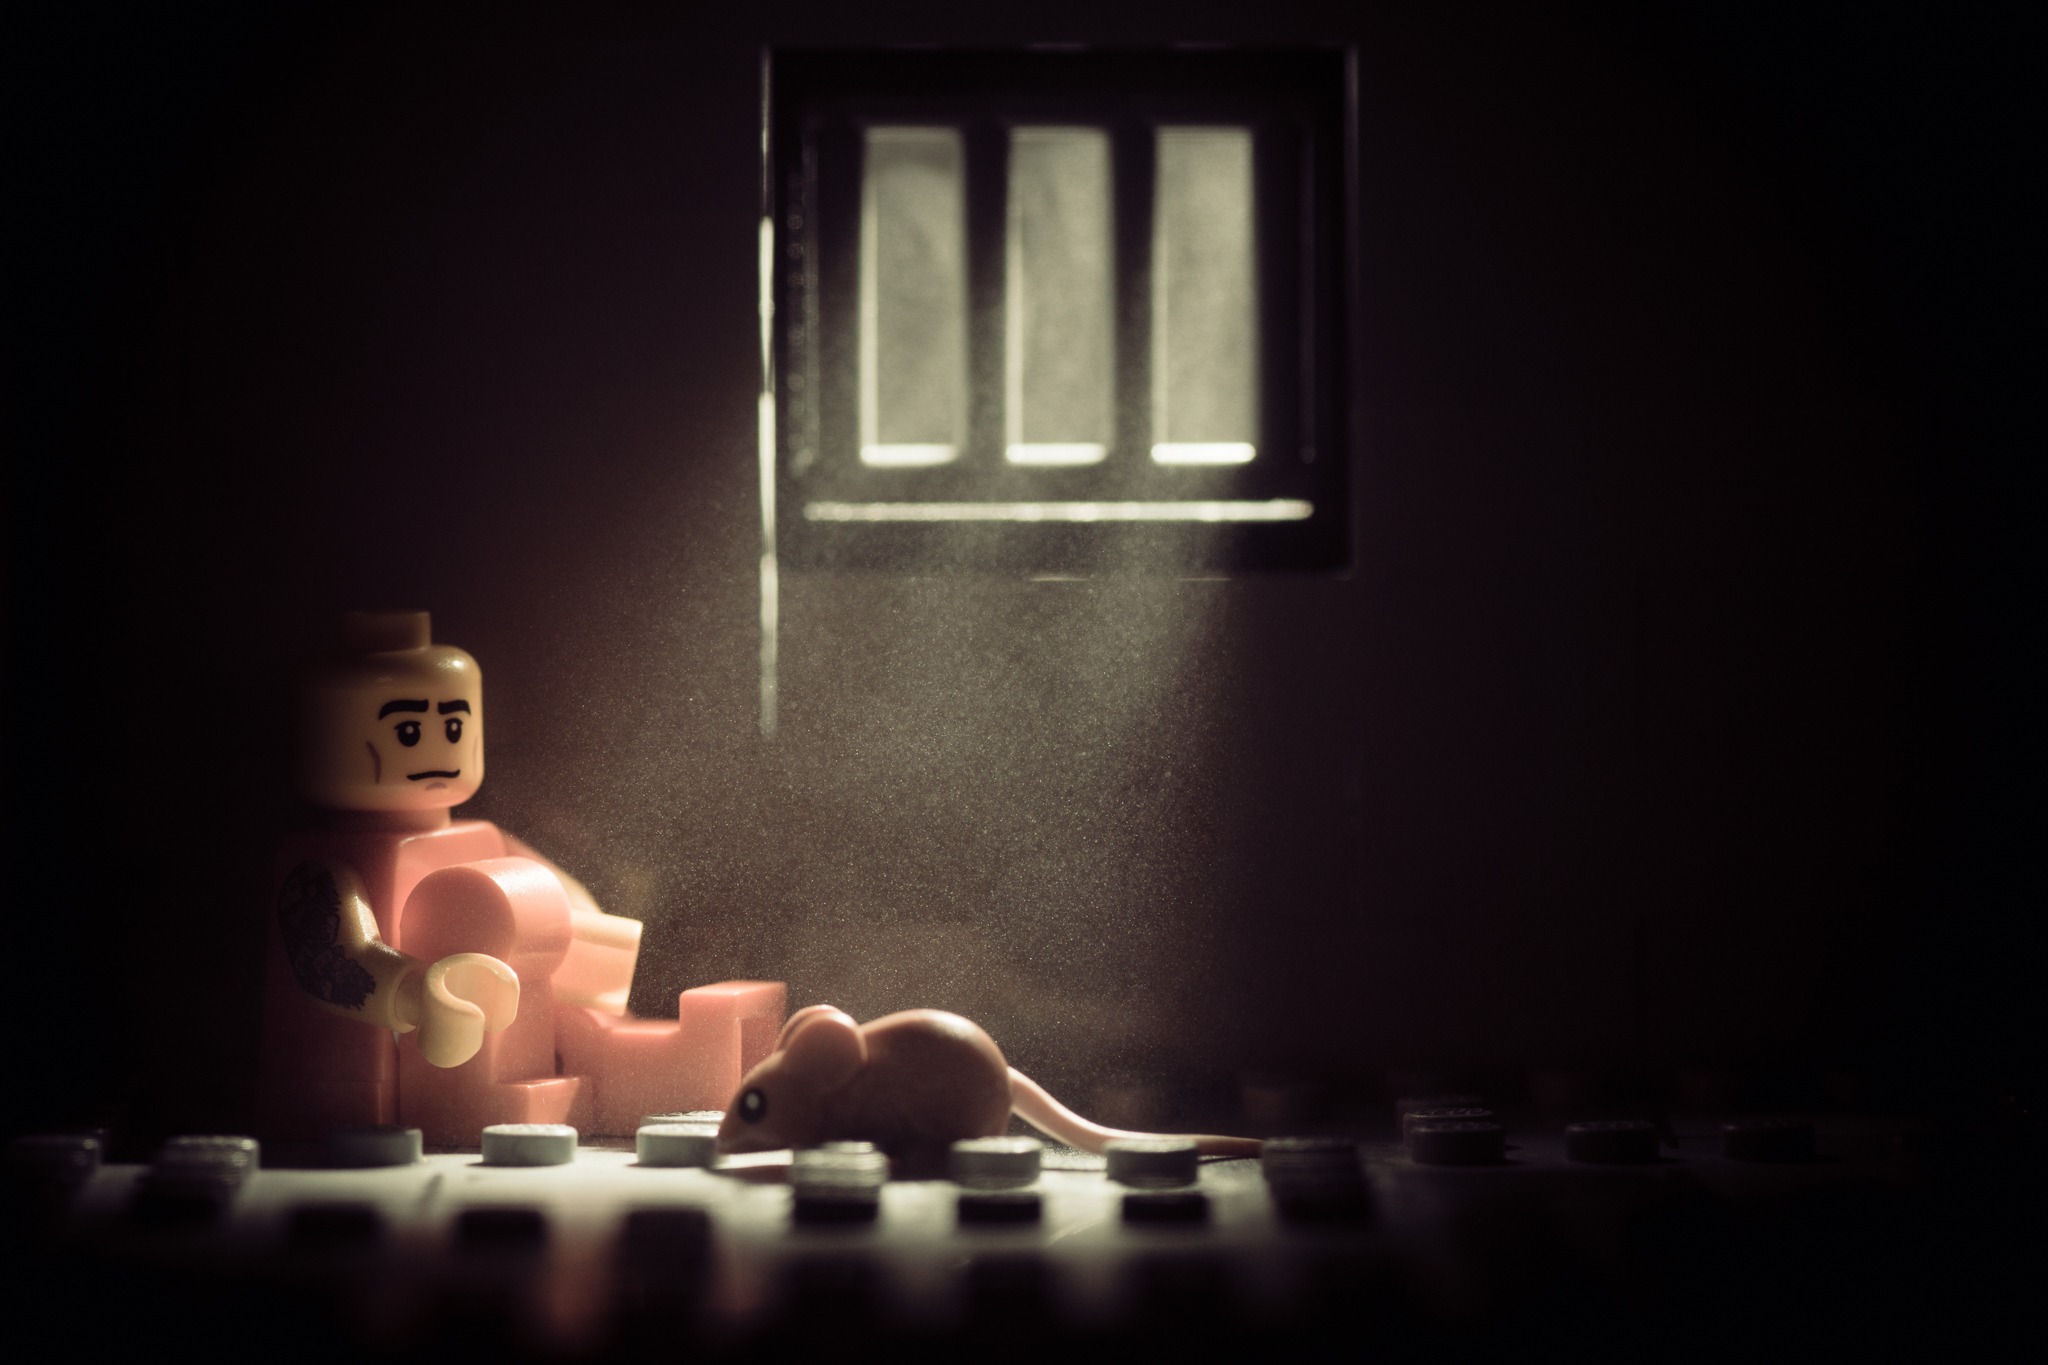
All in all, the photo took me about 2 hours to finish: 1 hour to build the set, 45 min to setup lights and shoot, and about 10 minutes in post production.
What do you think? Did I meet the #inthestyleof_The_APhOL challenge? Will you?


