I have to admit that I really look forward to the editing part of my photography workflow. Because I shoot in RAW, it’s also a necessary part.
In general, I like knowing how things work and tweaking them so being able to edit what the camera sensor really captures versus what the camera processes as a JPG is something that’s right up my alley.
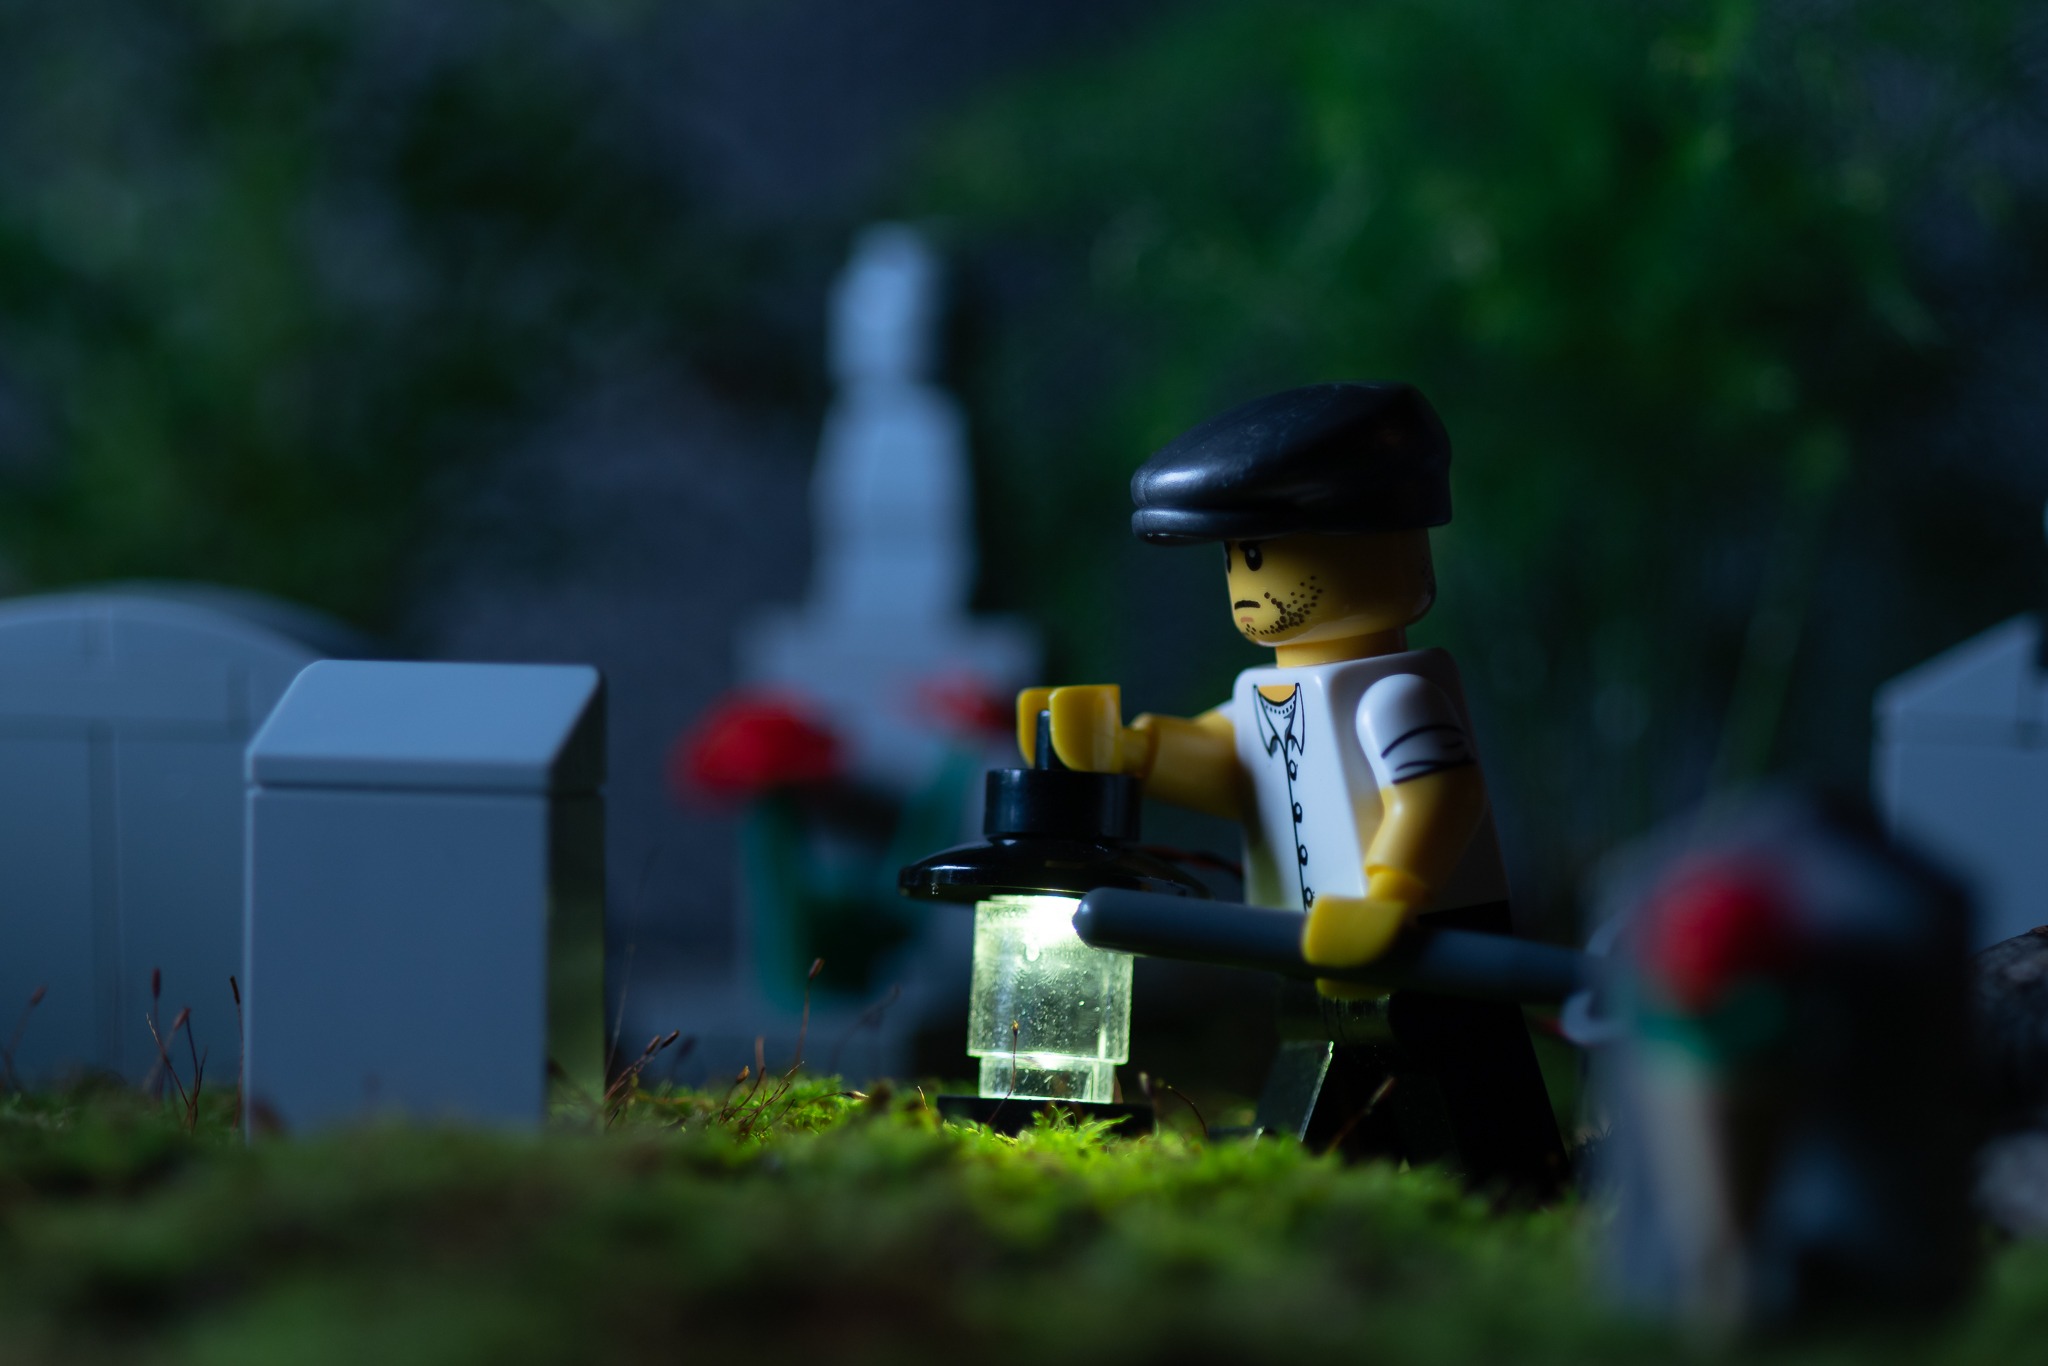
For this scene of the grave robber, my goal was to make better use of the lantern with a Brickstuff LED than I did with the rainy scene with Harumi. Due to bad time management on my part, I ended up having to shoot outdoors in bright daylight which pretty much killed the light effect. This time, I set up indoors and shot at night to really let that little lantern shine!
To light my four-piece lantern, I used a warm white LED connected to an analog dimmer and powered by a battery. The dimmer is key as otherwise, the LED is blinding. The whole thing looks like a bit of a mess but the wires are so thin that it’s quite easy to conceal or remove in post. The length is intentional: I purchased longer extension cables so I could adjust the brightness without having to have my fingers anywhere near topple-prone minifigs or props.

The scene
I recently added some fairy plants to my moss tray which I use for minifig photography and wanted to transform it into a cemetery for my grave robber. I made a short visit to my kid’s box of gray LEGO bricks and came out with a handful of headstones which I placed gingerly on the moss.

The minifigs
I imagined the grave robber to be a no-nonsense, hard-working young man so I dressed him in a white button-down shirt and rolled-up sleeves. The torso is from a male nurse minifig that I modified by scrubbing off the medical logos with a melamine cleaning sponge (did I mention I like tweaking things?) and the arms are from the Yuppie from CMF 17.
Since grave robbing was common in the 19th century, I thought the hooligan cap from BrickWarriors sold the time period for this character.

When using caps or hats, I generally use a head that has sideburns or beard of some sort just so the character doesn’t look bald. It’s just weird to me to have no hair coming out of a hat, especially on minifig kids.
So for the head, I used the one from the stubbly and stern Agent Jack Fury. This particular head is two-sided, which later became a bit of a challenge with the hooligan cap I paired it with. Unlike hair, the cap doesn’t cover the second expression printed on the back so that limited the camera angles and the posing opportunities for the grave robber. But then again, I also had another expression I could use in this photo series.
The corpse shows up in the last of the photos in this grave robber series but here’s a B-side that won’t make it to my social media. He’s in his Sunday best with his hair groomed nicely, just like the selfie dad from the Outdoor Adventures People Pack. I used a head I made with MiniMan Studio. I just knew I would have a need for a dead head!

The setup and shoot
I set the moss tray on a console behind a sofa in the family room downstairs so I wouldn’t bother anyone while I worked close to midnight. I shot wide open with a Minolta AF 100mm 2.8 macro lens on a Sony a6500 body on a tripod with a one second shutter speed. The camera was on a tripod for the long exposure but also because I needed to take the exact same shot without the lantern so I could remove the wires cleanly in post.

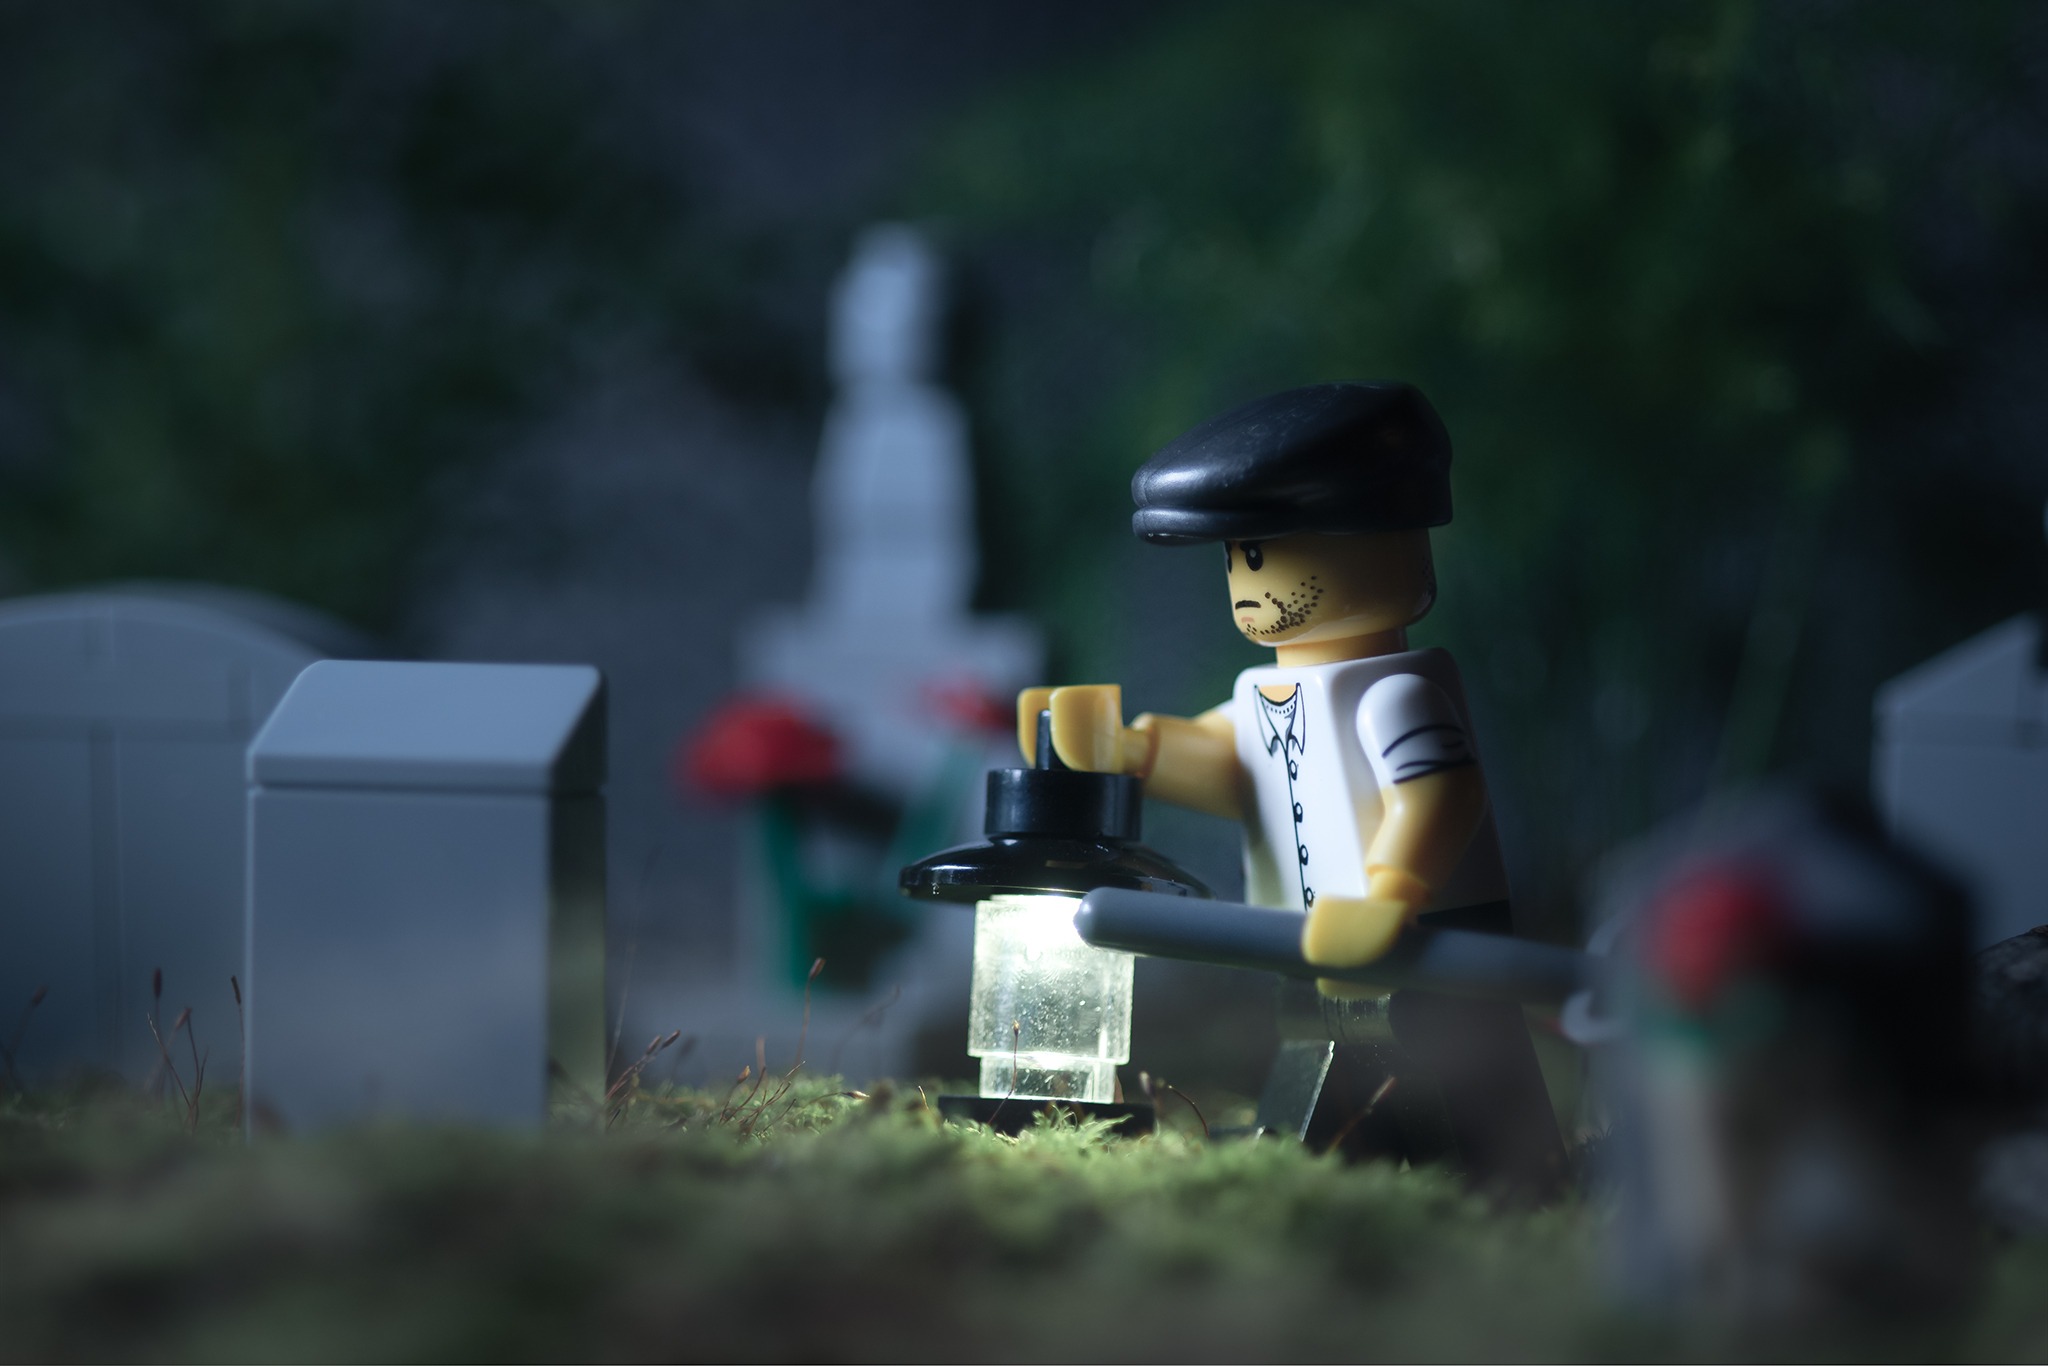
At full power, the lantern is not only blinding, it blows out details on nearby things like the minifig’s torso. So I dialed down the tiny LED in the lantern to about half its intensity and used a one second exposure to allow that light to burn into the scene without blowing anything out. On its own though, the lantern could only illuminate the ground below it and a bit of the grave robber’s torso.
To kick in some additional light into the rest of the scene, I flicked the LED panel on and off during the long exposure. Those few milliseconds from the panel at its lowest intensity and coolest temperature brought everything to life and set the mood.


Post-processing
Shooting in the dark with long exposures usually means noise is introduced into the photo so in Lightroom, I reduced the grain by sliding the Luminance control up to 21 in addition to my basic sharpening adjustments in the Detail panel.
I added two radial filters around the lantern and on the the grave robber’s body to increase exposure by one stop in those areas. I thought it was just too dark and could benefit from more a little more light.
The next few things I did were color adjustments to make the cemetery scene look more muted and hazy. The colors seemed too lively, especially the moss and trees, so I reduced the saturation of the greens in the HSL panel of Lightroom to make them less bright and cheerful. I also don’t really like the bluish tones there are in these light gray LEGO bricks so I scaled back the saturation of the blues just a touch. To blend those specific color adjustments with the rest of the photo, I reduced the overall saturation in the Basic panel to -17 so that I didn’t have red and yellow colors awkwardly popping.
While in the Basic panel, I added some haze into the scene by sliding the Dehaze tool to the left. I normally use this tool sparingly and in the opposite direction as a correction for landscape or cityscape shots so this was fun to play with as an artistic tool.
Lastly, I added some mist on the ground using a brush preset in Photoshop. I simply added a new layer and added a single brush stroke with a white foreground and lowered the opacity to about 30%. It’s almost unnoticeable in photo until you slide between the before and after but I like the extra depth it provides.
It may sound like a lot of work but it took me less than 5 minutes to do. When you know the tools, what you want the photo to look like and why you are making the adjustments, the post-processing goes quickly. It also helps if you try to get everything right in camera.
I think I did a good job editing this photo so that the mood matches the scene. I also think I made the right decision in adding some mist in Photoshop. It’s not something that I generally do; I might have even done this with some Atmosphere Aerosol if I wasn’t in a smaller room when I shot this. What do you think? Have I completed the #inthestyleof_foolishbricks challenge successfully?
Just discovered your blog and work. I’ve toyed with lego photography but never quite got the ball rolling. However, this is incredibly inspirational stuff with loads of hints and tips. Going to be spending a while reading more.
I’m glad you learned some things! If you’re a beginner, I suggest checking out the BTS with Foolish Bricks which precedes this post. I’ve linked to his beginner guides.