This month I will be showing you how to create a variety of landscapes at home, using common items from the street or from your own home.
The forest
As a first example, I will show you how to build a forest. There is really nothing easier! Gather a bunch of sticks from the street, from a forest, or from your favourite garden center. Please be kind to nature, and do not harm plants for these. You want dry sticks anyway, not green ones.
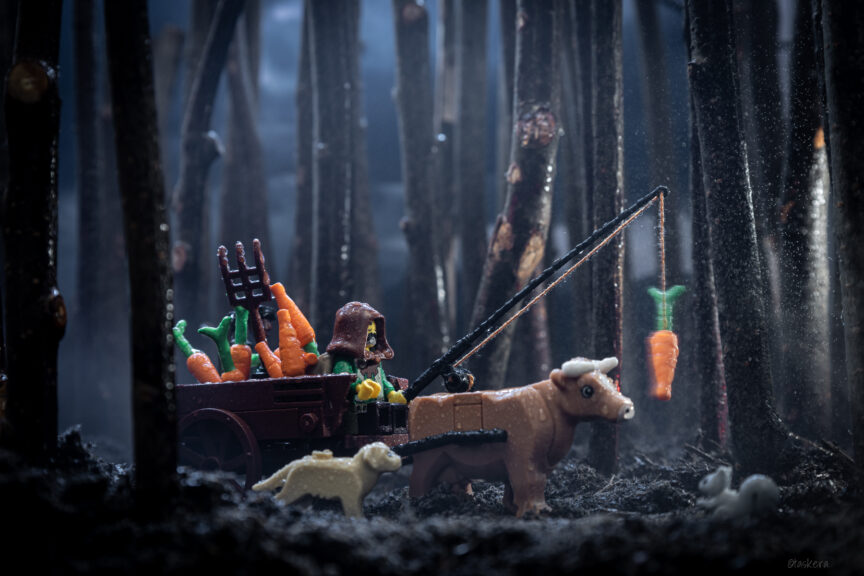
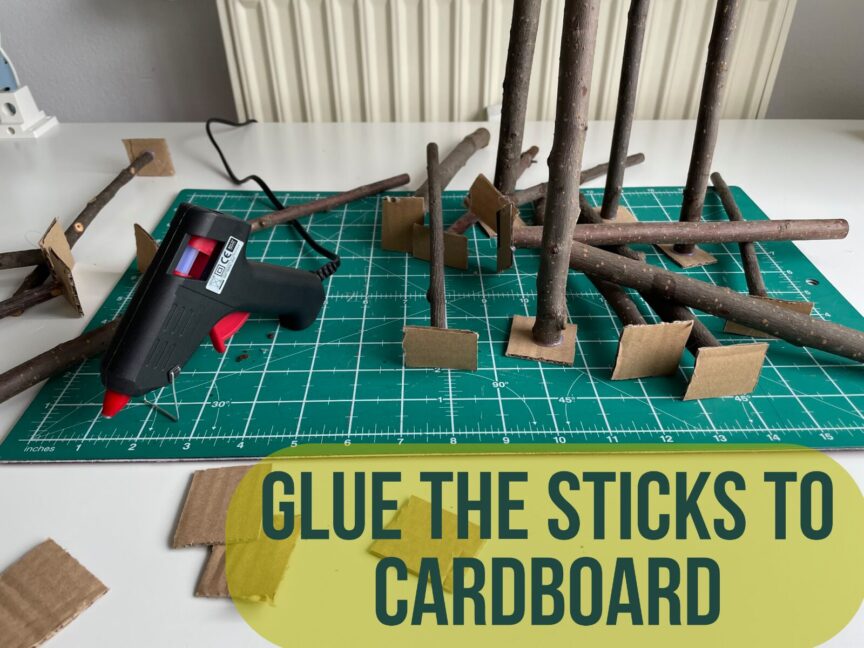
I prepared a large cardboard and drew the basic shapes of where I wanted the road, the trees, and so on. Once you have a bunch of sticks, to help them stay vertical, I used hot glue to glue some cardboard squares and glue those onto a piece of large cardboard.


I filled in the base of the cardboard with plain dirt (I use the same one I have for my plants, because it’s dark and has texture). You can pick this up on the floor of any forest or park.
For the atmosphere I use face misters as fog, a water spray for the rain, the flash to highlight this effects, and I printed some storm clouds on a paper and put it in the back
Top of the Mountain
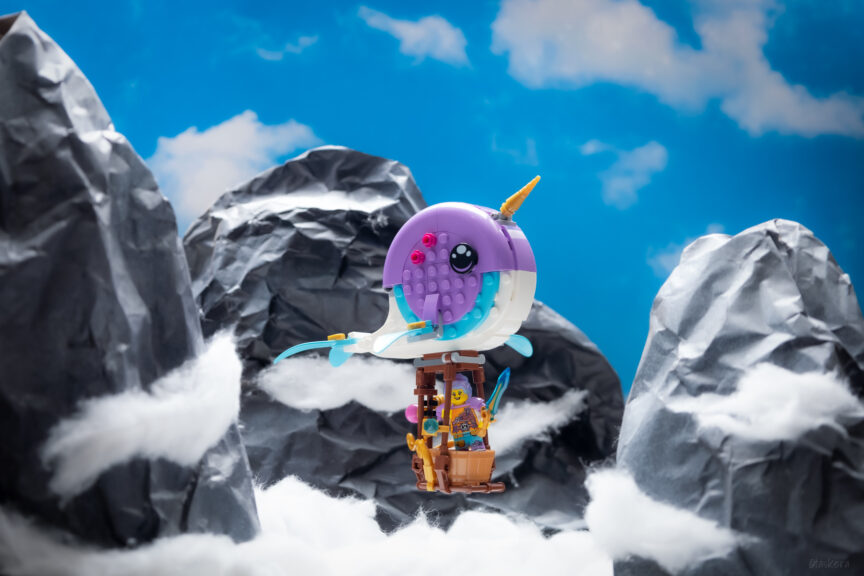
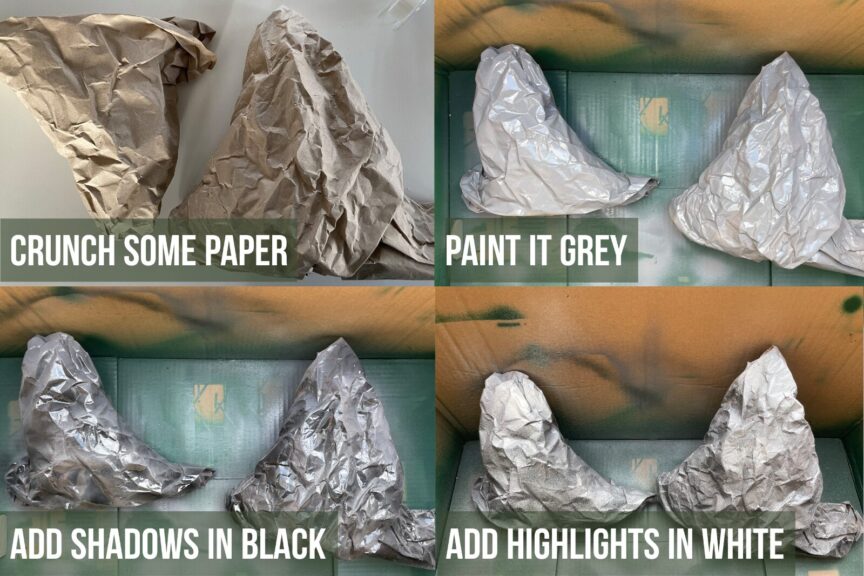
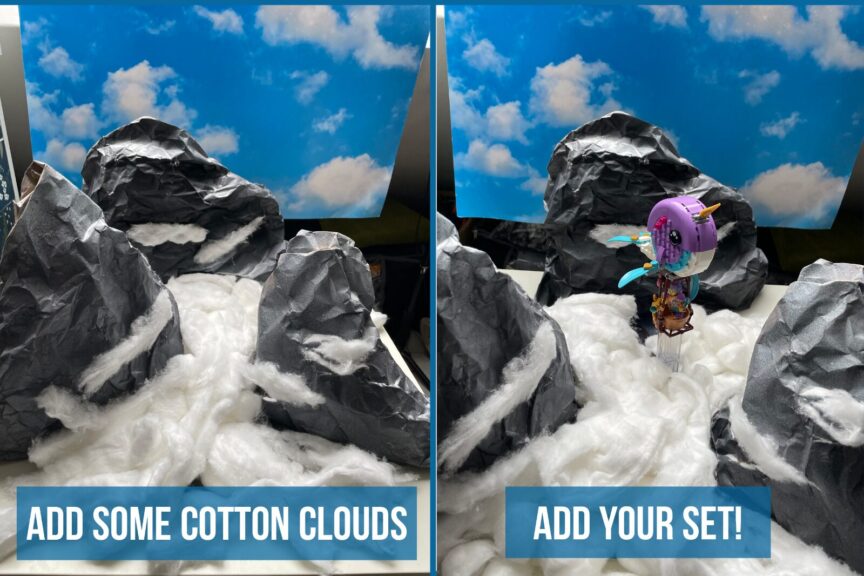
Everyone has these piles of papers from packages delivered to our home. The first thing we do with them is to throw them away. However, you can transform this into mountains fairly easily (or caves, or rock walls…). Another item that I find invaluable is a blue sky poster with some clouds (you can also print your own of course).
Grass Fields
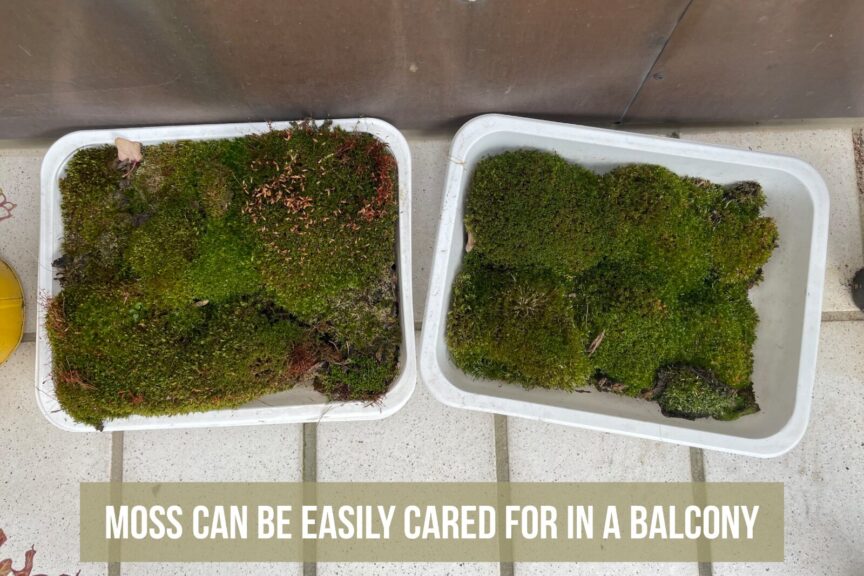
This is a very simple trick. I use moss to simulate grass. Moss grows almost anywhere and it’s very simple to take care of. I keep mine in a plastic container with some holes at the bottom on the balcony. It only needs shadow and humidity. And then I have permanent grass for my pictures.
To set up a scene remember you only need to cover those areas that the camera sees; you don’t really need to cover the full scene. I used different types of moss to give it a bit more texture and colors (it gives the scene a bit more reality).
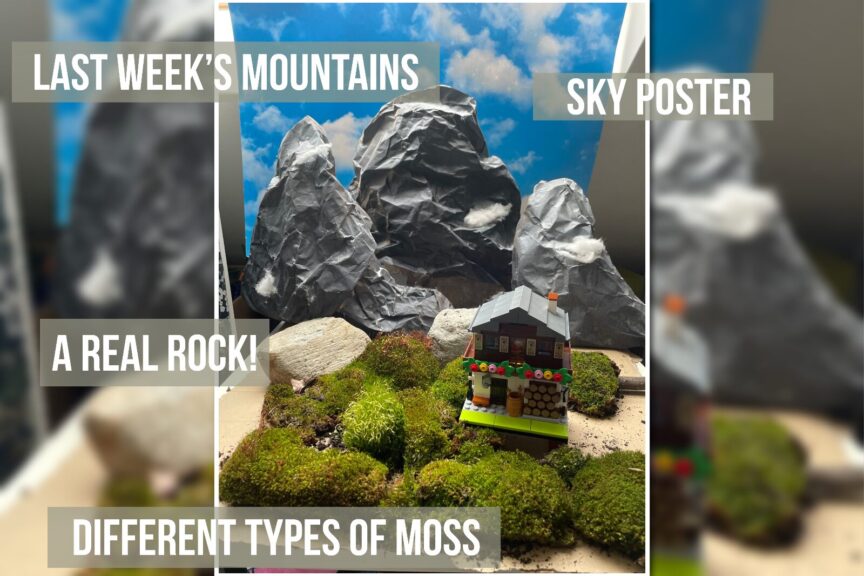
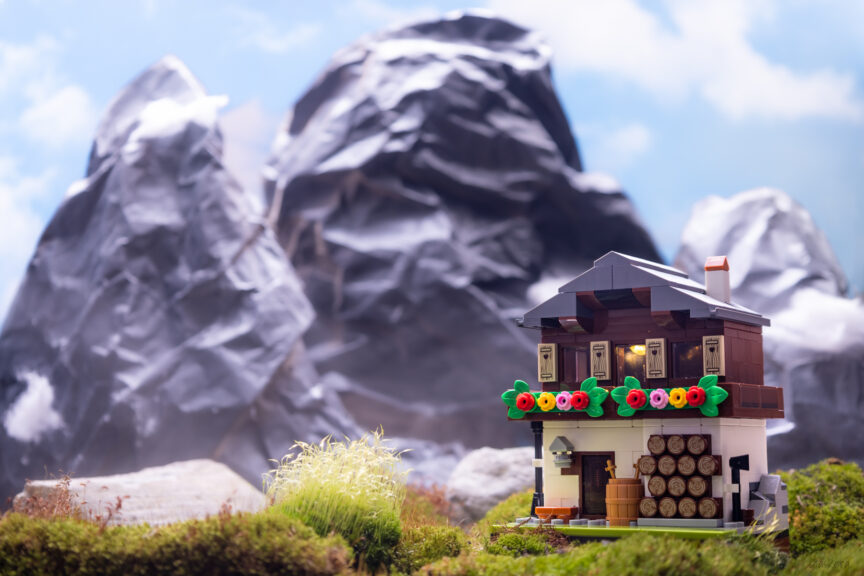
I also used the mountain for the past week and some real rocks to add depth and background to the scene. And my favourite sky poster.
Live Plants and Bonsais
For this last tip, I will encourage you to use live plants as decor. The one I use the most are Bonsais, they already have the right proportions for our minifigures!
Bonsais are hard to take care of, and perhaps are not the kind of plant many people have at home. But even if it’s a simple ficus or a small pine tree, real plants give the photographs something that can not be achieved with plastic ones. You can still see in the photograph it’s alive.
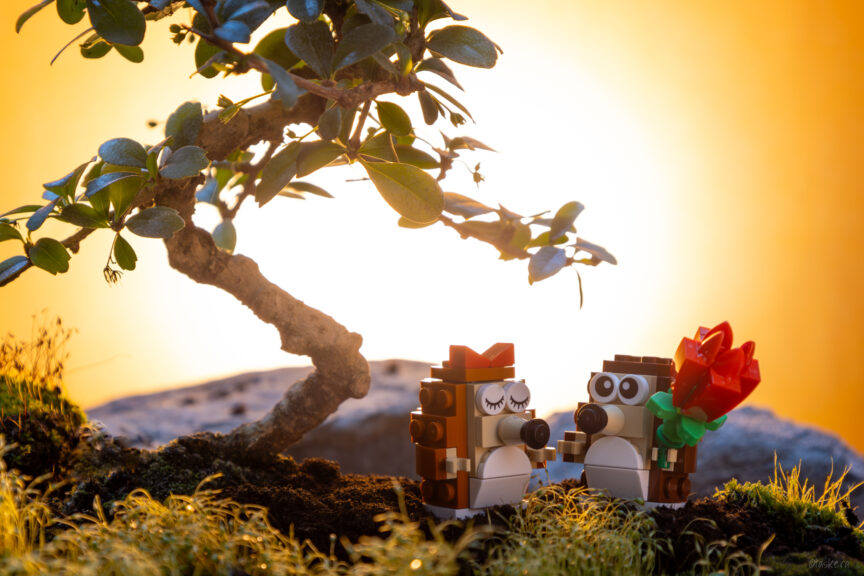
You don’t have to use them stand alone if you don’t want to. Combined with previous tips, you can create beautiful landscapes on your table. A bit of moss for a grass field, some real or handmade rocks as far away mountains. All perfectly minifigure size.
Pick your plant and place it wherever you want to take the picture and surround it with dirt and rocks to cover the base. You don’t need to remove it from the pot, this way the plant is better protected and will last longer.
Add some real rocks, some moss, and a beautiful backdrop. I use a very simple one, with a semi-transparent orange paper and a lamp behind to backlit the scene. But you could use a printout of your own pictures or even a television.


Place now your minifigures, your sets, or mocs around or in front of the bonsai.
Keep your eyes opened. Everything can be used to create new worlds, you just need a bit of imagination.
One Comment
Comments are closed.