Every month, we pick a LEGO photographer active in our community and share some of their work and a little about themselves. This month we meet a very old friend and one of the original crew member of Brickcentral 2.0: y.badiner!

Hello everyone!
My name is Yuri, I’m LEGO toy photographer from Moscow, Russia. I’ve been in love with LEGO since the mid-nineties, and my favorite themes have been Space, Castle and Town. My Dark Ages started when I was 13 and lasted till my 30’s and LEGO photography contributed to the revival of interest in LEGO in 2015. Quite by accident, I saw photos where the minifigures were not just standing on someone’s shelf, but participating in some interesting story. That is, the person did not take static photos of his collection, but literally played a scene, placing the characters in DIY environment. I’ve never seen anything like this before and I wanted to try it myself.
I began to buy small sets and collectible minifigures, searched the Internet for everything about Lego photography and tried to do something of my own. Very quickly I became cramped in the grip of a smartphone and a table lamp, and I started reading about photography, bought a camera, flashes and some accessories. The deeper I dived into it, the more amazing and talented people I met, from whom I had a lot to learn. This road led me to Brickcentral, of which I was a participant from 2019 to 2024. There I developed my skills, finally formed my tastes and realized what is really important to me in this matter.
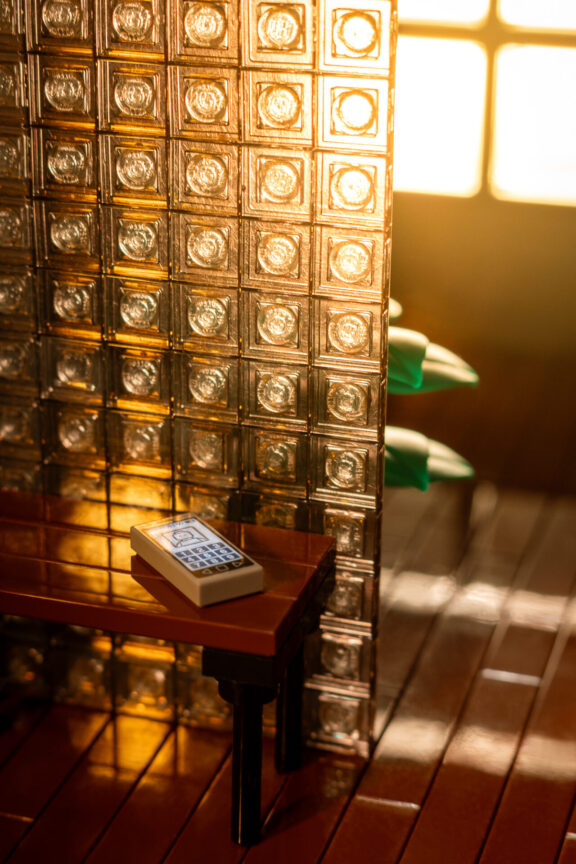
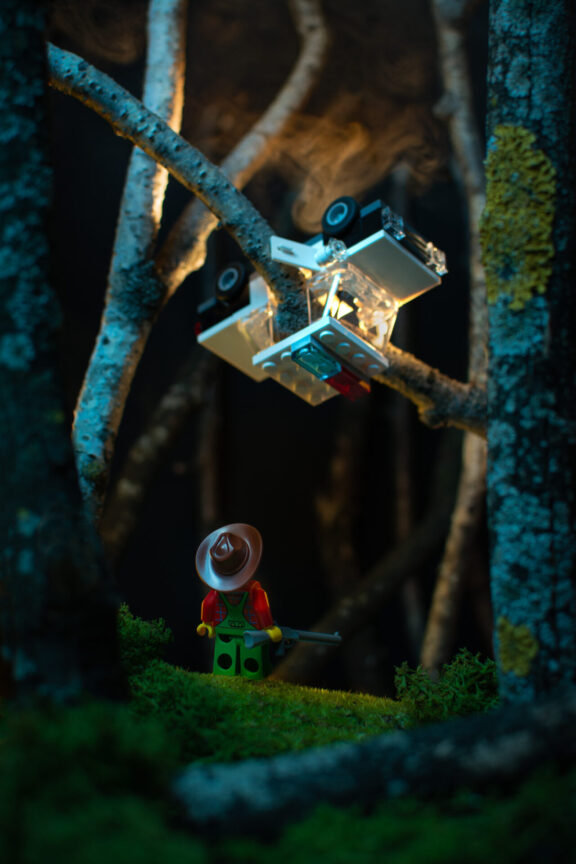
I really like the aesthetics of LEGO of the seventies, eighties and nineties. This is the time when the Danish building toy had a special charm, simplicity (albeit to the extent of asceticism in some cases) and, of course, kindness and naive toyliness. Whichever set you take – simple forms of buildings and always smiling characters meet you everywhere. Knights, astronauts, cowboys, pirates and even ghost and skeletons are always happy to share the joy of the play with you.

The spirit of LEGO from my childhood had a huge impact on me, so I often use yellow smiley faces in my photos, if some specific emotions of the characters are not an integral part of the story. In addition, I avoid licensed series, because I am not interested in shooting any specific popular characters who already have their own background and story, which are a huge restriction for creativity. It’s much more interesting to come up with your own characters and your own plots.
I always shoot at home, because unlike the outdoors, here I always fully control the light, convection, temperature, humidity and other circumstances that directly or indirectly affect both the final result and my comfort during the shooting process. The fewer things are out of my control, the better. I tried to shoot on the street, and even took a couple of good pictures, but in general I didn’t like this experience very much.
For my photos, I do not create full-fledged MOCs, but build a so-called “lazy corner” – vignettes with a couple of walls and floor or literally just a facade and maybe another layer for the background, if required. That is, I try to fill the frame as much as possible, and not waste time on assembling the part that is not visible in the frame.

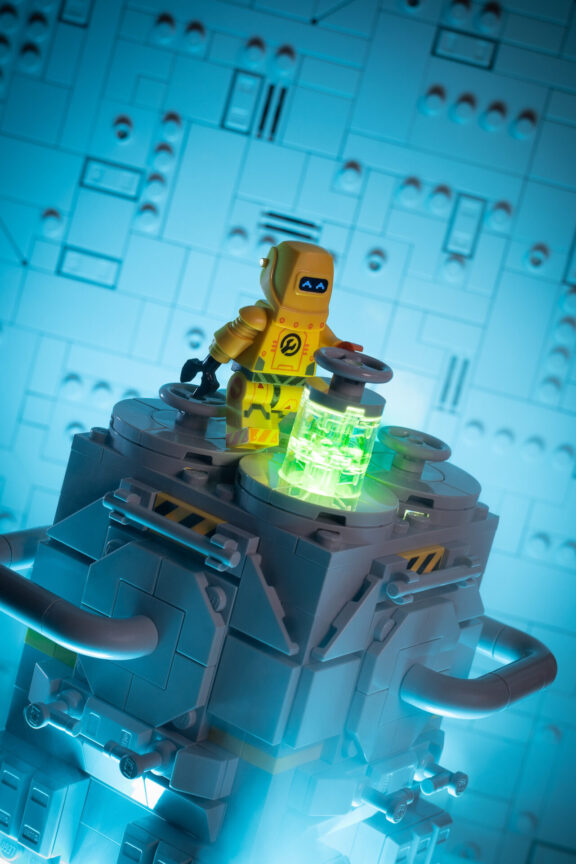
Now I prefer to work with the Space / Sci-Fi theme, but sometimes I try to dilute it with something else, it’s useful so as not to come to a dead end and self-repeat in the same topic.

The exclusive photo

This time I want to share the behind-the-scenes work related to my new image with the Wizard.
The idea was literally like this: “A magician with a wand raises a transparent and/or glowing vessel into the air”. First of all, of course, I need to pick up a character, and it was easy. I have assembled a wizard for a long time, who humbly waited for a decent story.
To make sure that in real life everything looks the same as I imagine, and to fix a certain point for further work, I took a quick photo on the phone: put a minifigure, hung the vessel, brought an LED to it. Yeah, well, that’s how it should be. Now I can build the environment.

I wanted to use a beautiful red transparent jug as a levitating vessel, but it gave too saturated red light and turned out to be too big, about half the height of the character itself. No, it’s too much. The jug took a place on the windowsill, and the flying vessel was a transparent part of the head in the color “trans clear”.
Brick built environment

This is what the environment look like. Here I have a window of an old oriental house, probably something stiped by stories about Aladdin and his magic lamp. I write these lines and realize that I wanted to add a magic lamp to the frame and forgot to do it… That’s how it happens 🙂
Tip: Always write down your ideas. Describe literally everything that came to mind – characters, scenery, lighting, any details. It is much easier to cross out something superfluous or unsuitable in the process of construction and shooting than to remember something suddenly forgotten.
As always, I build exactly as much as I need to fill the frame. I almost never collect full-fledged homemade products, because that’s not the essence of my hobby, and this approach saves a lot of time.
Tools


The set of necessary tools for such a plot is quite standard:
- Floral wire and UHU Patafix adhesive pads (any analogue can be used) to hang a transparent head in the air
- LED on a battery-powered wire to make the head glow
- A small LED panel with remote control from the phone is an indispensable thing in general
Installation Of Light

It seemed to me that the head with LED does not give enough light even at a long exposure, so I decided to additionally illuminate the minifigure from below. When assembling the decorations, I left a gap of 1×9 pins in the floor right in front of the minifigure and put an LED panel under the base of the building.

As for the vessel floating in the air – everything is also quite simple here: I attached the head to the wire with UHU Patafix adhesive pads, placed the LED inside.
Final preparations

I put all the elements in their places, made sure that everything looks as I intended.

The final stage: turn off the upper light, turn on the LED panel under the floor, light the LED in the head, and create the night with the help of drawing light – a flash with a blue filter on top.
This frame clearly shows two problems that I will have to deal with at the post-processing stage: the glare on the face of the minifigure and the mixture of wires inside the transparent head.
Glare on faces can often be avoided or minimized by slightly adjusting the position of the character relative to the light source, but in any case, some correction in the photo editor will almost always be necessary.
But I had to tinker with the levitating vessel. I got so carried away with “polishing” the head in a photo editor that as a result it lost all transparency, rather it became like a red-hot metal jar. There is another solution to such problems – you need to make two frames, one with a vessel in the frame, the second without it, and then just overlay one frame on another. Sometimes it works better and easier, sometimes it doesn’t. Anyway, I think I like the result.