Each month, we pick a LEGO photographer and share some of their work and a little about themselves. This month, we put the spotlight on Shannon Sproule!
For most of my time in my LEGO hobby, I’ve primarily been a builder and I’ve used photography to document my MOCs and share them online. This usually meant shooting in diffuse light; I prefer outside on an overcast day but undercover on the porch on a sunny day will do.
The aim was to get even light across the model so it could be seen clearly, with shadows kept to a minimum.
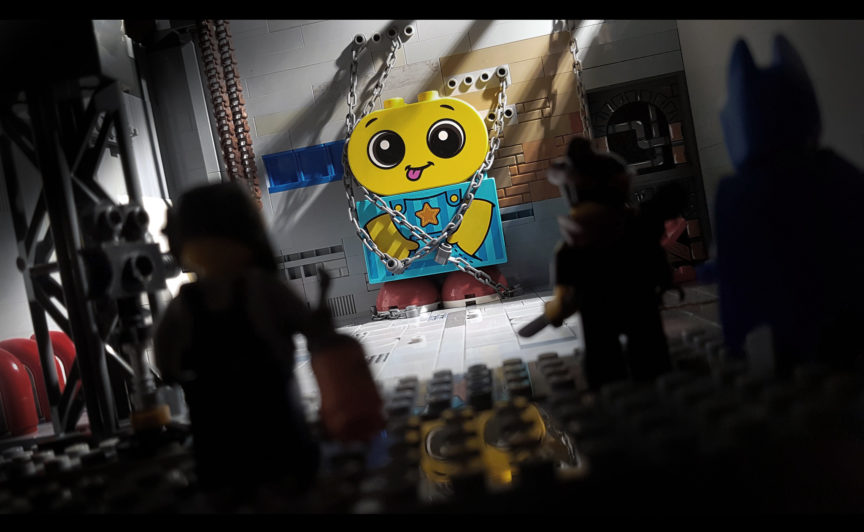
Recently my hobby has been evolving and I’ve become more interested in capturing atmosphere, cinematic shots, and minifigure portraits. And this has meant discovering different lighting, exploring composition, and also learning some Photoshop.
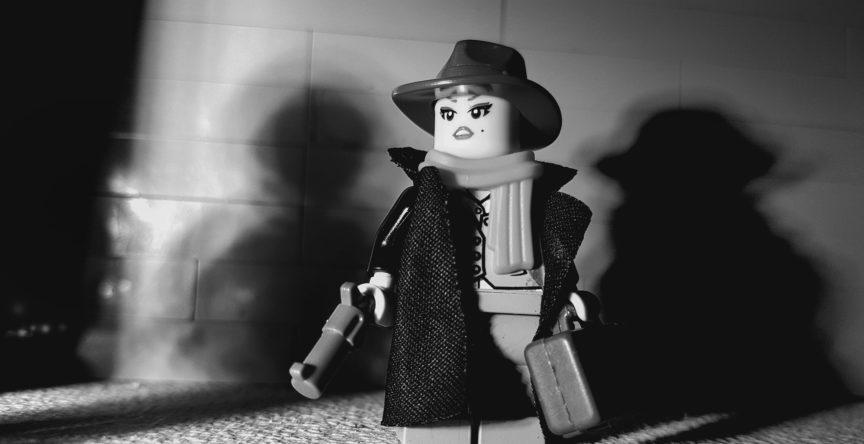
I like using my smartphone camera over a DSLR for several reasons. My phone’s always on me, I can get quick test shots when I’m building or take a reference photo while I’m out for a walk. I don’t have to set up with a tripod which I will inevitably have to keep adjusting the height and position of. I can use the smartphone’s in-built filters and tonal adjustments to suggest interesting edits on the fly.
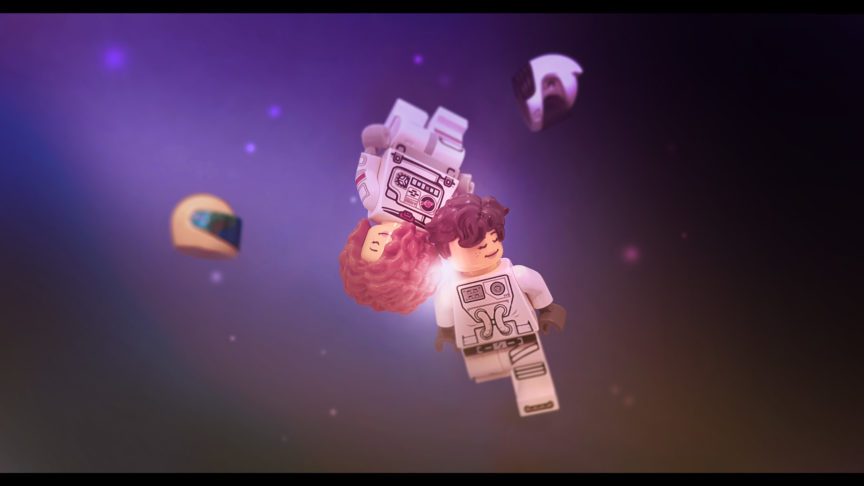
I’m probably sacrificing image sharpness for speed and flexibility but it suits my process much better. On its auto setting, the phone camera lets me focus on composing a scene and lighting it without having to think about the camera settings.
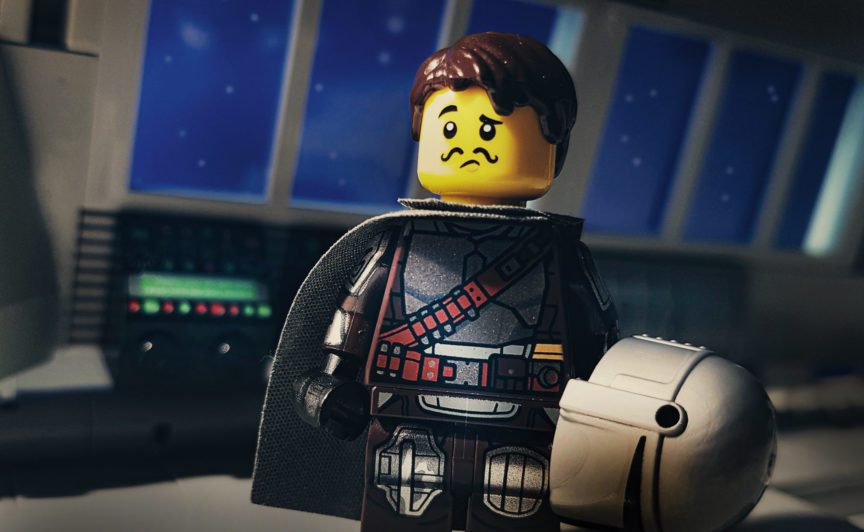
I love the wider aspect ratio of the phone camera. Mine’s set on 16:9 and it’s my standard. I feel a little “squashed” going nearer to 4:3 and sometimes I’ll either crop the 16:9 down further (closer to a cinematic 2.39:1) in post or experiment with my phone camera’s panoramic mode: I’ll take a short sweeping shot and see if I can get a cheat wide-angle effect.
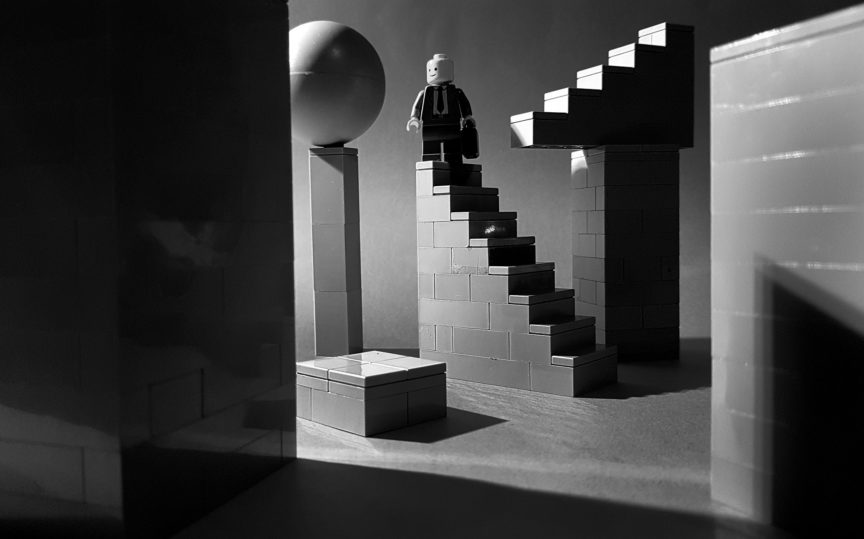
Of course, the panoramic mode is prone to distorting the subject so most of the time it doesn’t quite work out. But that’s the fun of experimenting, maybe the distortion yields a more surreal result?
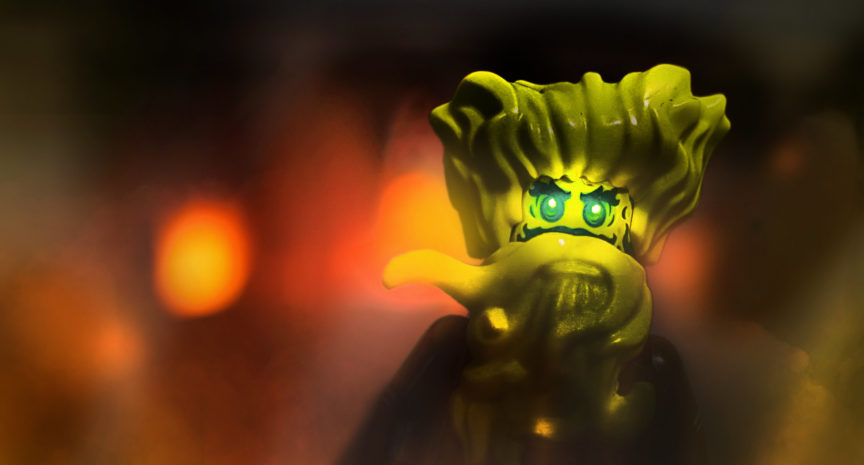
At the moment, I’m building to the camera more and more. When I’ve got an idea for a shot, I might grab some minifigs and take some rough test shots, primarily figuring out what’s the main subject, what angle, where’s the narrative, testing the lighting.
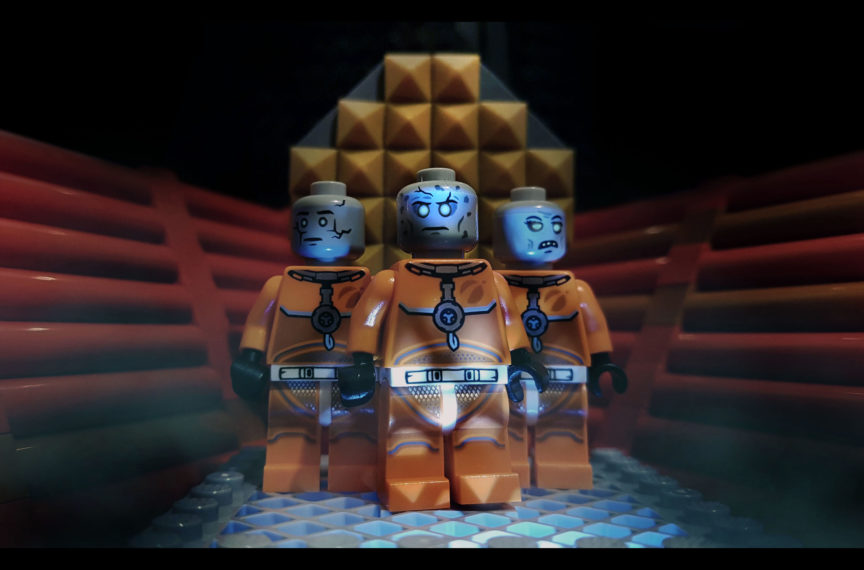
I’ll only use large plates or other “table scraps” as stand-ins for scenery. Hardly anything, outside the minifigs, has been built yet. In these quick test shots I’ll start seeing interesting arrangements and things like shadows. Then I’ll build a scene to take advantage of those engaging elements. Most of the background will be out of focus so I don’t put too much detail there.
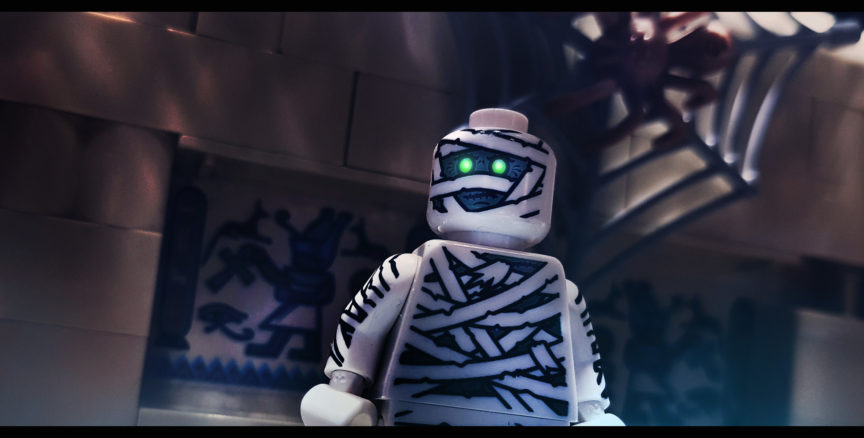
I’m finding more and more that I’m hunting really good shadows that can point to an area of interest or hide things for more drama.
If it’s an interior scene, I’ll build everything separate so that I can move it around while I’m looking through the camera, a lot like a stage setting with props, etc. In the past I would’ve done it the other way around: built a nice-looking moc and then tried to find nice shots of it.
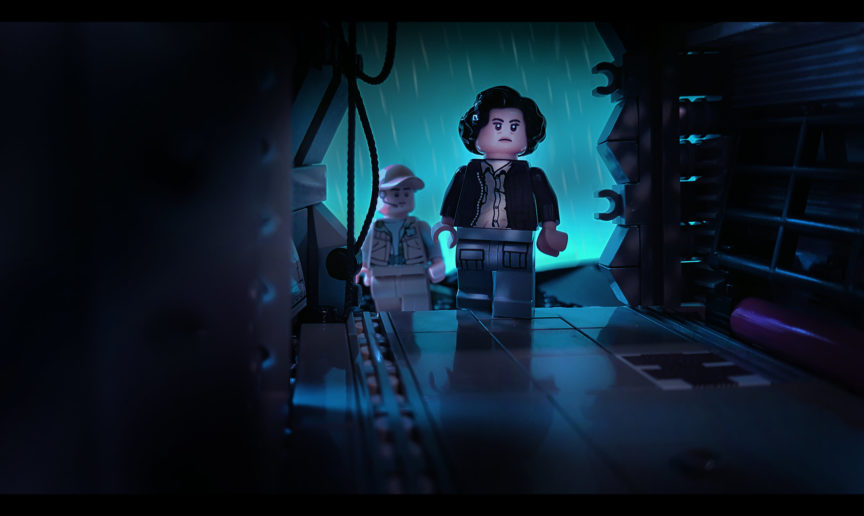
But working it like a theatre set gives me more freedom in arranging figs, foreground/background objects, and the lighting. After years of shooting pics in a documentary style, it’s really exciting to start exploring atmosphere, drama, and mystery.
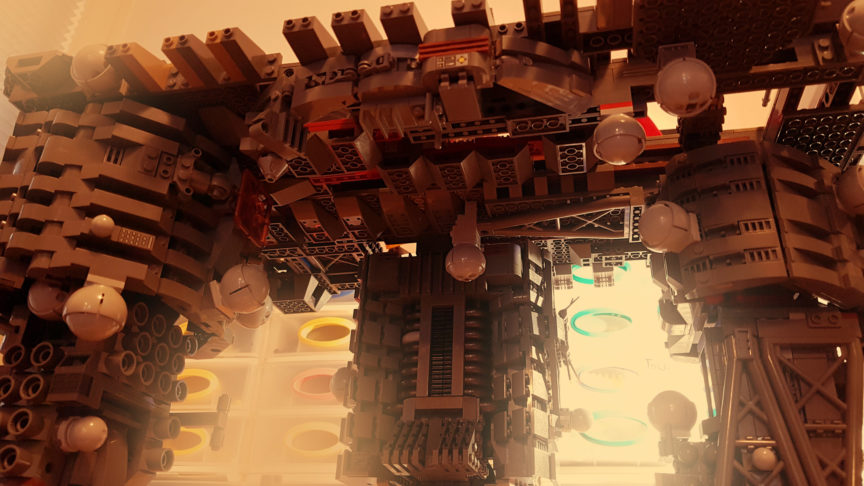
And then there’s Photoshop, an amazingly powerful (and frankly overwhelming at times!) editing tool. The possibilities for cropping, copying, stretching, masking, painting, distorting, adding layers of effects, and colour washes are just incredible.
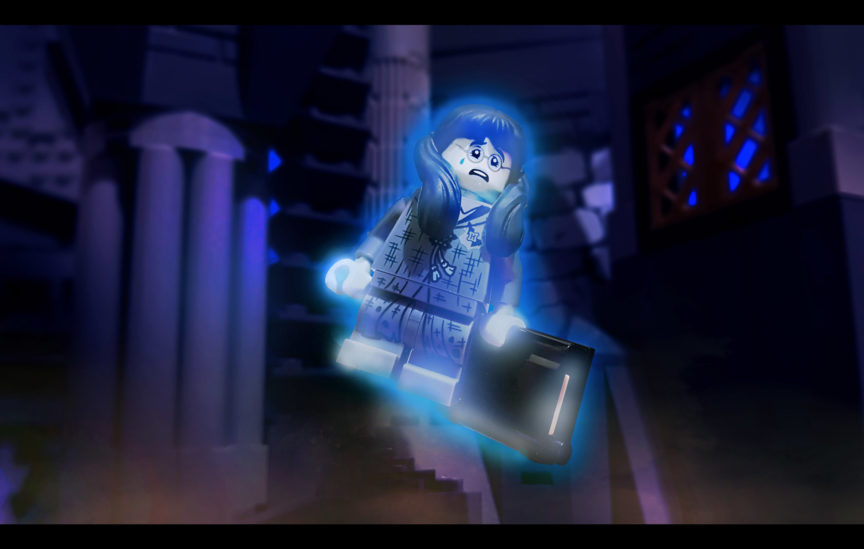
My standard post-processing routine is adjusting sharpness, adding a focal area, cropping and colour adjustments. The main tools I use outside of those basic ones are the burn and dodge tools. These are really beneficial to target specific areas, for example to brighten up a minifig face if it’s too dull or to darken foreground props in a scene so that the background is highlighted.
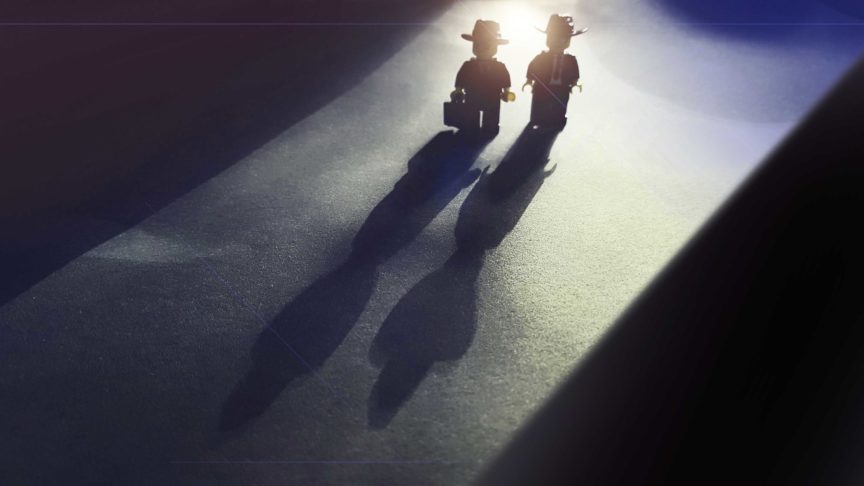
If I’m using card stock for a blank sky backdrop in a scene, the burn tool is great for gently darkening that area so that the sky feels ominous. The burn and dodge tools are indispensable to my picture creation and really help ramp up the drama in a scene, which is exactly what I’m after.
