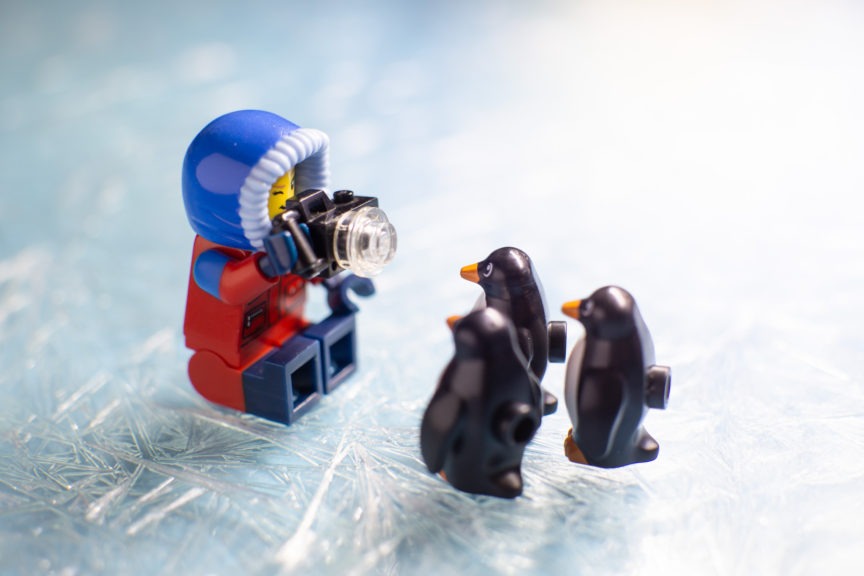
Trying to work with ice in an often slow-moving process such as toy photography can be a real pain.
It seems that just as you’ve finished getting the light how you want it, the ice has melted enough to pool water around it and slide away.
In this video, I show you how to use a simple experiment for kids to create a wonderful frozen texture for toy photography without the need to speed through a shoot.
I explain that the salt solution is just equal parts Epsom salt and hot water that’s spread over a pane of glass and left to dry.
Epsom salt is not the same as table salt: the former is magnesium sulfate and the latter is sodium chloride.
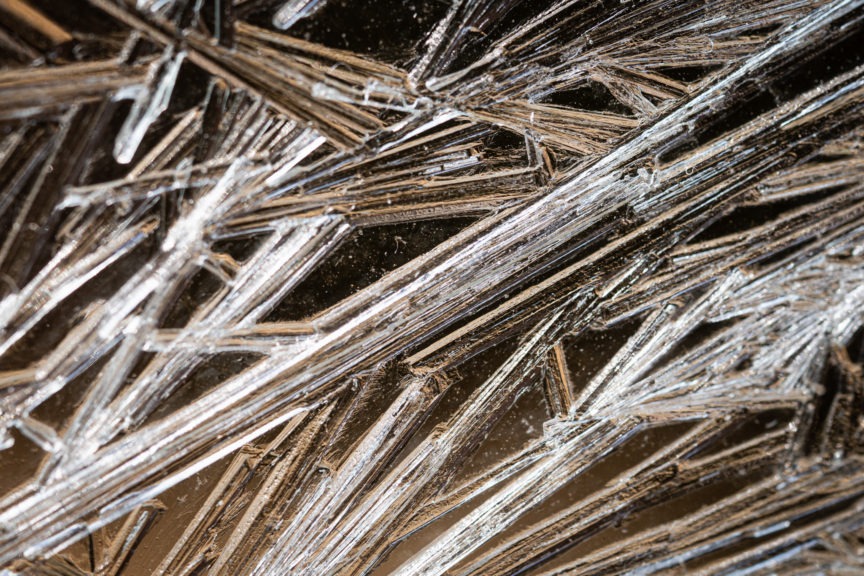
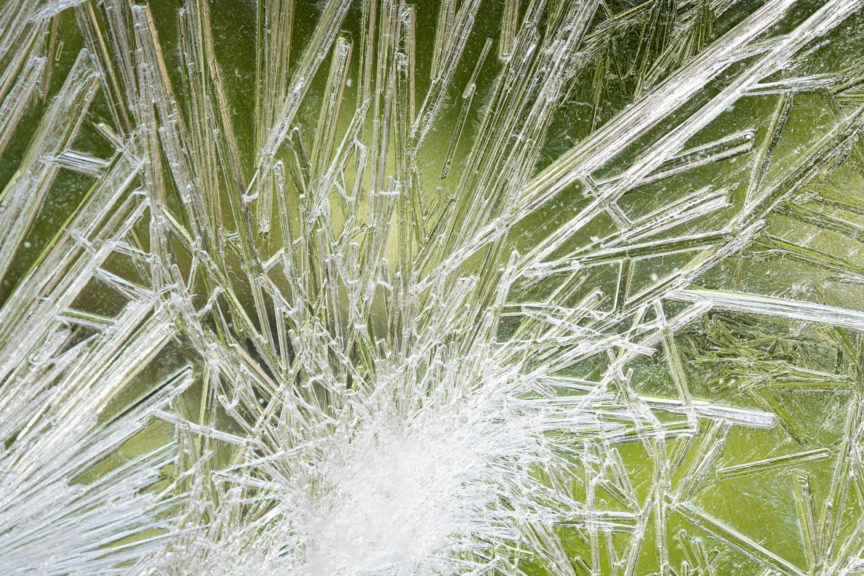
Epsom salt produces needle-like structures and also crystallizes much quicker that table salt.
You can find Epsom salt online, in groceries and in pharmacies, in the personal care and beauty section. It’s the stuff you put in baths for relaxation and muscle pain relief.
Your choice of glass matters: if you intend to shoot through it as I did with the caveman, you need a thinner pane. These are more brittle but you can get sharper focus on the toy behind the glass than with a thicker pane.
If you only intend to shoot with it with toys standing on top of it, then any glass is fine. I used a glass shelf from IKEA’s BESTA line that I had around as an extra.
I think acrylic will work too. It’s safer of course, and lets more light through.
It’s more expensive than glass though and will scratch easily.

Note that the thicker the glass you use, the further the offset of the shadow will be from the toy. It could look weird if you have your lighting setup at a low angle.
Just as with the Orbeez I used in the underwater scene, these salt crystals are a fantastic macro subject in their own right.


I’m going to experiment with different kinds of salt and alternative materials to see what other kinds of crystals I can get.
Let me know what you think of this “frozen” effect in the comments!

Thanks for this. Learnt a lot, including some Lightroom tips. Will have to give it a go sometime